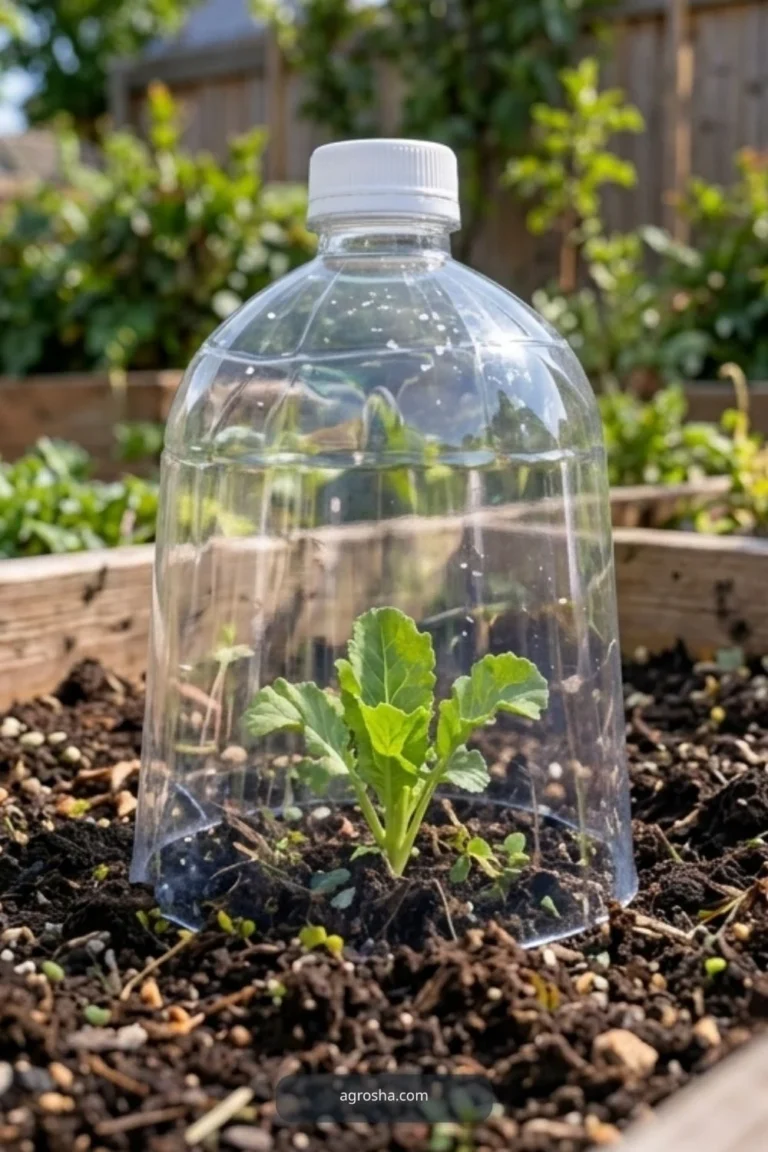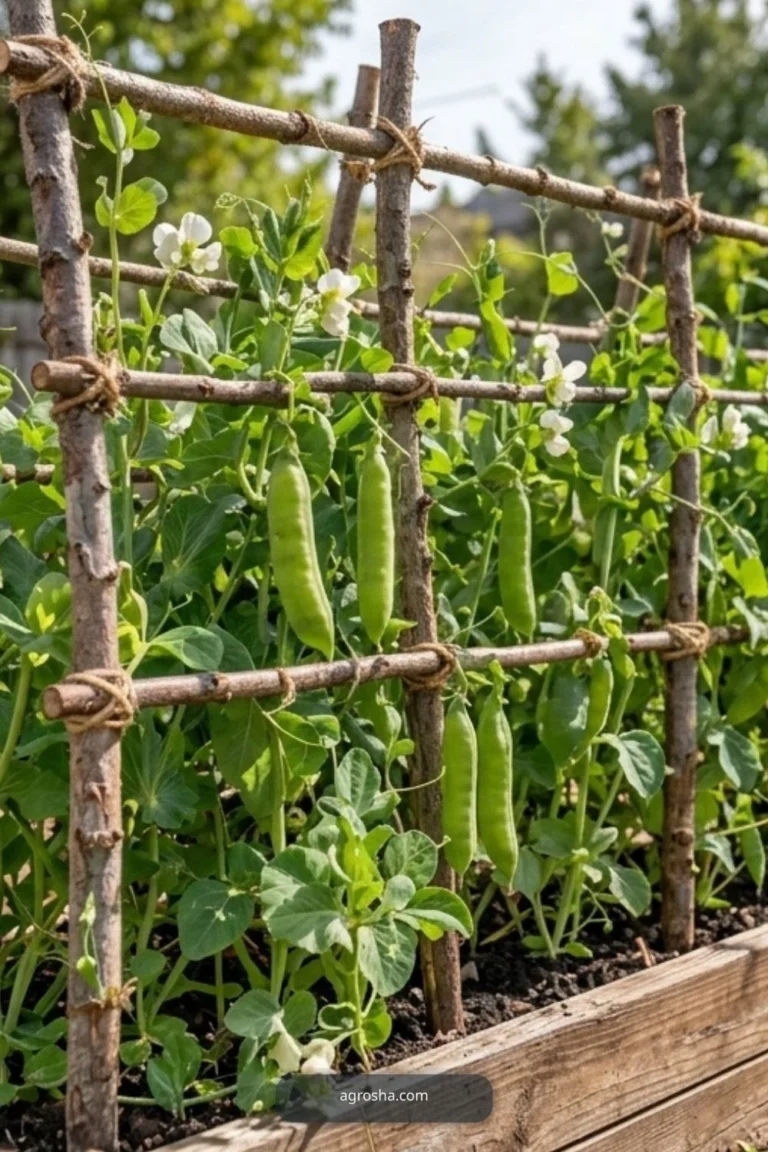

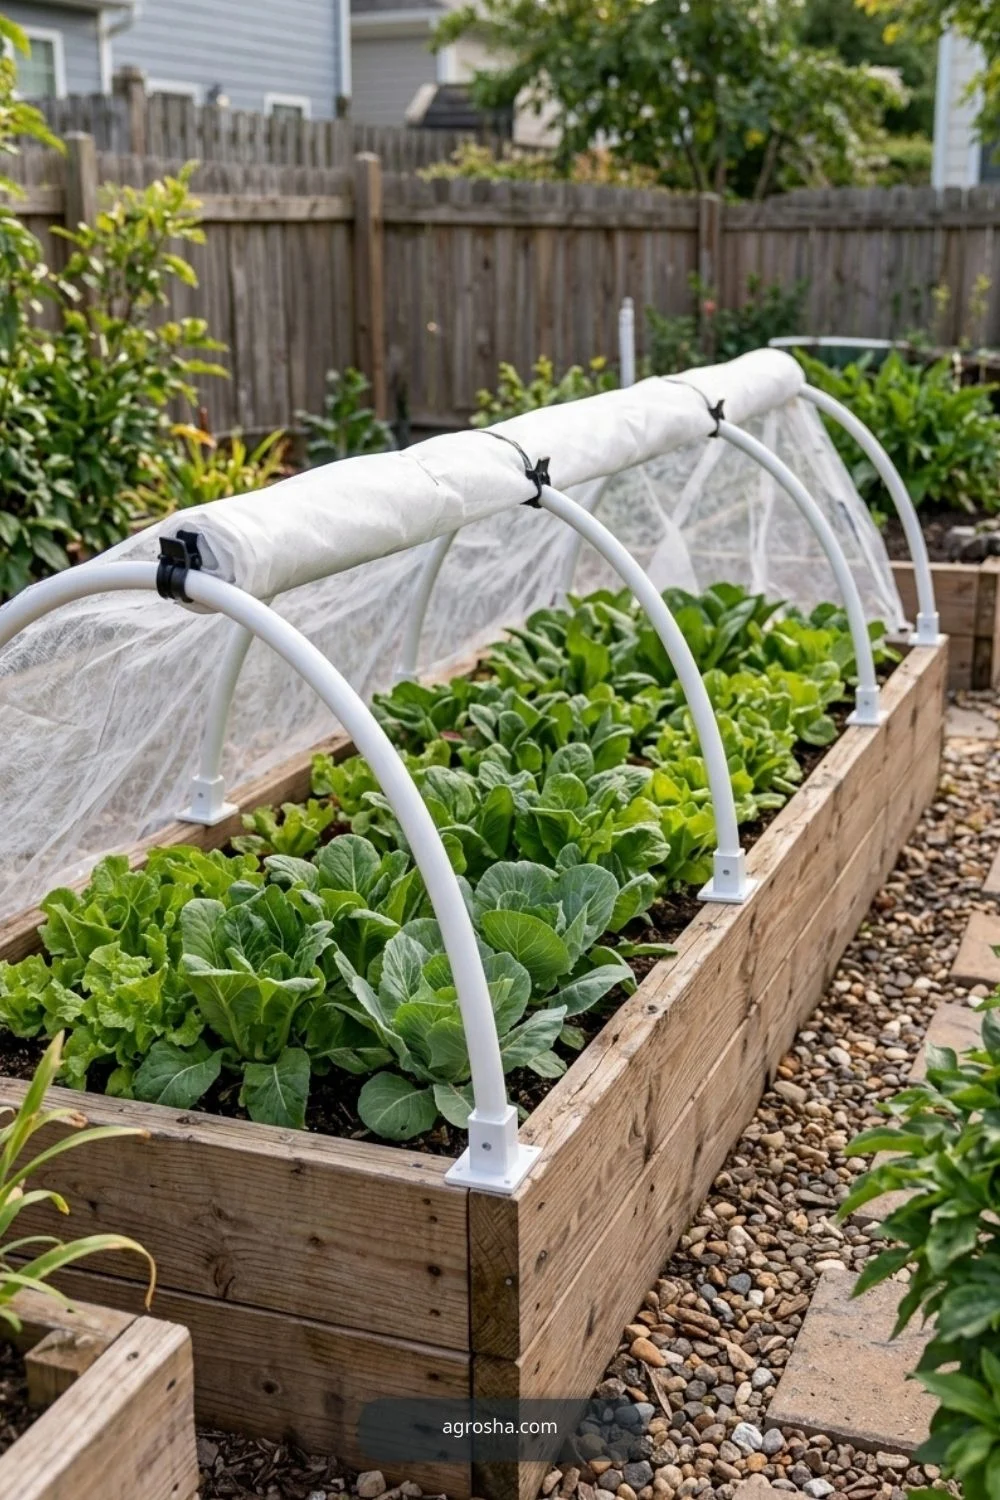
A DIY mini greenhouse for raised beds lets you protect a short row of seedlings without turning the yard into a construction site. The most useful version is a removable low tunnel: a few secure hoops, a fitted cover, and a way to open it quickly when the sun comes out. This guide walks through that practical design and explains when a hinged cold frame makes more sense.
Quick Answer
For most small raised beds, make a low tunnel from closely supported hoops and frost cloth or clear greenhouse film. Anchor both ends, keep the covering off tender leaves when possible, and open or remove clear plastic before the space overheats. This is temporary weather protection, not a heated greenhouse or a guarantee against a hard freeze.
For raised beds with climbing vegetables, our vegetable garden trellis guide helps you choose supports that leave room to access the cover.
Before You Build: Check Your Site
A sound diy mini greenhouse for raised beds starts with the garden you actually have. Choose the location for access, sunlight or shade, weather, and the way this project will be used. Think about maintenance and how you will remove or repair components when the season changes.
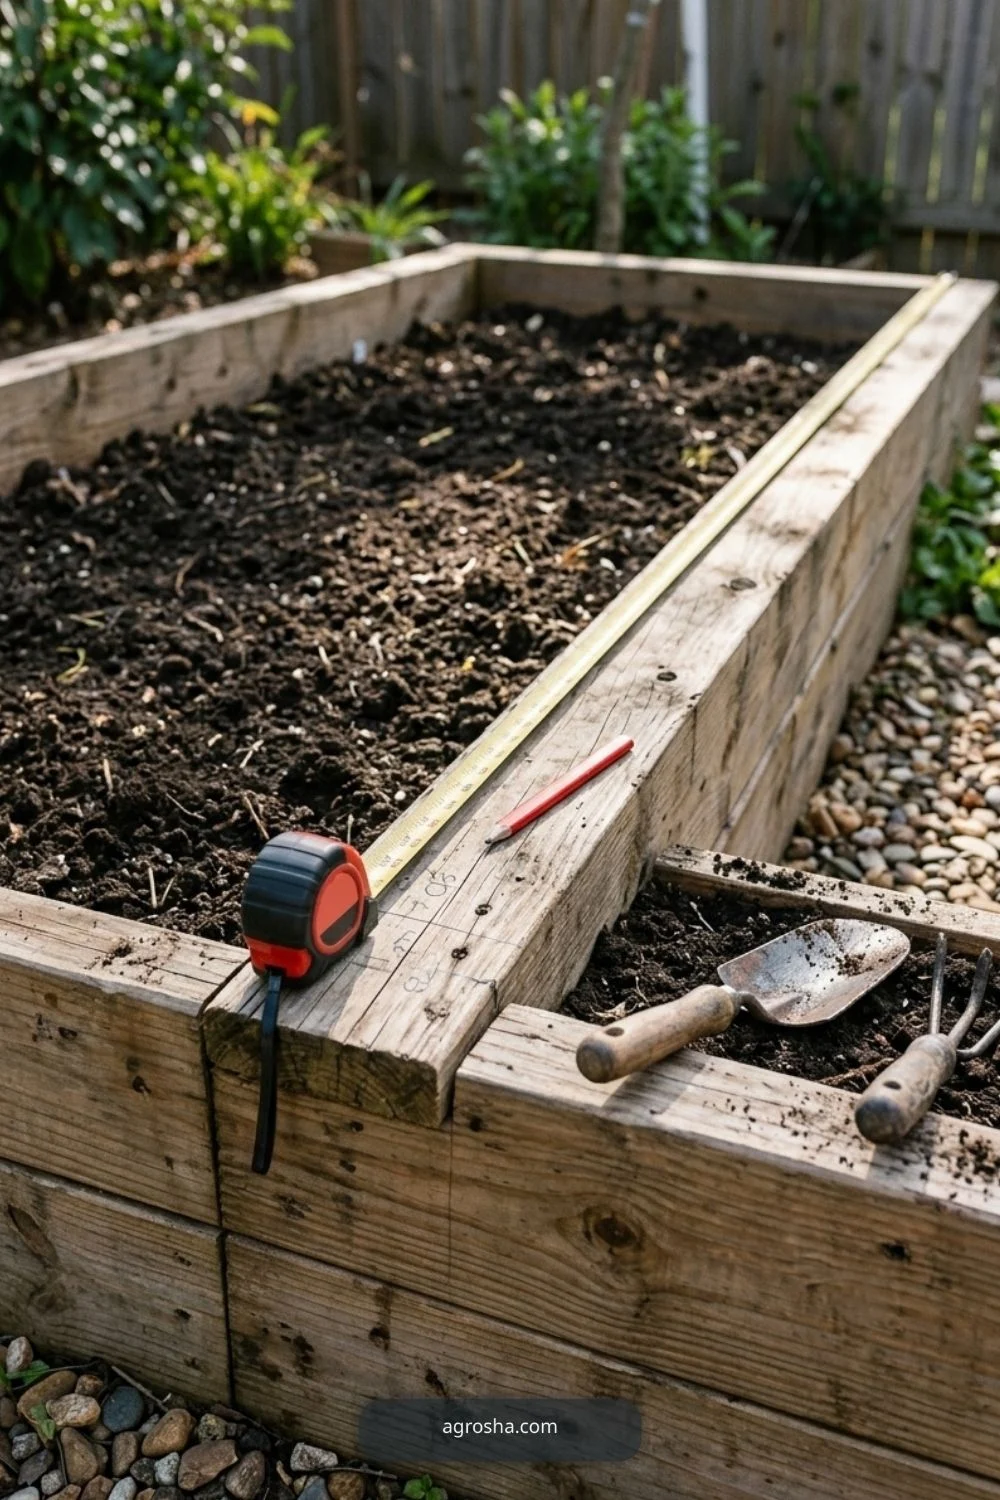
- Measure the inside width and accessible bed length before buying flexible hoop material.
- Decide whether the goal is frost buffering, wind protection, or insect exclusion; each calls for a different cover.
- Make sure you can water, weed, and inspect seedlings without dismantling a permanent frame.
- Avoid sharp corners and exposed hardware that can cut the film or scratch hands.
Materials and Tools
The following is a practical starting list rather than a guaranteed one-size-fits-all kit. Choose dimensions and fastening methods only after measuring the actual site and checking product instructions.
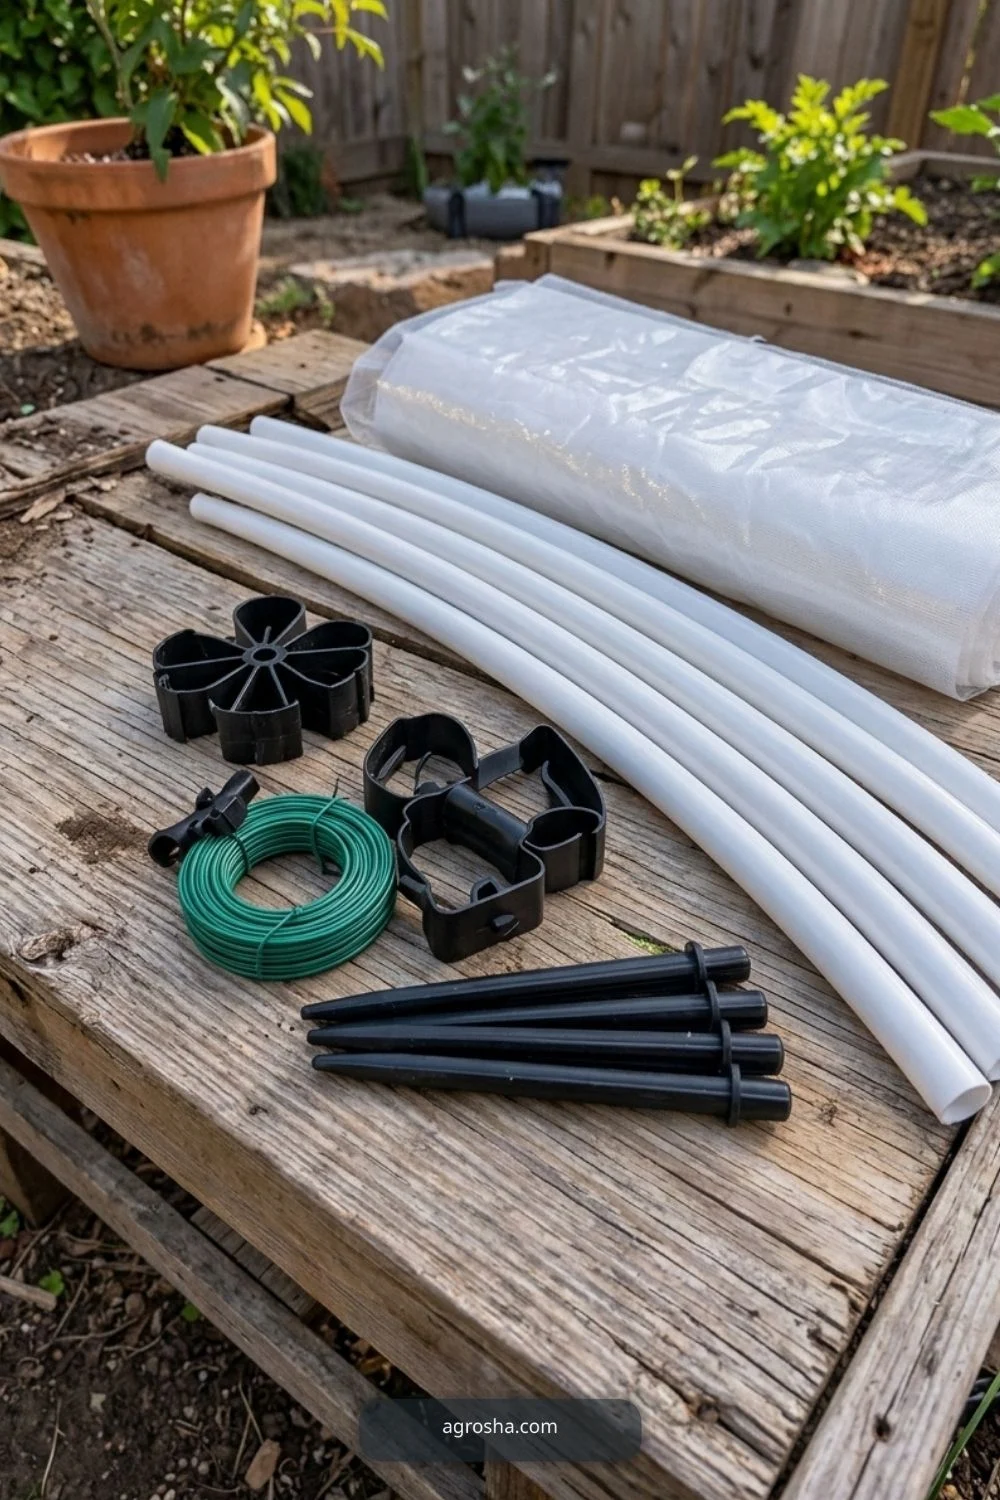
- Flexible outdoor-rated hoops or PVC suitable for a small low tunnel
- Secure hoop sockets or fasteners compatible with the bed
- Lightweight row-cover fabric, clear greenhouse film, or insect mesh based on the task
- Clips or snap clamps sized for the hoop material
- Ground stakes, ties, or weighted edges that cannot blow loose
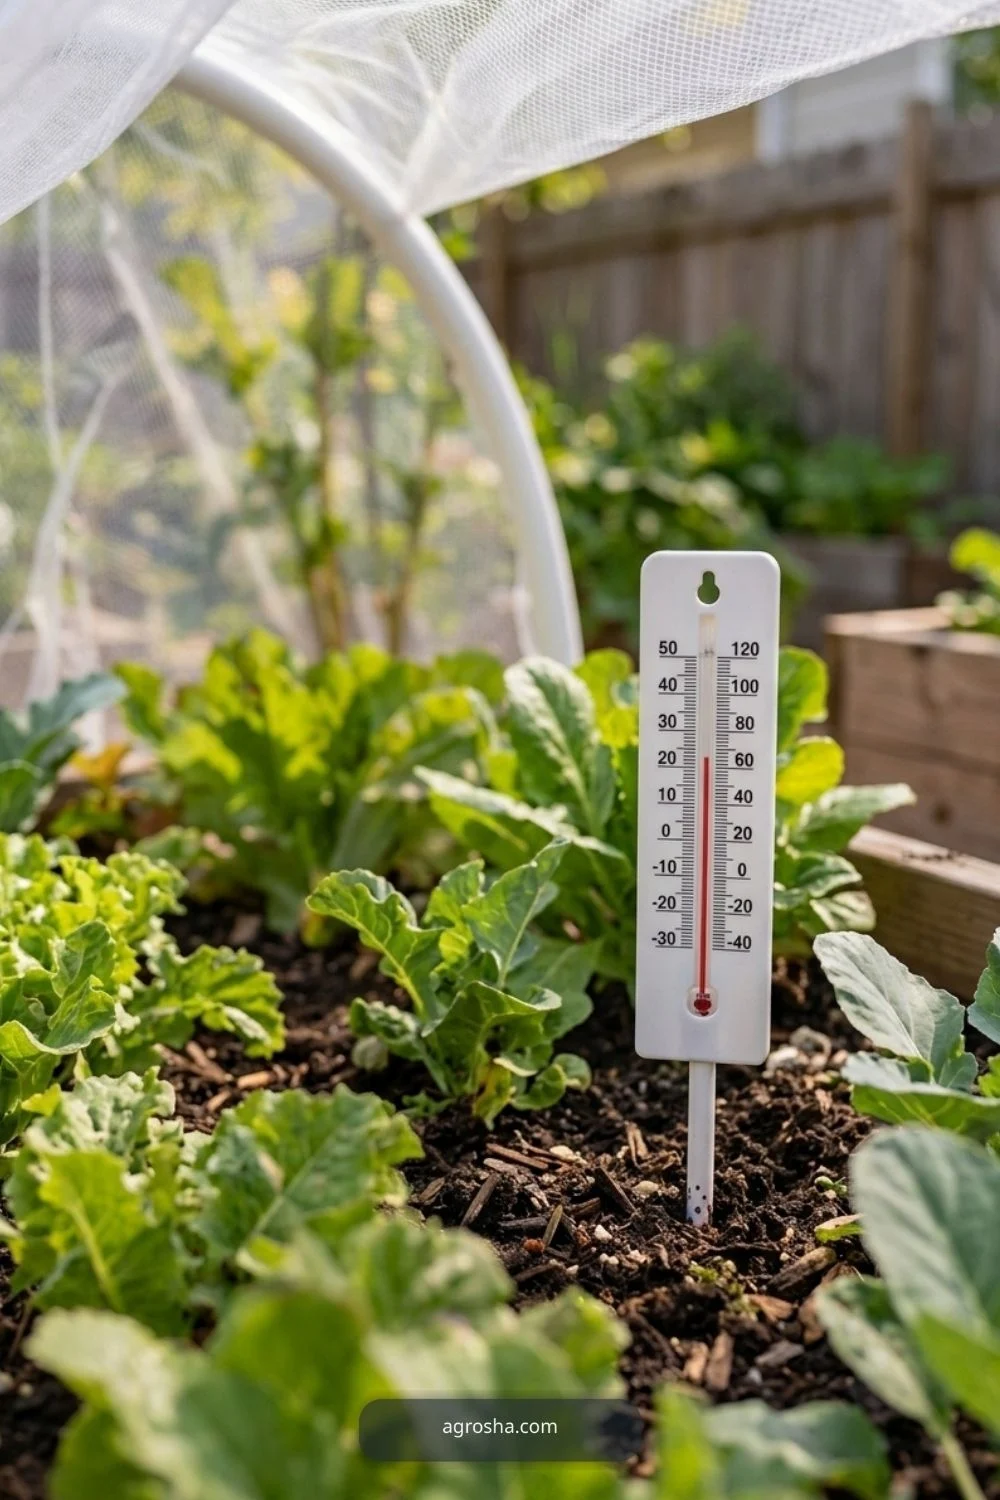
- Tape measure, gloves, scissors and a thermometer for the covered space
Step-by-Step: Build a Practical Version
Work on a stable surface, wear suitable protection, and stop if an attachment or material seems unsafe. The steps describe a representative small-yard build, not an engineered specification.
1. Measure the bed and choose the cover job
Sketch the opening and a clear access side. A narrow bed and a simple removable tunnel suit most beginners; a hinged rigid top is heavier and needs sound hinges, framing, and safe lifting. Decide on the actual crop before choosing height because compact seedlings and tall tomatoes need very different headroom.
2. Install matching hoop anchors
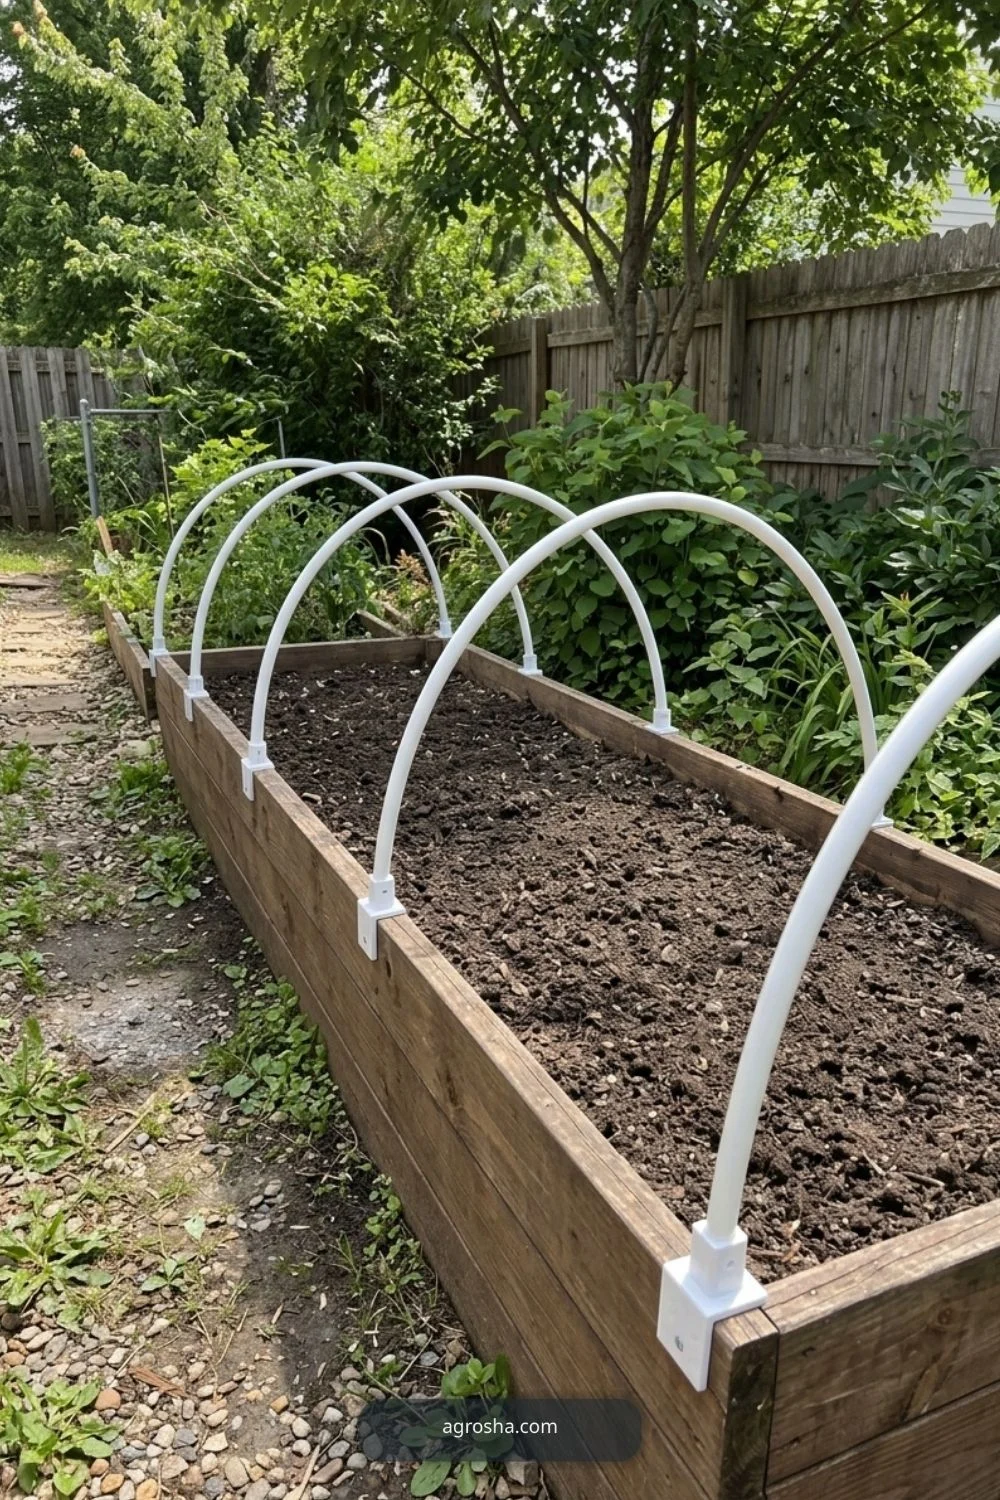
Position anchors along both long sides at consistent intervals. Keep them off weak, rotting boards and out of the main planting line. Test each attachment by pulling gently before adding plastic; a cover is only as reliable as the support holding it in wind.
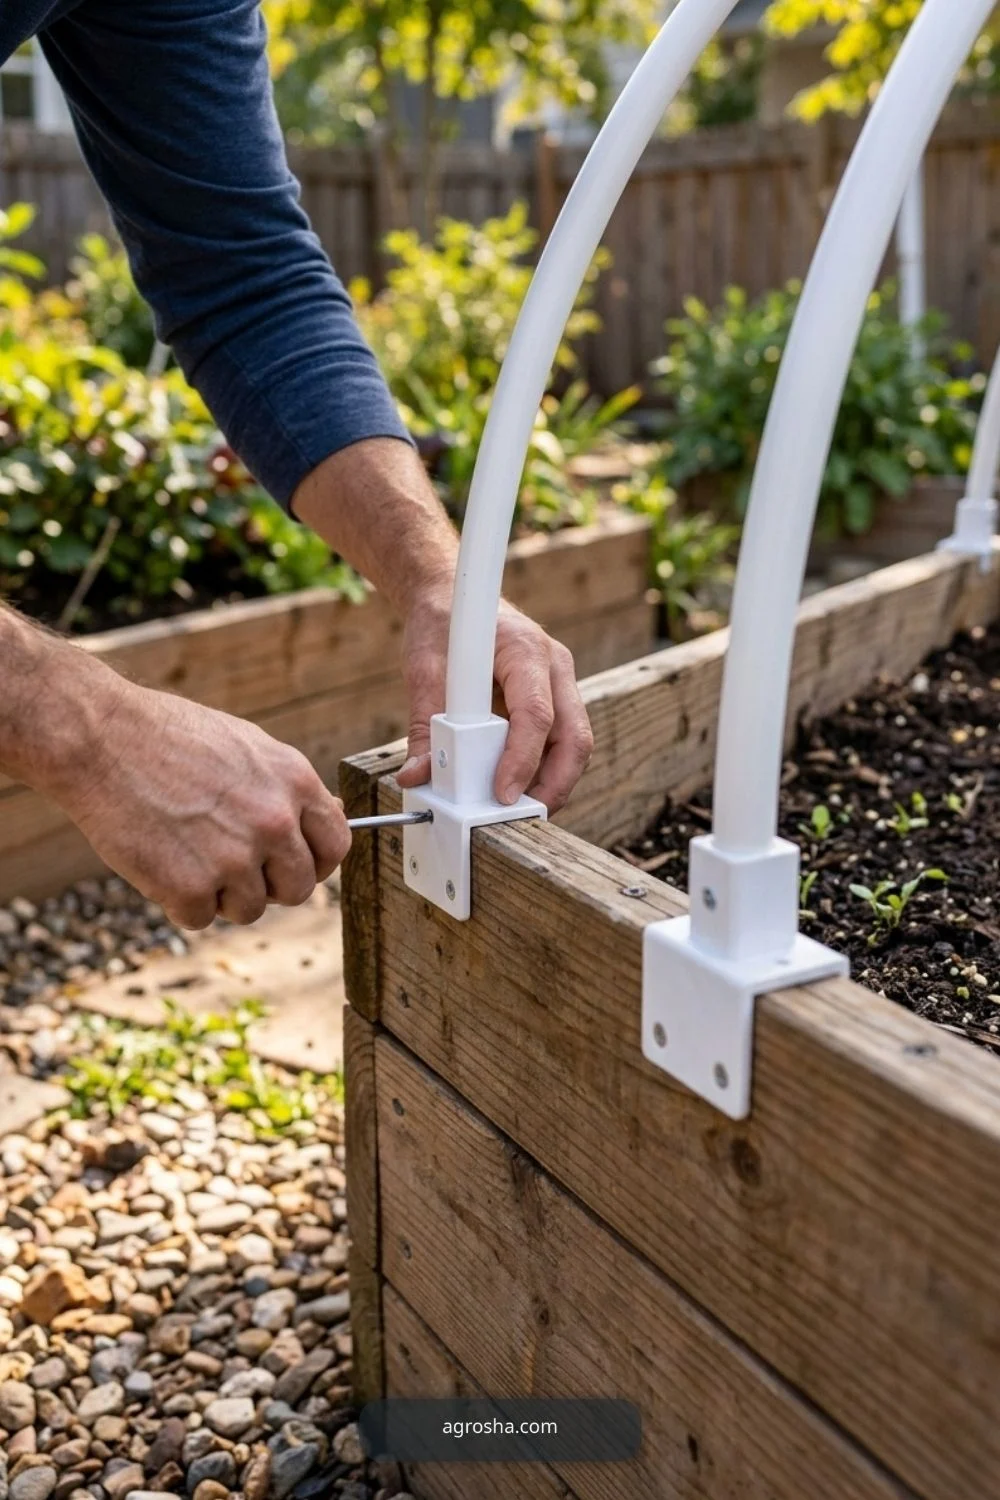
3. Bend and place the hoops evenly
Fit each hoop over the same span so the tunnel roof looks level, with no low pocket that will pool rain. Use the intended number of supports for the bed length and the local wind exposure. Replace any cracked or kinked component rather than forcing a fragile arch.

4. Add a simple ridge support if needed
Tie a straight cord or light ridge along the top if the frame flexes. Keep the connection above foliage and away from where the cover rubs. This extra support helps make the small tunnel more manageable when one side is opened for gardening.

5. Lay on the correct covering
Use porous row-cover fabric for mild cold and insect protection, or clear greenhouse film for stronger solar heat gain when you can monitor temperatures. Do not pull the material so tightly that hoop ends tear it. Leave enough spare edge to anchor securely but not so much that loose plastic flaps.

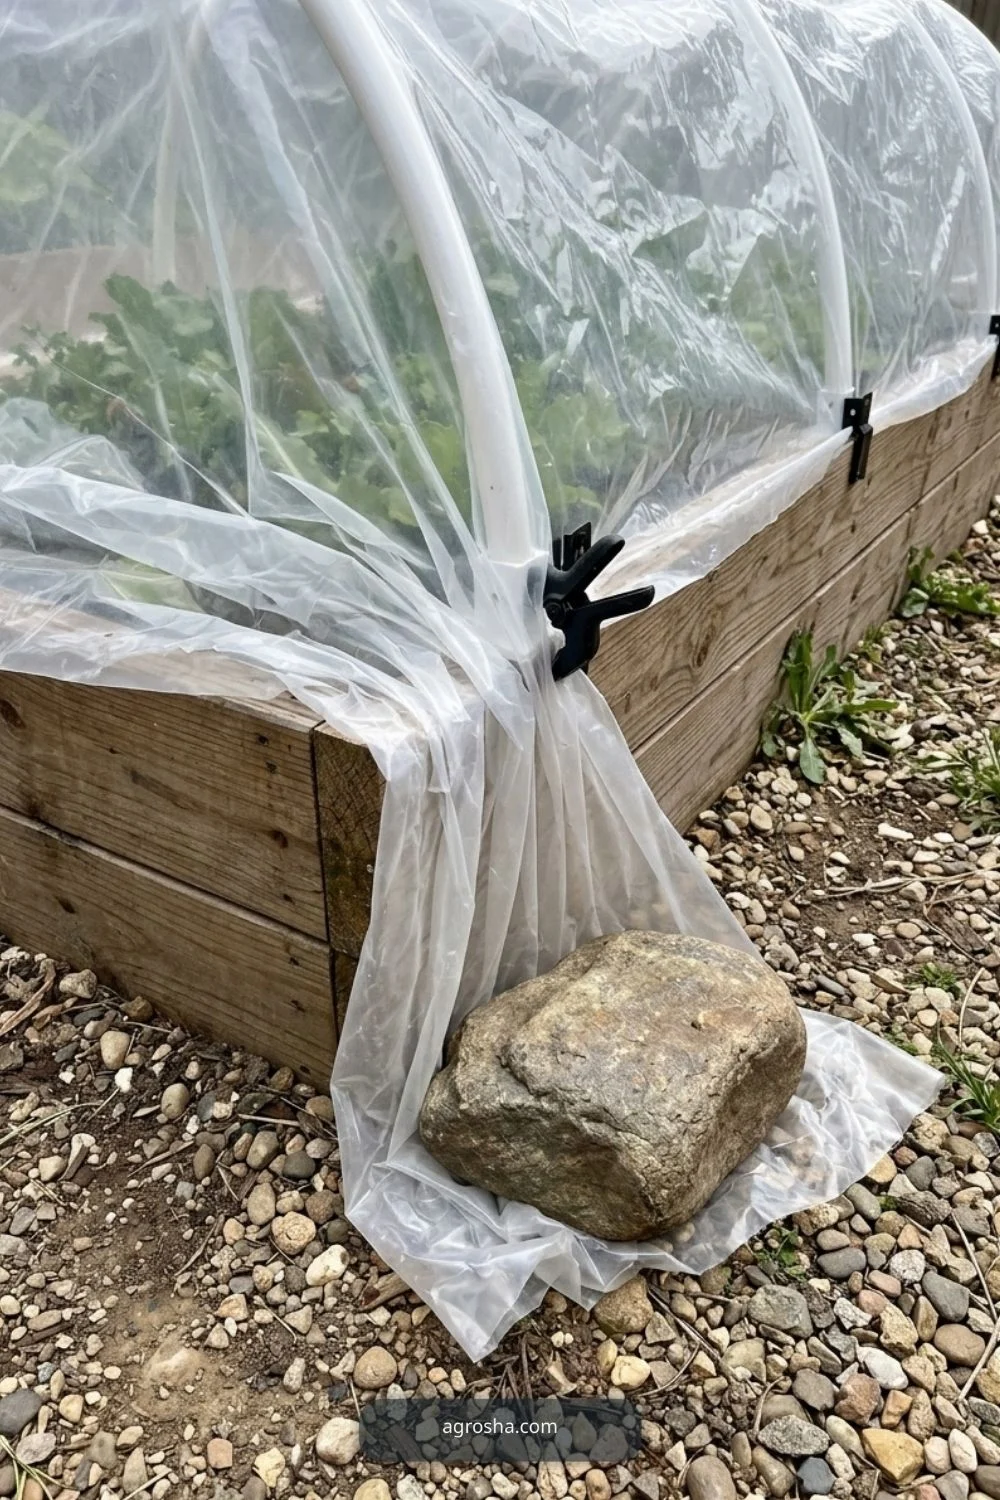
6. Secure edges and make an opening
Clip the cover to the hoops, and pin, tuck, or weight the long edges and end flaps. Plan one accessible side that can be lifted without cutting the cover. Insects, wind, rain, and sun behave differently, so the best fastening method is one you can safely check each day.
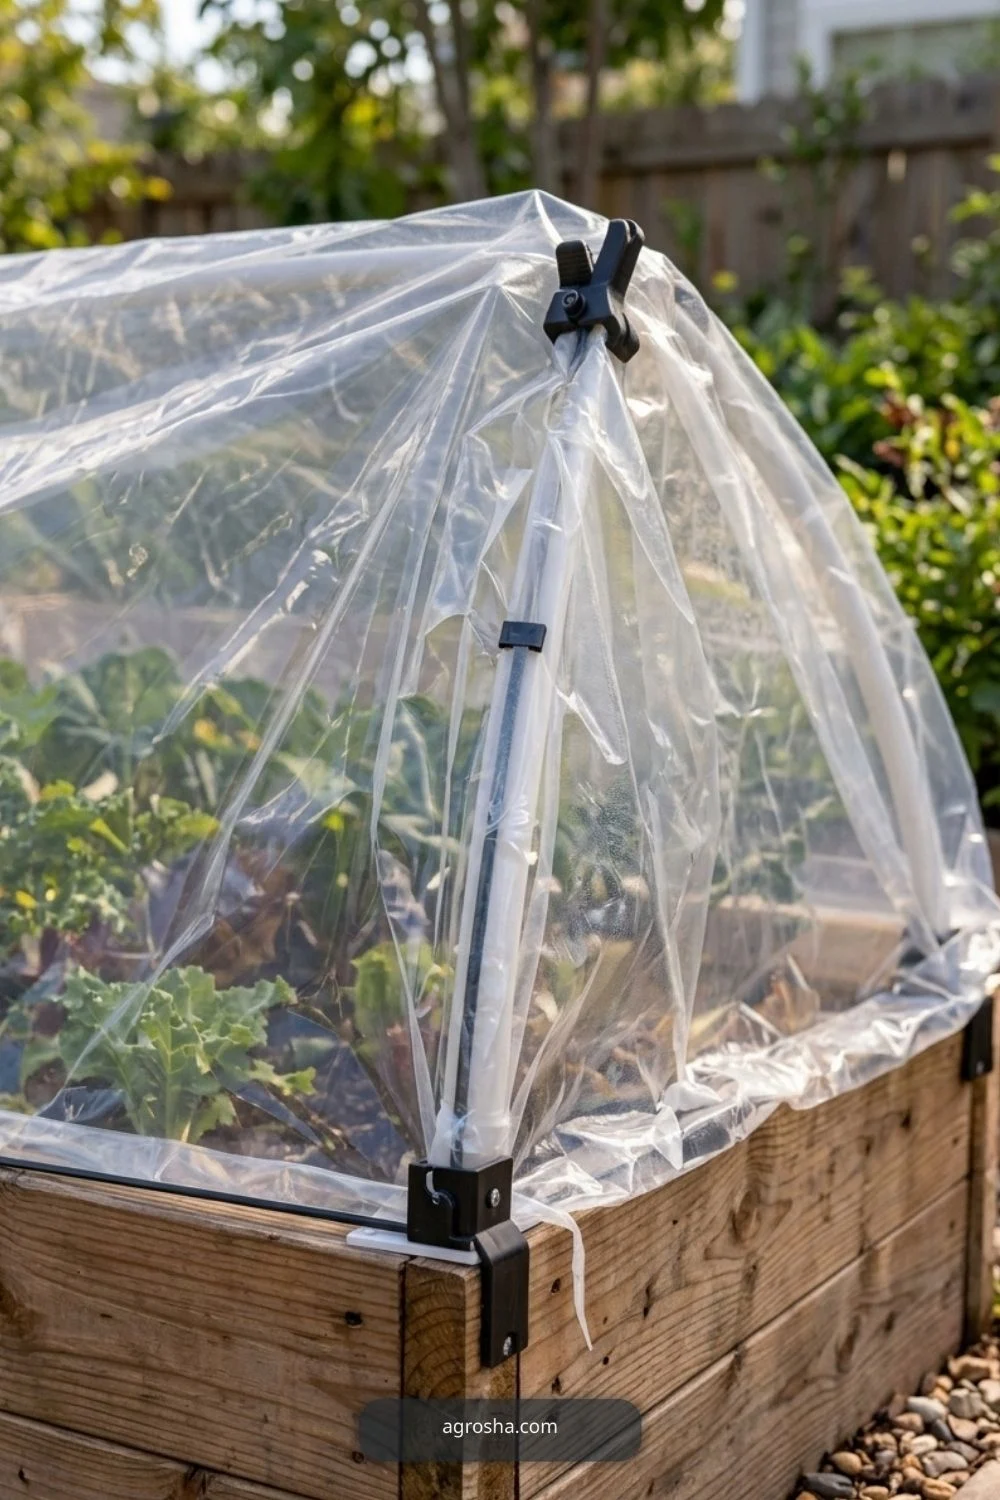
7. Test morning and afternoon conditions
Check the covered air on a sunny day, not only on a cold morning. Even cool weather can produce damaging heat under clear film. Vent or remove the plastic when appropriate and restore protection before a forecast cold night if the crop requires it.

8. Maintain and remove at the right time
Inspect torn fabric, sharp points and anchors after storms; wipe off standing water and avoid letting the covering press on growing foliage. Remove or open covers for crops that depend on pollinating insects when flowering starts. Wash, dry and store reusable materials at season’s end.
Which Version Makes Sense for Your Garden?
Choose the version that solves the actual garden problem rather than copying the most elaborate photograph. The alternatives below differ in accessibility, maintenance, and the degree of support needed.
| Option | Good for | Watch out for |
|---|---|---|
| Low tunnel | Fast, removable protection for rows | Needs daily ventilation checks with clear film |
| Hinged cold frame | Frequent access to a defined bed section | Heavy lid, hinges and lifting safety |
| Breathable insect net | Keep insect pests off seedlings | Usually little frost protection |
Practical Mistakes to Avoid
Most preventable problems begin when the project looks finished but is awkward or unsafe to use. Check these issues before calling the build done.
- Treating a transparent cover as safe to leave sealed all day
- Calling a low tunnel a heated greenhouse
- Using loose plastic that can whip against seedlings
- Covering crops through pollination without considering bee access
- Attaching heavy hinged covers to weak bed edges
- Claiming one frost-protection temperature works in every climate
Ongoing Care and Seasonal Maintenance
A diy mini greenhouse for raised beds is not a one-time photo project. Recheck connections, material wear, growing conditions and access after heavy weather. Remove or repair loose components promptly, and adapt to local climate rather than relying on a fixed calendar. If you do not know whether your material or setup is safe, pause and confirm with the manufacturer or local extension office.
Practical Visual Guide: Additional Build and Use Details
These added views explain ventilation, crop-specific cold protection, no guaranteed freeze protection, and stable cover anchors; each is tied to a separate garden task, material decision or construction step.
Hoop anchor position
The hoop anchor position matters for a practical low raised-bed tunnel. For hoop anchor position, check usable scale and accessible connections in this mini greenhouse, not decorative objects. Treat this as a practical decision rather than a decoration. Measure the space, identify what the plant or gardener must reach, and inspect the joint or covering after ordinary weather. A simple accessible solution is easier to repair than a complicated arrangement that hides the working parts.

Low-tunnel wall spacing
The low-tunnel wall spacing matters for a practical low raised-bed tunnel. For low-tunnel wall spacing, check usable scale and accessible connections in this mini greenhouse, not decorative objects. This view is useful because it reveals where material meets the real garden. Before copying it, consider wet soil, sunlight, seasonal growth and how the component can be removed without damage. Check clearances again when the crop becomes larger or the container fills.
Clear film side flap
The clear film side flap matters for a practical low raised-bed tunnel. For clear film side flap, check usable scale and accessible connections in this mini greenhouse, not decorative objects. Small differences in spacing and support can matter more than a beautiful finish. Use suitable materials and confirm the actual site conditions rather than guessing dimensions from a photograph. Leave enough room for watering, inspection and safe hand access throughout the season.
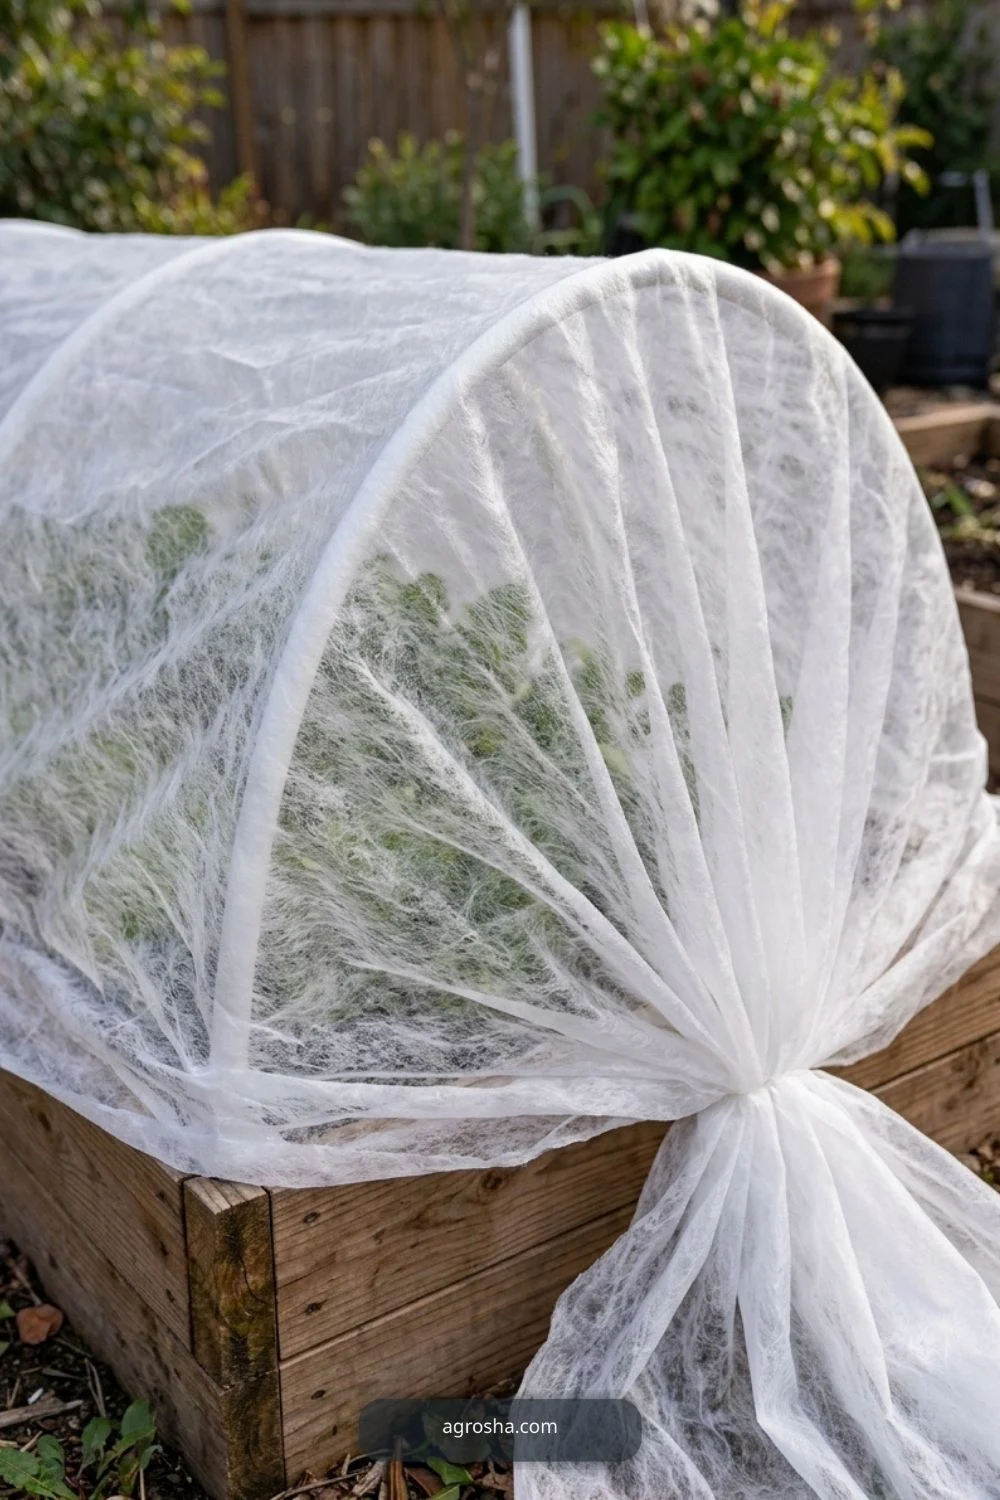
Porous frost cloth
The porous frost cloth matters for a practical low raised-bed tunnel. For porous frost cloth, check usable scale and accessible connections in this mini greenhouse, not decorative objects. Choose this detail only where it solves a genuine issue in the yard. A compact home project should remain stable when handled and uncomplicated to clean, harvest or repair. Notice any sharp edge, loose connection or blocked route before putting the structure into regular use.
Daytime ventilation
The daytime ventilation matters for a practical low raised-bed tunnel. A daytime ventilation view must explain working scale, plant clearance, and exposed fittings in this mini greenhouse. The purpose is to make the next practical task easier. Check how the gardener approaches the area with a hose, gloves, pot or harvest basket. If a decorative feature blocks that task, simplify the build rather than moving useful plants to match a styled picture.
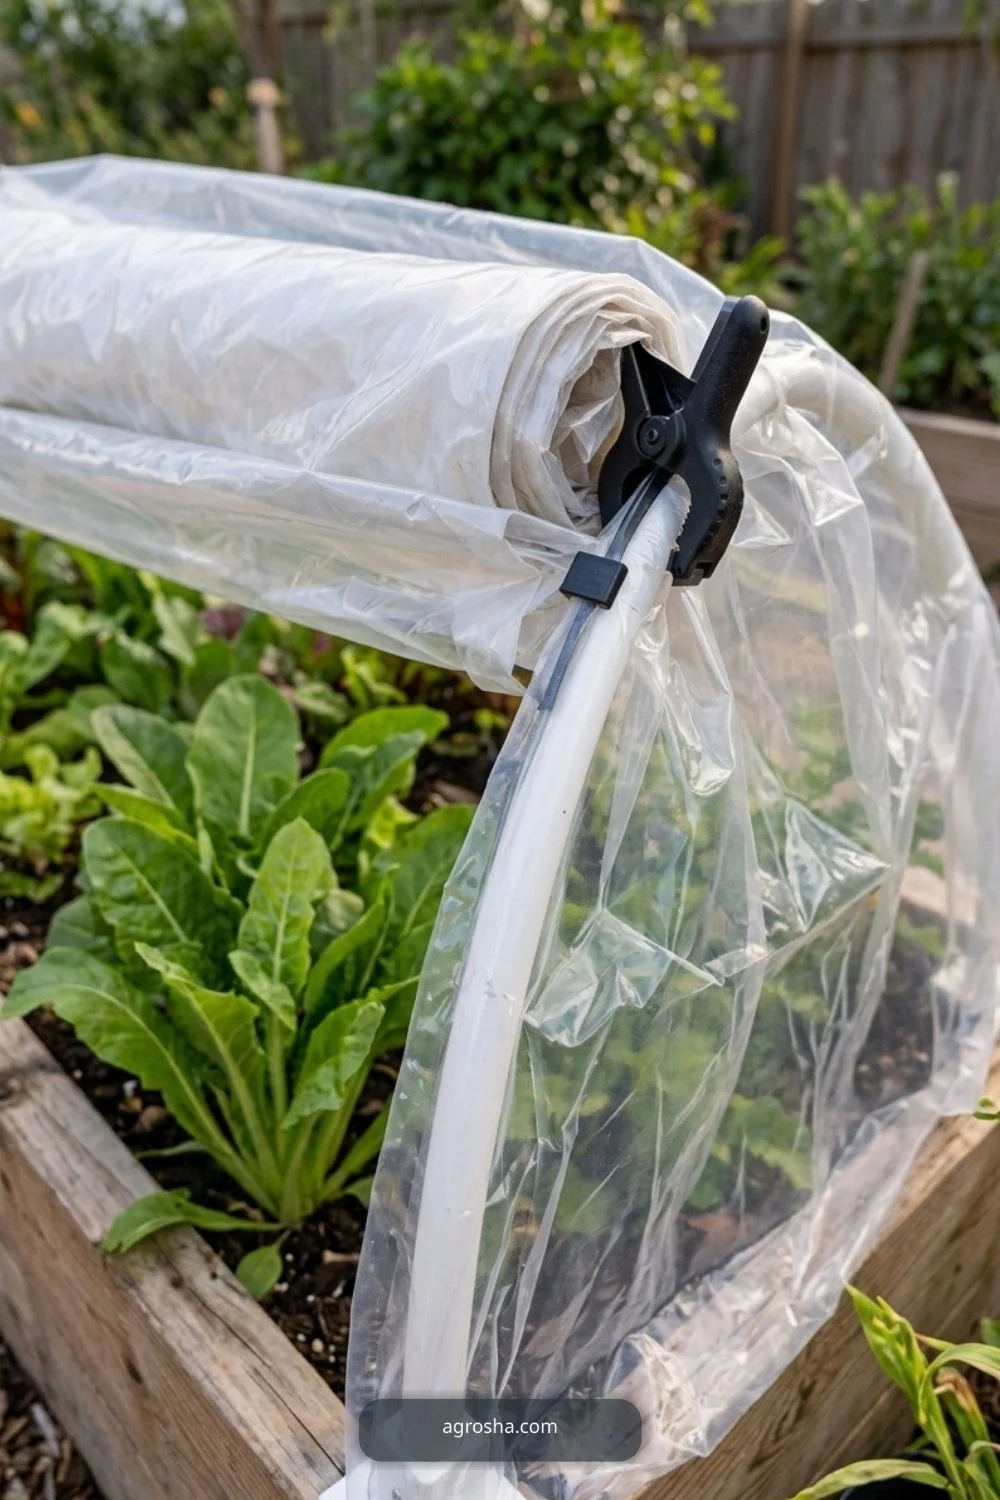
Morning condensation
The morning condensation matters for a practical low raised-bed tunnel. A morning condensation view must explain working scale, plant clearance, and exposed fittings in this mini greenhouse. An outdoor component needs maintenance after the first weekend. Look for moisture, movement, worn ties and changed plant weight as conditions shift. The correct adjustment depends on the crop and environment; no single arrangement automatically fits every U.S. garden.

Weather thermometer
The weather thermometer matters for a practical low raised-bed tunnel. A weather thermometer view must explain working scale, plant clearance, and exposed fittings in this mini greenhouse. Treat this as a practical decision rather than a decoration. Measure the space, identify what the plant or gardener must reach, and inspect the joint or covering after ordinary weather. A simple accessible solution is easier to repair than a complicated arrangement that hides the working parts.
Raised-bed walkway
The raised-bed walkway matters for a practical low raised-bed tunnel. A raised-bed walkway view must explain working scale, plant clearance, and exposed fittings in this mini greenhouse. This view is useful because it reveals where material meets the real garden. Before copying it, consider wet soil, sunlight, seasonal growth and how the component can be removed without damage. Check clearances again when the crop becomes larger or the container fills.

Hinged lid alternative
The hinged lid alternative matters for a practical low raised-bed tunnel. For hinged lid alternative, check usable scale and accessible connections in this mini greenhouse, not decorative objects. Small differences in spacing and support can matter more than a beautiful finish. Use suitable materials and confirm the actual site conditions rather than guessing dimensions from a photograph. Leave enough room for watering, inspection and safe hand access throughout the season.
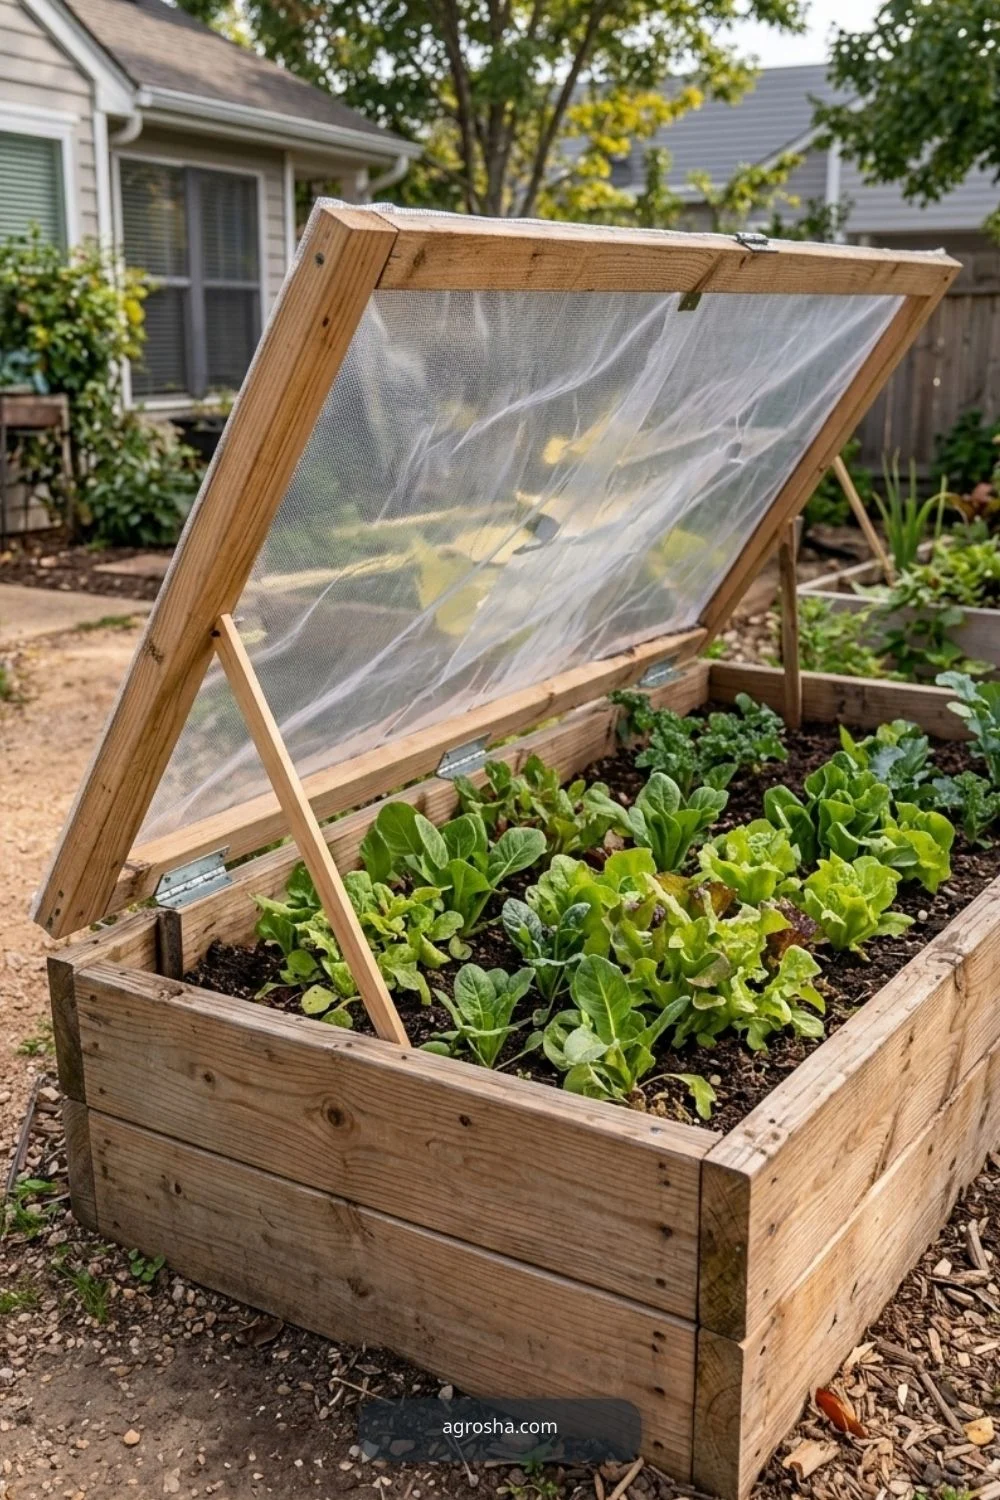
Shelter for salad greens
The shelter for salad greens matters for a practical low raised-bed tunnel. For shelter for salad greens, check usable scale and accessible connections in this mini greenhouse, not decorative objects. Choose this detail only where it solves a genuine issue in the yard. A compact home project should remain stable when handled and uncomplicated to clean, harvest or repair. Notice any sharp edge, loose connection or blocked route before putting the structure into regular use.

Fine insect mesh
The fine insect mesh matters for a practical low raised-bed tunnel. For fine insect mesh, check usable scale and accessible connections in this mini greenhouse, not decorative objects. The purpose is to make the next practical task easier. Check how the gardener approaches the area with a hose, gloves, pot or harvest basket. If a decorative feature blocks that task, simplify the build rather than moving useful plants to match a styled picture.
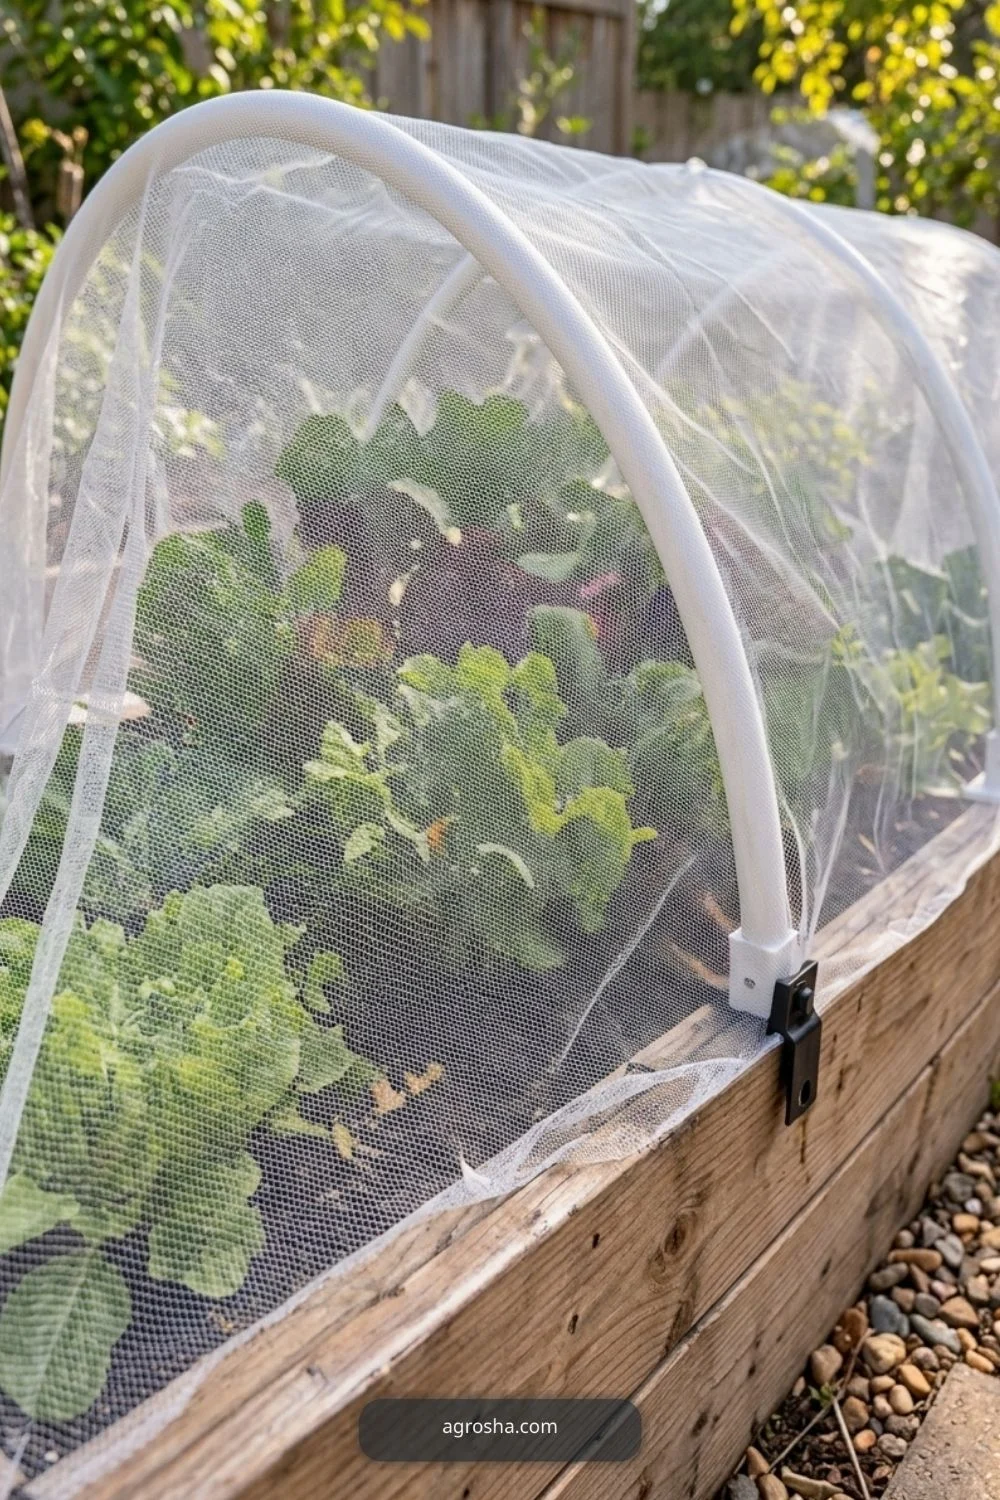
Hoop ridge brace
The hoop ridge brace matters for a practical low raised-bed tunnel. For hoop ridge brace, check usable scale and accessible connections in this mini greenhouse, not decorative objects. An outdoor component needs maintenance after the first weekend. Look for moisture, movement, worn ties and changed plant weight as conditions shift. The correct adjustment depends on the crop and environment; no single arrangement automatically fits every U.S. garden.
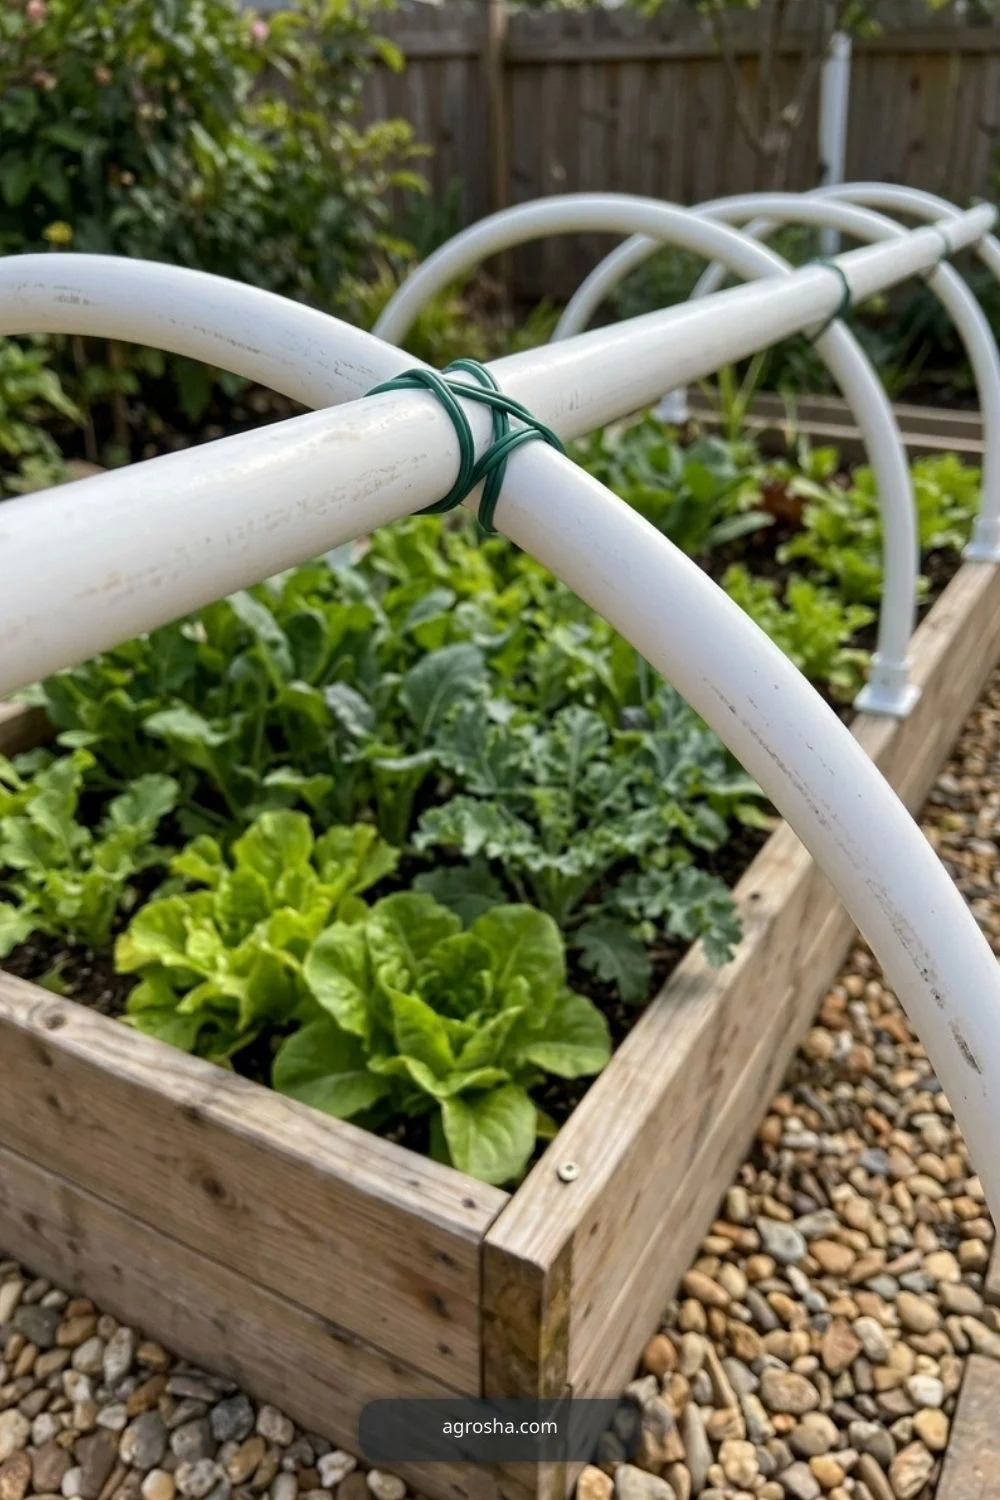
End-flap anchoring
The end-flap anchoring matters for a practical low raised-bed tunnel. A end-flap anchoring view must explain working scale, plant clearance, and exposed fittings in this mini greenhouse. Treat this as a practical decision rather than a decoration. Measure the space, identify what the plant or gardener must reach, and inspect the joint or covering after ordinary weather. A simple accessible solution is easier to repair than a complicated arrangement that hides the working parts.
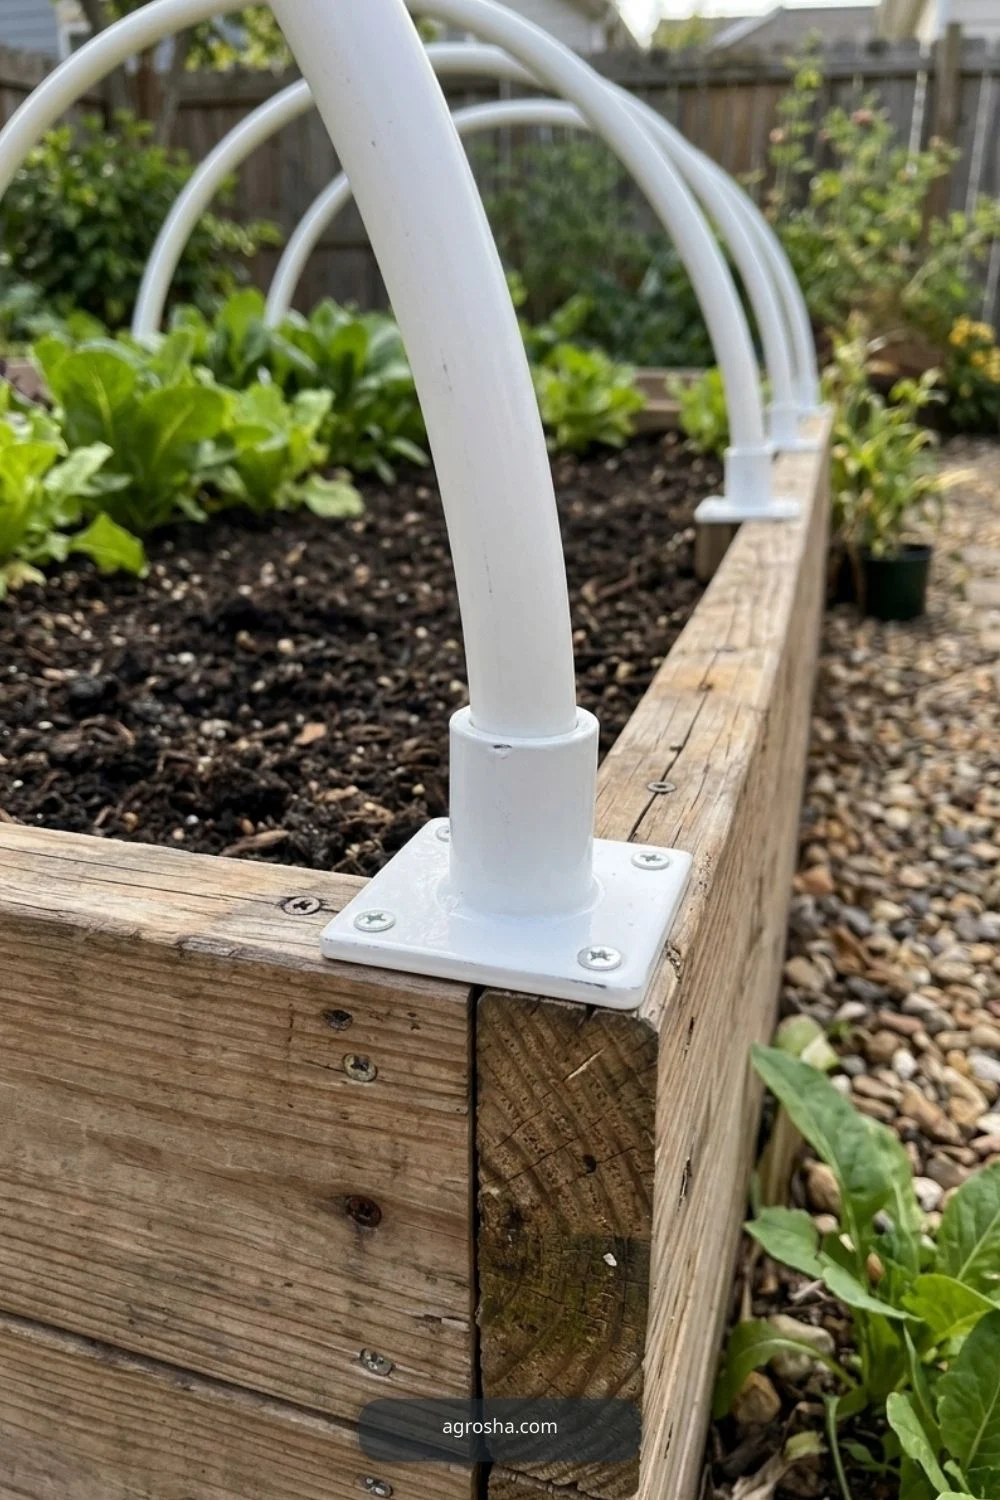
Wet plastic roof
The wet plastic roof matters for a practical low raised-bed tunnel. For wet plastic roof, check usable scale and accessible connections in this mini greenhouse, not decorative objects. This view is useful because it reveals where material meets the real garden. Before copying it, consider wet soil, sunlight, seasonal growth and how the component can be removed without damage. Check clearances again when the crop becomes larger or the container fills.

Pollination opening
The pollination opening matters for a practical low raised-bed tunnel. A pollination opening view must explain working scale, plant clearance, and exposed fittings in this mini greenhouse. Small differences in spacing and support can matter more than a beautiful finish. Use suitable materials and confirm the actual site conditions rather than guessing dimensions from a photograph. Leave enough room for watering, inspection and safe hand access throughout the season.

Torn cloth repair
The torn cloth repair matters for a practical low raised-bed tunnel. For torn cloth repair, check usable scale and accessible connections in this mini greenhouse, not decorative objects. Choose this detail only where it solves a genuine issue in the yard. A compact home project should remain stable when handled and uncomplicated to clean, harvest or repair. Notice any sharp edge, loose connection or blocked route before putting the structure into regular use.
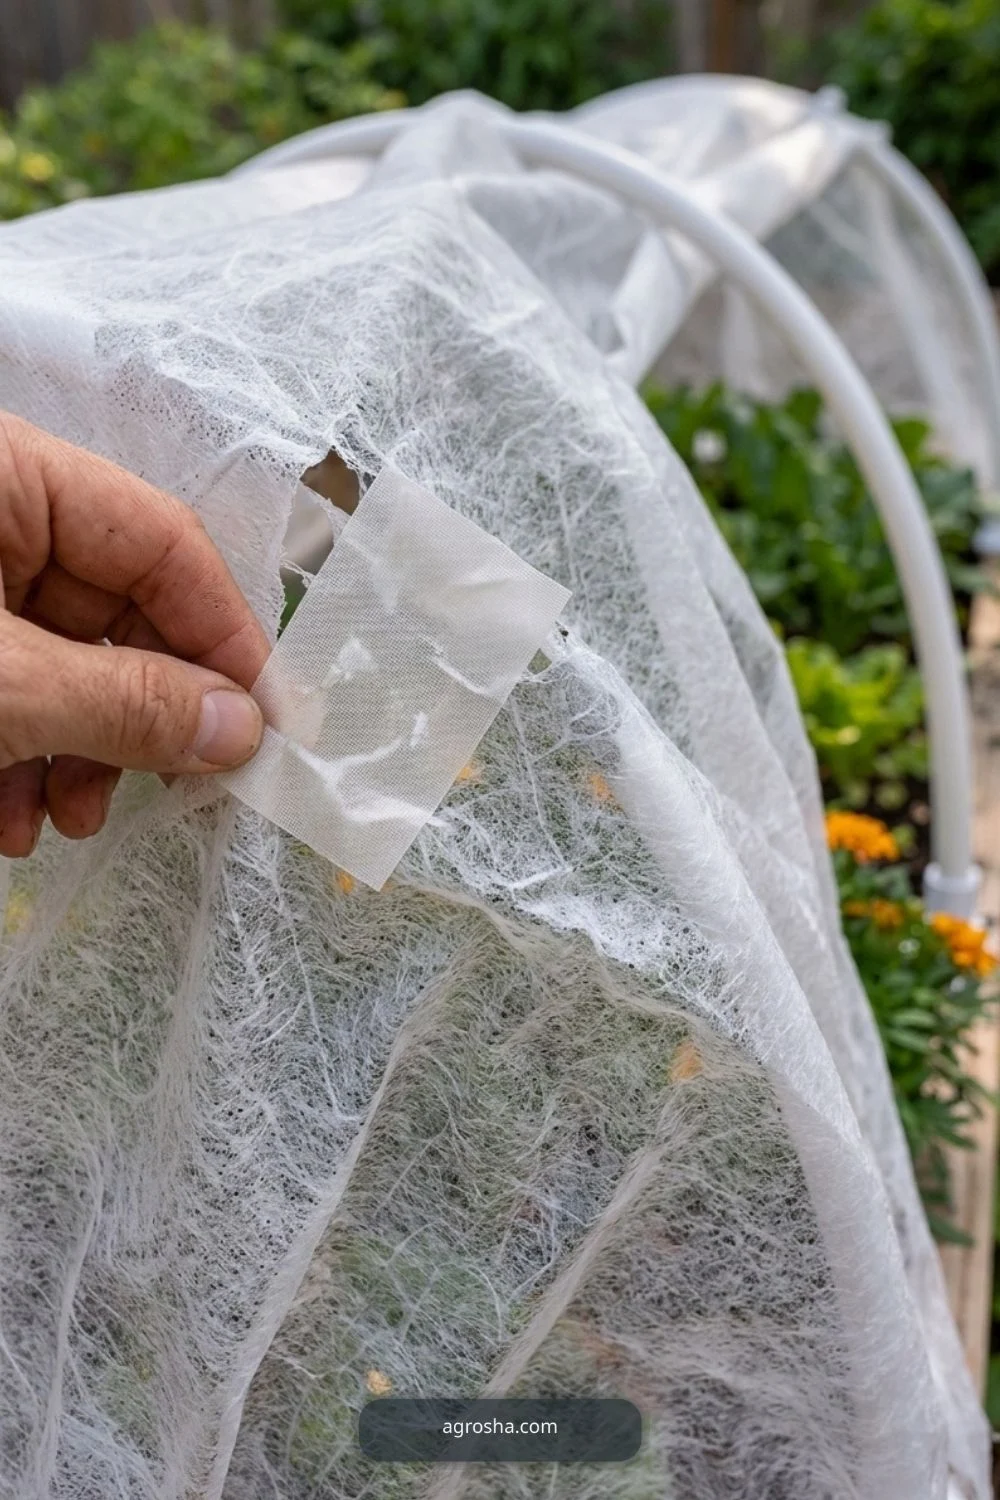
Dry storage of cover
The dry storage of cover matters for a practical low raised-bed tunnel. For dry storage of cover, check usable scale and accessible connections in this mini greenhouse, not decorative objects. The purpose is to make the next practical task easier. Check how the gardener approaches the area with a hose, gloves, pot or harvest basket. If a decorative feature blocks that task, simplify the build rather than moving useful plants to match a styled picture.

Make the simplest version first and test how it works in your own garden. Confirm which materials are appropriate, how the main parts join together, and what must remain accessible during routine care. If a connection becomes difficult to inspect, it can also become difficult to repair before something fails. The low raised-bed tunnel should also account for ventilation, crop-specific cold protection, no guaranteed freeze protection, and stable cover anchors.
Look beyond the finished appearance to the way weather changes the project. Heavy rain, reflected summer heat, strong wind and a rapidly growing plant can alter a comfortable layout. Monitor the actual site rather than assuming a photographed arrangement will work without changes in a different climate. The low raised-bed tunnel should also account for ventilation, crop-specific cold protection, no guaranteed freeze protection, and stable cover anchors.
Consider the people using the yard. Clear access makes it easier to water, feed, turn compost, harvest or replace a broken piece without stepping over an obstacle. If a proposed addition reduces safe access, leave it out until its necessity is clear. The low raised-bed tunnel should also account for ventilation, crop-specific cold protection, no guaranteed freeze protection, and stable cover anchors.
Do not guess material safety from appearance. Reused materials may have unknown residues, weather damage, loose fasteners or coatings. Check their history where possible, remove sharp edges, and choose replacement parts suited to outdoor exposure and the actual weight they must handle. The low raised-bed tunnel should also account for ventilation, crop-specific cold protection, no guaranteed freeze protection, and stable cover anchors.
Use photos as practical explanations, not structural certification. A picture can show visible placement, plant condition and construction stages, but cannot prove a hidden connection is properly rated or a foundation suits the local wind. Follow relevant manufacturer guidance and seek local expertise for structural uncertainty. The low raised-bed tunnel should also account for ventilation, crop-specific cold protection, no guaranteed freeze protection, and stable cover anchors.
Think about how the project finishes the season. An easy-to-remove support or accessible container can be cleaned and reused, while an overcomplicated permanent structure may become an obstacle. Inspect stored parts before using them again with new seedlings or tools. The low raised-bed tunnel should also account for ventilation, crop-specific cold protection, no guaranteed freeze protection, and stable cover anchors.
Frequently Asked Questions
Does a raised bed mini greenhouse need a heater?
No. This simple unheated cover mainly reduces exposure and captures some daytime warmth; it cannot hold a guaranteed temperature during extreme cold.
Should I use plastic or frost cloth?
Use the fabric suited to the actual task. Breathable row cover is more forgiving for routine protection, while clear film needs close attention to daytime heat and ventilation.
Can I keep the cover on when cucumbers flower?
Not continuously if bees need access. Remove or open the covering so pollinators can reach flowers, and check the variety and growing conditions.
How big should the hoop house be?
It should fit the bed width and crop height while leaving serviceable access. There is no universal ideal measurement for every bed.
Will a cover prevent every frost injury?
No. Effectiveness depends on fabric, temperature, wind, exposure, crop hardiness and how well the edges are secured.
Reliable Guidance and Further Reading
For additional technical context, consult University of Maryland Extension and University of Minnesota Extension’s season-extension guidance. Use local extension advice for climate and conditions rather than expecting a single design to fit every region.
Final Thoughts
Test the low tunnel on a mild day before relying on it during a cold night. A cover that lifts easily for ventilation and fastens securely is more useful than a taller frame that traps heat or blows open.