
A DIY garden cloche from recycled materials can shelter one young plant while you wait for steadier weather. A clean, clear bottle is often enough for a temporary cover, but it needs a safe cut edge, ventilation, and a secure position. The goal is a practical short-term plant cover, not a decorative glasshouse or a permanently sealed dome.
Quick Answer
Choose a clean, transparent food-safe bottle large enough to surround a seedling without pressing against the leaves. Remove the base carefully, smooth or guard sharp edges, and set it firmly into soil with the top openable for air. Take it off before the plant crowds the cover or temperatures rise sharply.
If young plants receive variable direct sun, our shade garden ideas help you assess the planting spot before using temporary covers.
Before You Build: Check Your Site
A sound diy garden cloche from recycled materials starts with the garden you actually have. Choose the location for access, sunlight or shade, weather, and the way this project will be used. Think about maintenance and how you will remove or repair components when the season changes.
- Use containers with known food-use history, not unknown chemical storage.
- Make sure the cover is tall and wide enough for leaves to remain free.
- Choose transparent material so you can actually see plant condition and condensation.
- Do not seal the top in full sun or use brittle containers with sharp broken fragments.
Materials and Tools
The following is a practical starting list rather than a guaranteed one-size-fits-all kit. Choose dimensions and fastening methods only after measuring the actual site and checking product instructions.
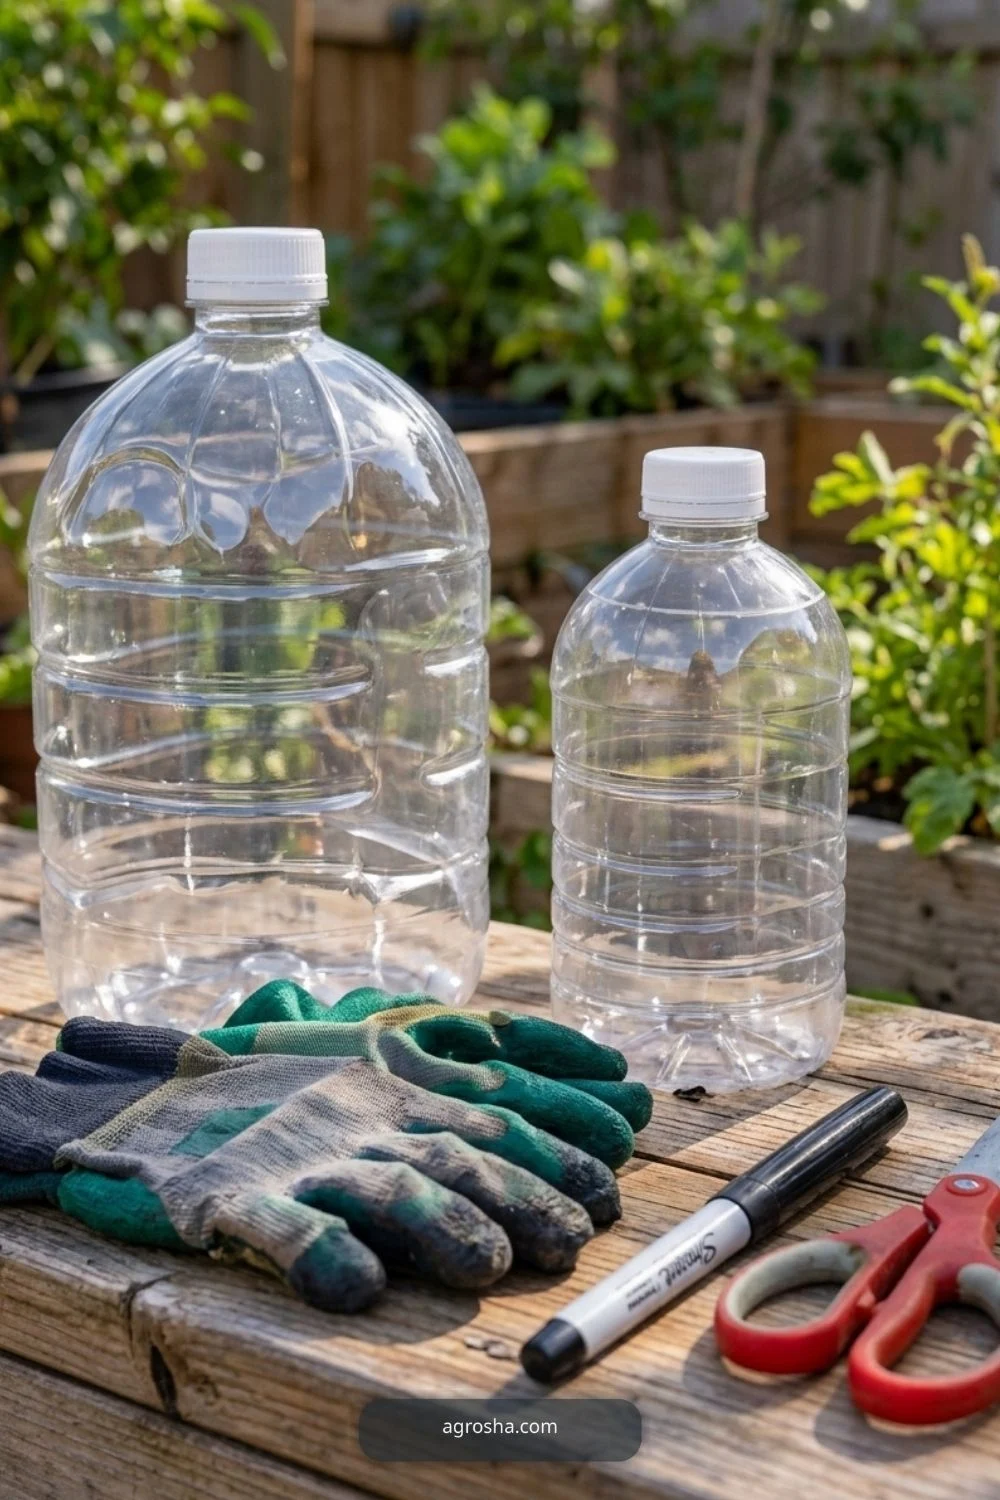
- Clean clear used beverage bottle or suitably sized food container
- Sharp utility knife or heavy scissors used on a stable surface
- Work gloves, smooth edge protector where needed
- Small stakes or earth pins if exposure requires anchoring
- Optional repurposed wire mesh for insect-only covers
- Measuring tape and a washable marker for cut lines
Step-by-Step: Build a Practical Version
Work on a stable surface, wear suitable protection, and stop if an attachment or material seems unsafe. The steps describe a representative small-yard build, not an engineered specification.
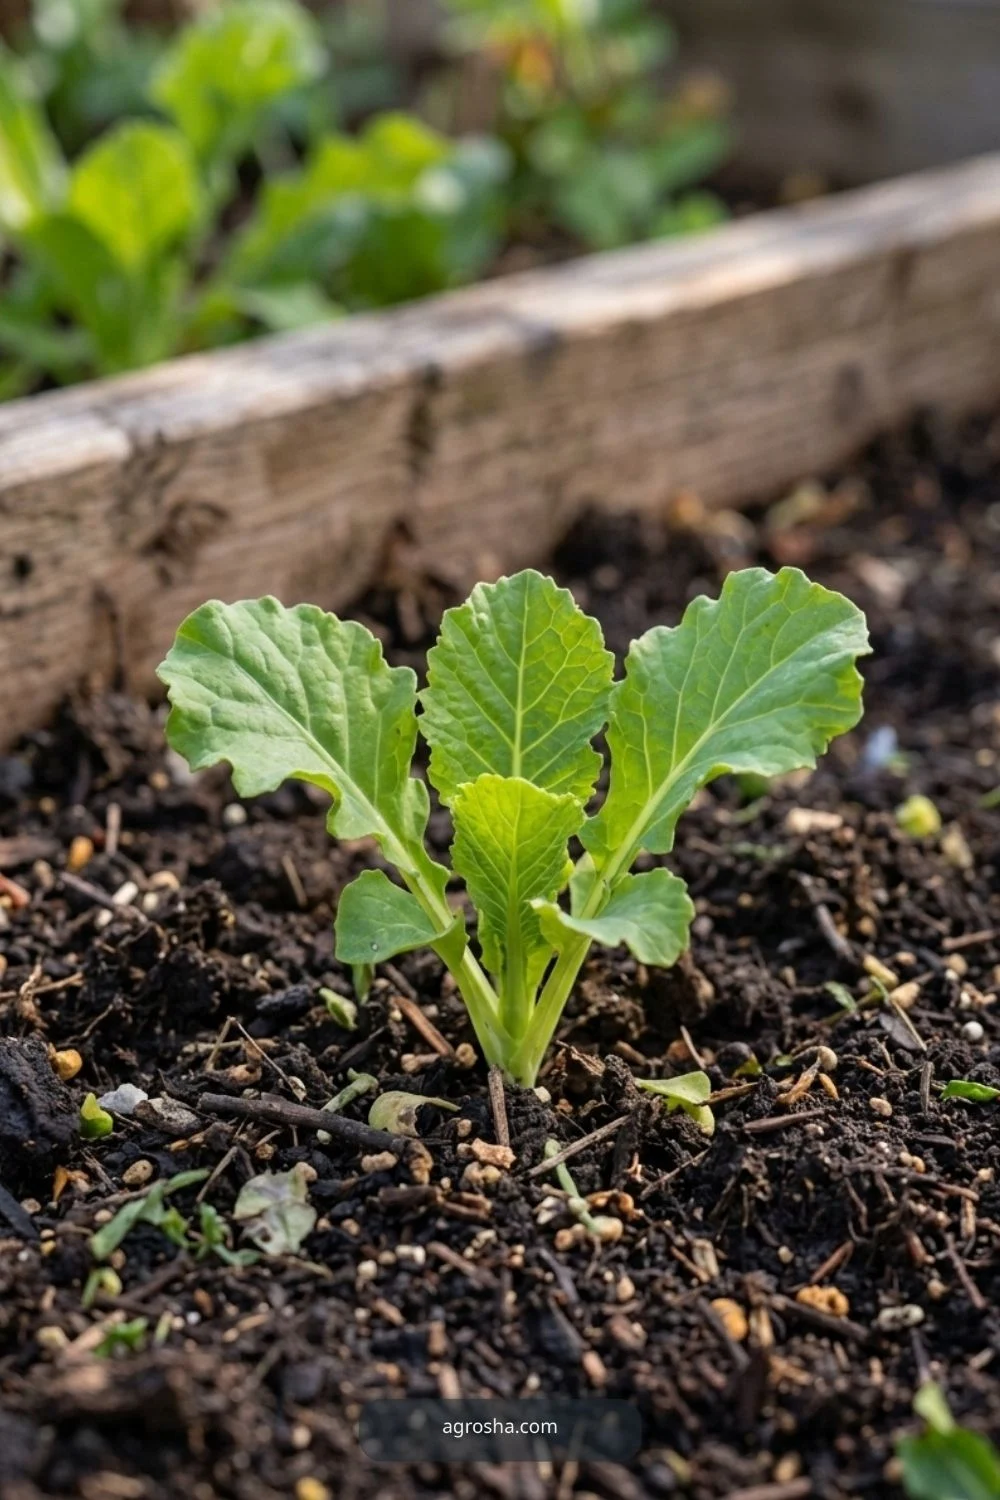
1. Choose a seedling and measure clearance
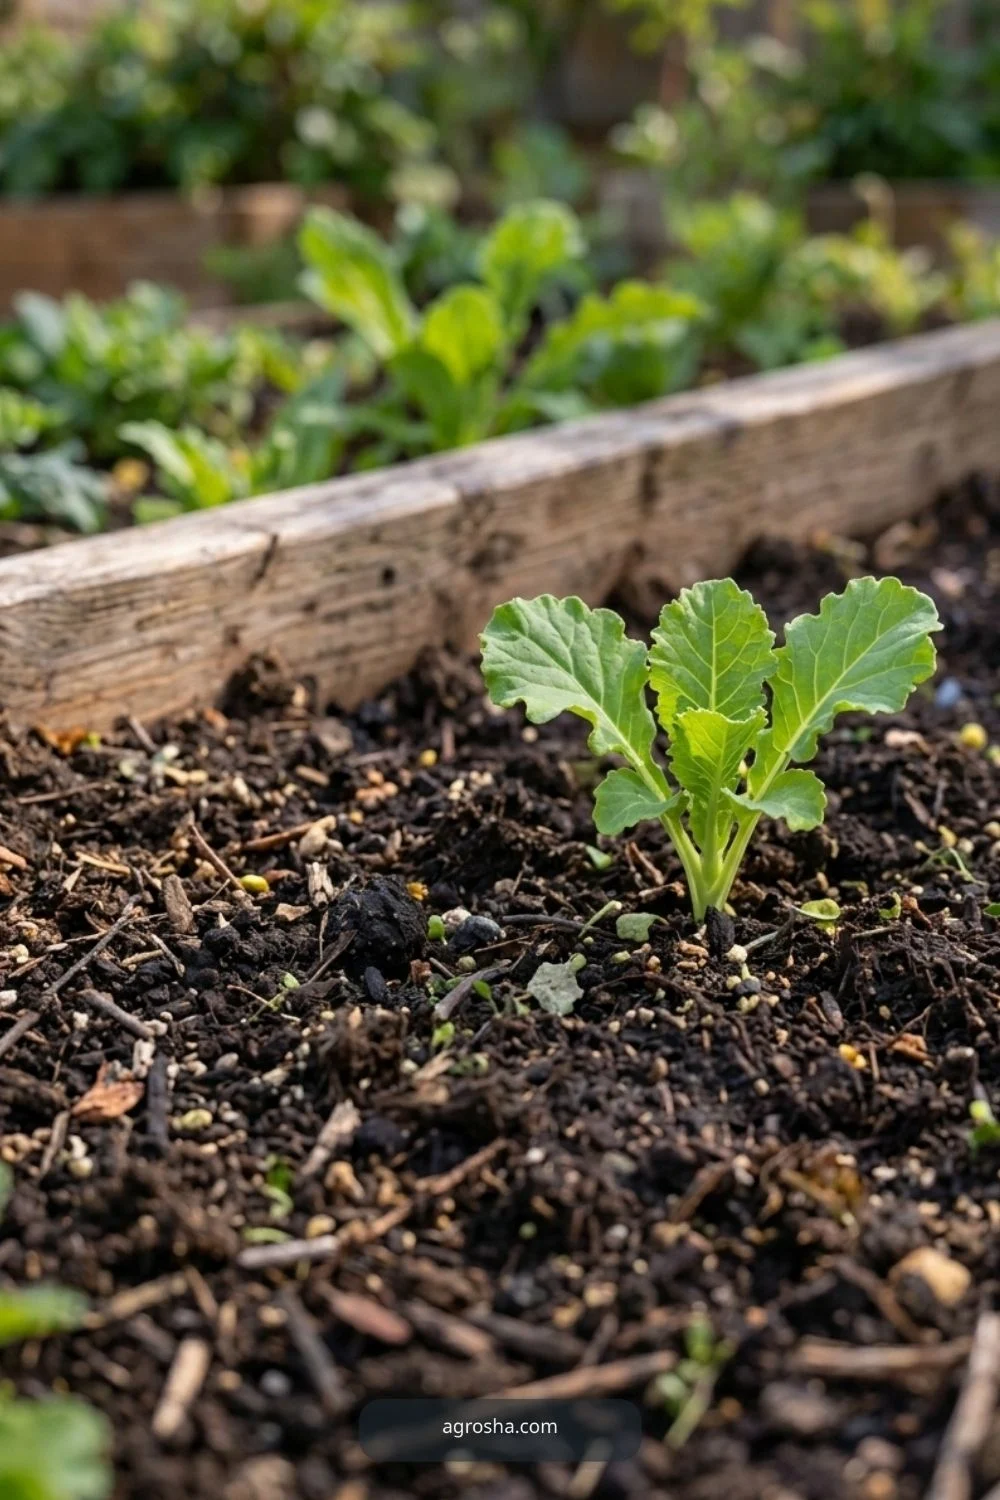
Check the seedling height, leaf spread and expected near-term growth. A narrow bottle over a sprawling transplant will rub leaves and can trap excess moisture. Pick a crop and location that genuinely benefit from a few protected nights.
2. Select and clean the container
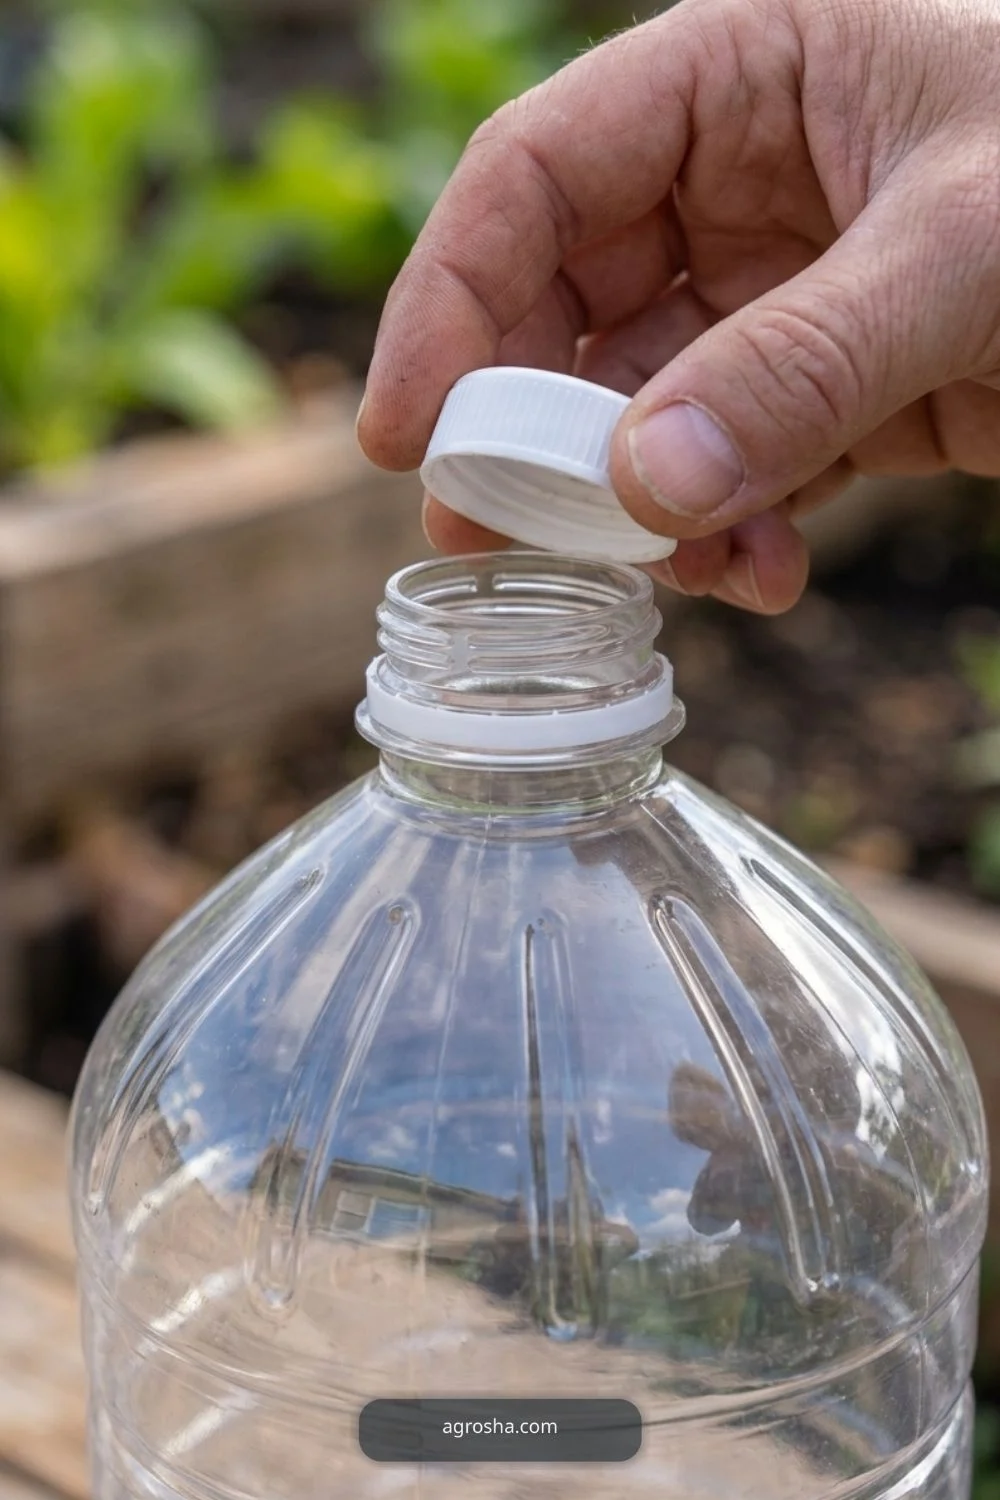
A clear beverage bottle with a removable cap is easy to inspect and ventilate. Wash and rinse out residue completely, remove the label if necessary and reject cloudy, brittle or damaged plastic. Never reuse containers that previously held hazardous chemicals.

3. Plan the cut before using tools
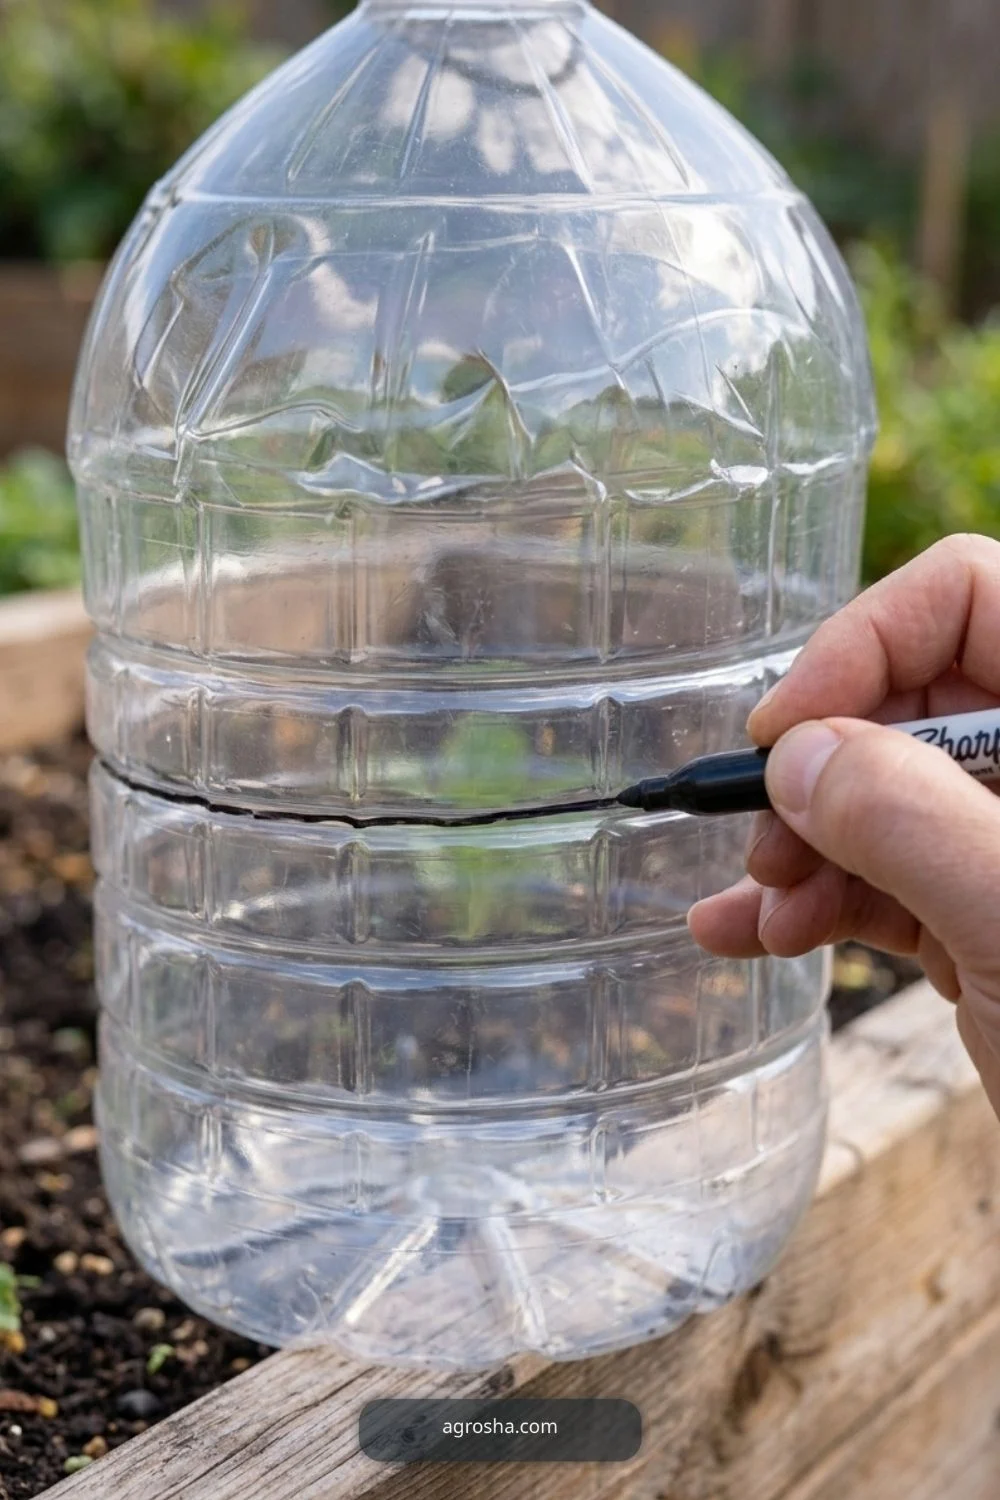
Mark a level cutting line around the base and hold the container steadily on a protected work surface. Keep fingers away from the path of the knife. A simple, clean cut is safer and easier to seat than an irregular jagged edge.
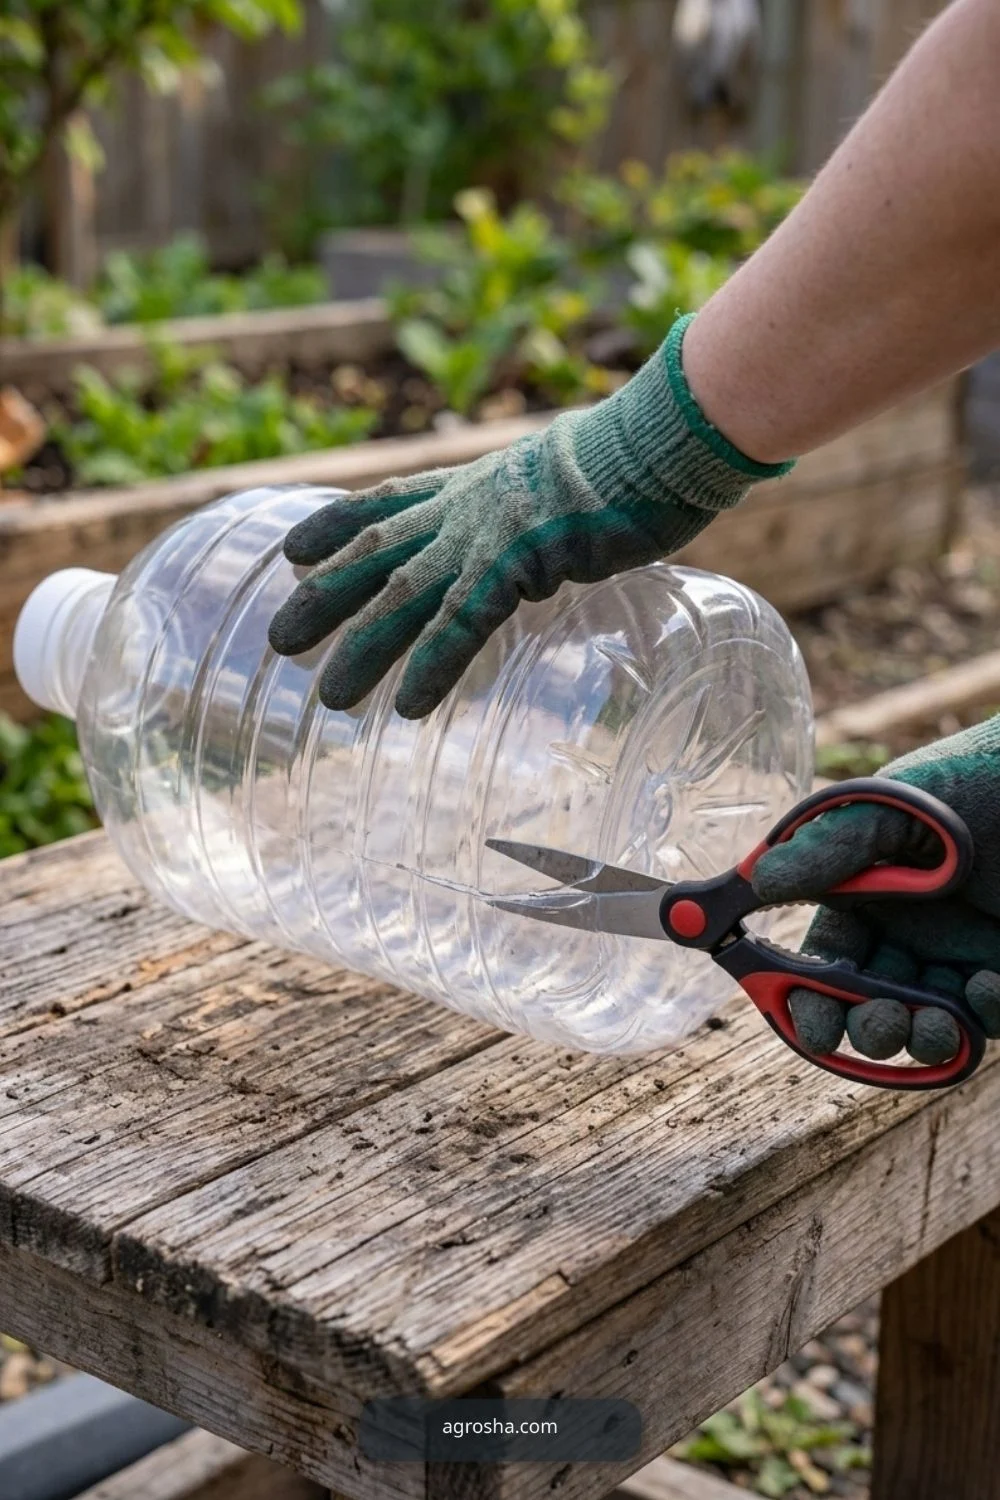
4. Remove the bottom and check the edge
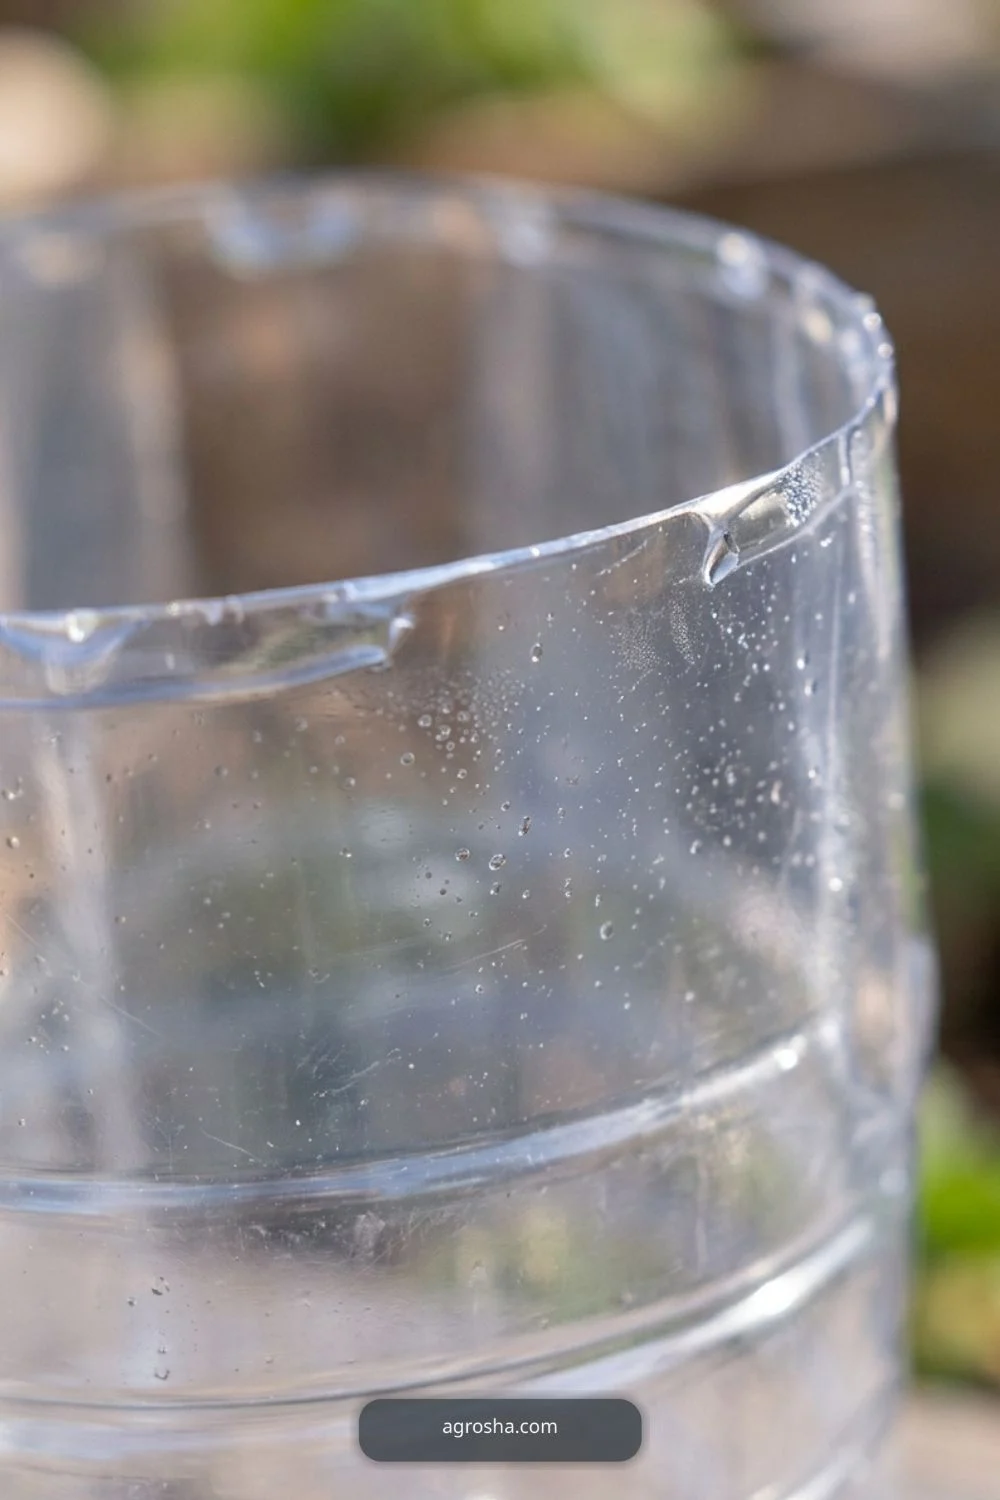
Trim the bottom with the appropriate tool, then inspect the newly exposed rim. Smooth or cover any sharp points; plastic can crack and splinter, especially when cold. Do not let the raw rim rest directly against tender stems.
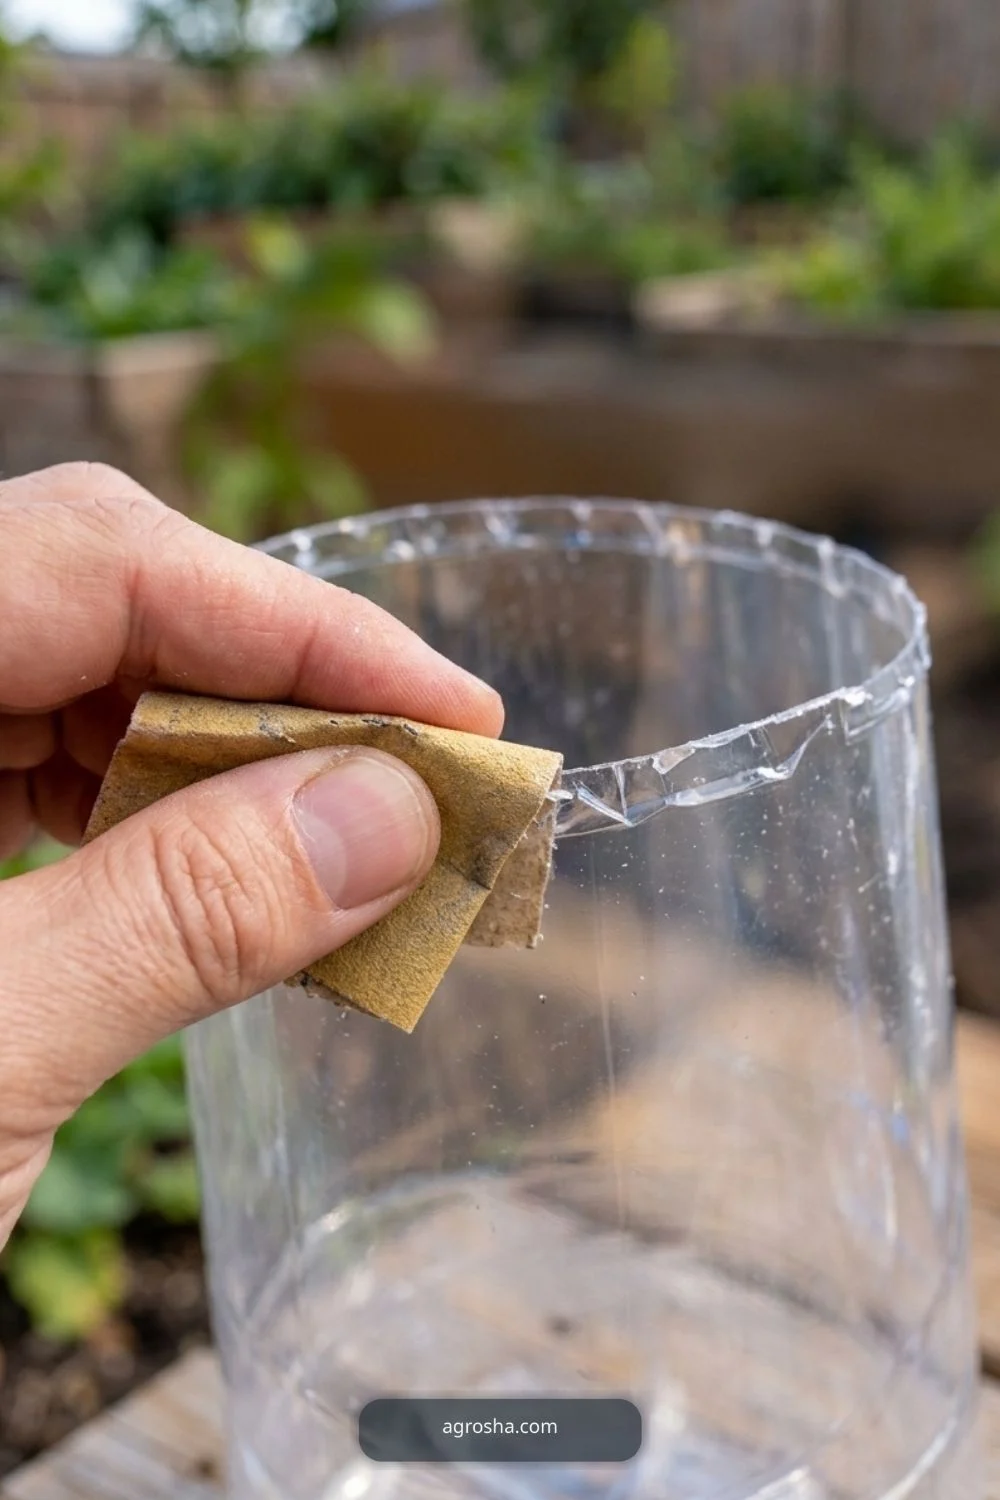
5. Test the fit before setting in soil
Place the open-bottom cover around the plant temporarily to verify that all foliage has room. Move a nearby leaf out of contact only if necessary. If the cover looks too small, use a larger container instead of compressing the plant.
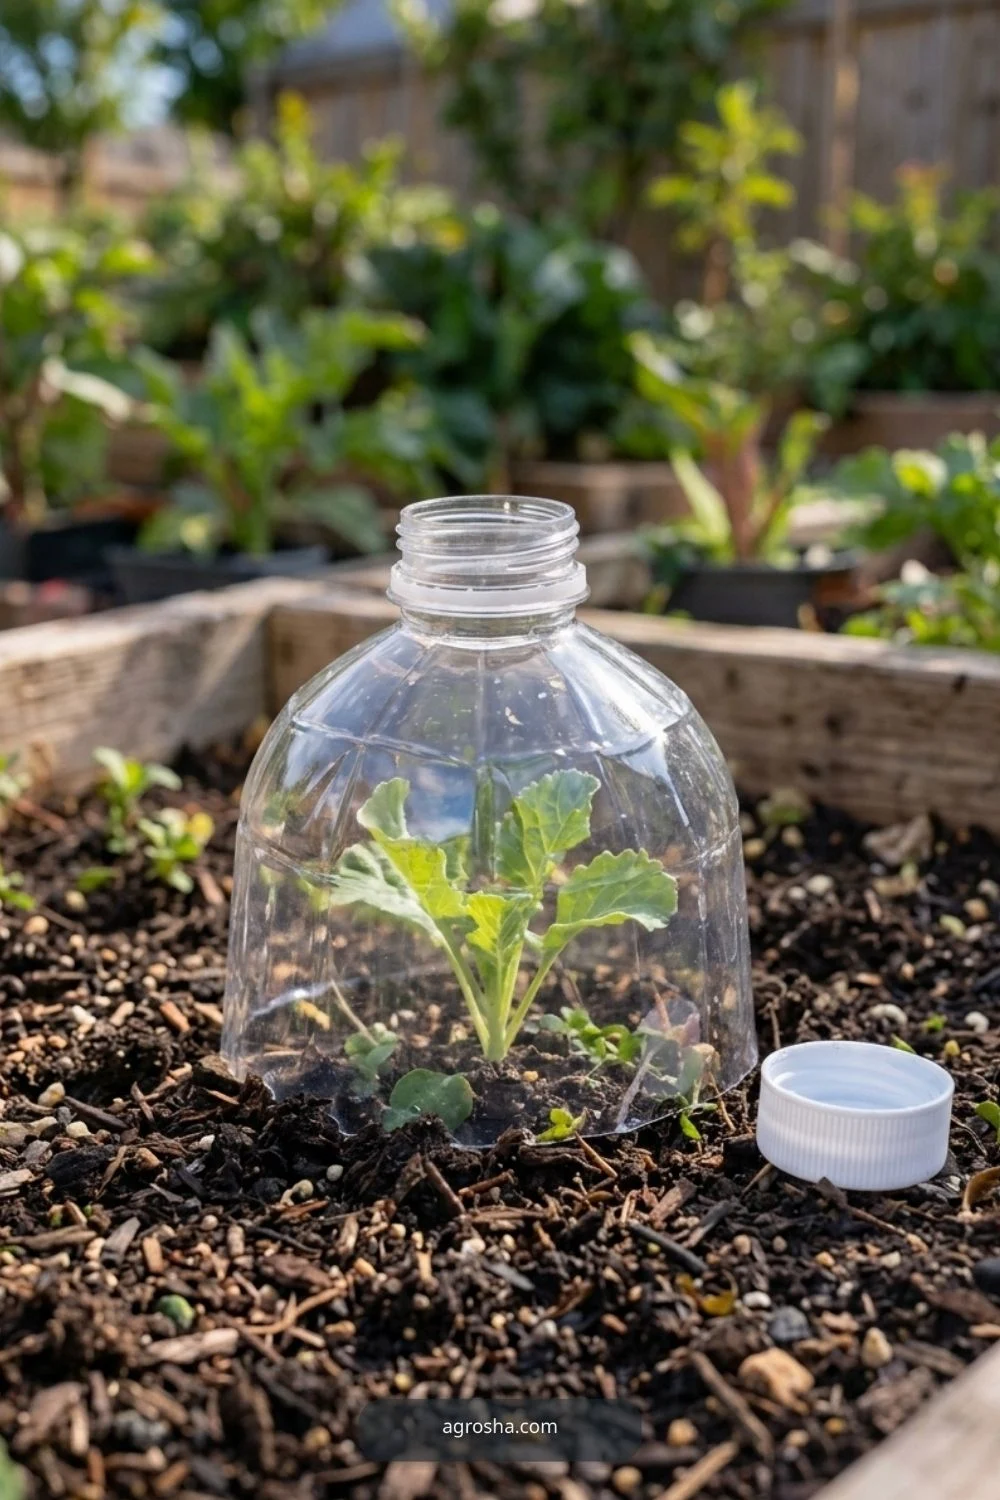
6. Anchor without crushing the roots
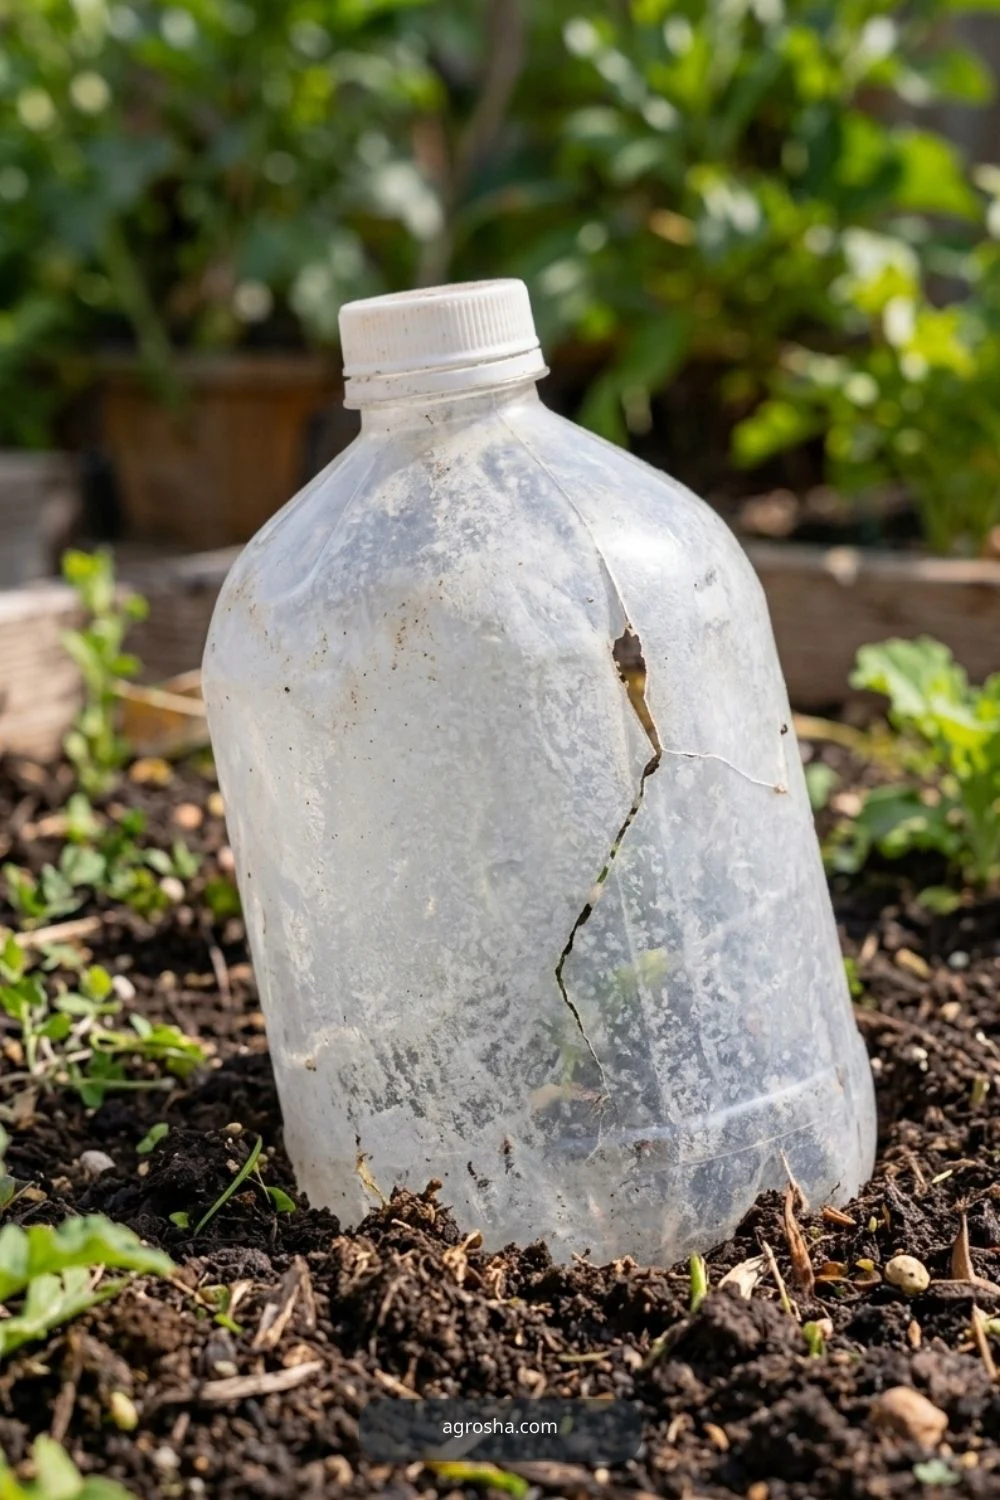
Seat the rim shallowly in loose soil or use a simple small stake or pin where wind is a problem. Do not bury the cover so deeply that plant roots are disturbed. Keep an accessible opening so you can lift it easily for watering.
7. Vent, water and inspect daily
Remove the cap or lift the cover when sun warms the air. Look for heavy condensation, wilted leaves and excessively damp soil. A cloche that saves a plant from a cool night can overheat that same plant on a bright afternoon.
8. Remove, clean and reuse
Take the cover away once its job is done or the seedling grows near the sides. Clean and dry it before storage. Avoid leaving a small container in place for weeks simply because it looks tidy in the garden.
Which Version Makes Sense for Your Garden?
Choose the version that solves the actual garden problem rather than copying the most elaborate photograph. The alternatives below differ in accessibility, maintenance, and the degree of support needed.
| Option | Good for | Watch out for |
|---|---|---|
| Clear bottle with removable cap | One compact seedling for short-term use | Must vent frequently |
| Upside-down clear food tub | A low, wider seedling | Needs stakes or weighting and side air access |
| Fine-mesh wire dome | Insects and light animal browsing | Not meaningful cold protection |
Practical Mistakes to Avoid
Most preventable problems begin when the project looks finished but is awkward or unsafe to use. Check these issues before calling the build done.
- Using old chemical containers
- Leaving a closed clear bottle on a sunny day
- Cutting plastic while holding it near a free hand
- Crowding leaves inside a small bottle
- Assuming a bottle provides reliable protection during deep freezes
- Using cloches where pollinator access is needed
Ongoing Care and Seasonal Maintenance
A diy garden cloche from recycled materials is not a one-time photo project. Recheck connections, material wear, growing conditions and access after heavy weather. Remove or repair loose components promptly, and adapt to local climate rather than relying on a fixed calendar. If you do not know whether your material or setup is safe, pause and confirm with the manufacturer or local extension office.
Practical Visual Guide: Additional Build and Use Details
These added views explain food-safe materials, sharp edges, ventilation, sunlight, leaf clearance, and the limits of frost protection; each is tied to a separate garden task, material decision or construction step.
Choose a clean food bottle
The choose a clean food bottle matters for a practical recycled bottle cloche. For choose a clean food bottle, check usable scale and accessible connections in this recycled cloche, not decorative objects. Treat this as a practical decision rather than a decoration. Measure the space, identify what the plant or gardener must reach, and inspect the joint or covering after ordinary weather. A simple accessible solution is easier to repair than a complicated arrangement that hides the working parts.

Compare wide and narrow covers
The compare wide and narrow covers matters for a practical recycled bottle cloche. For compare wide and narrow covers, check usable scale and accessible connections in this recycled cloche, not decorative objects. This view is useful because it reveals where material meets the real garden. Before copying it, consider wet soil, sunlight, seasonal growth and how the component can be removed without damage. Check clearances again when the crop becomes larger or the container fills.

Mark a safe cutting line
The mark a safe cutting line matters for a practical recycled bottle cloche. For mark a safe cutting line, check usable scale and accessible connections in this recycled cloche, not decorative objects. Small differences in spacing and support can matter more than a beautiful finish. Use suitable materials and confirm the actual site conditions rather than guessing dimensions from a photograph. Leave enough room for watering, inspection and safe hand access throughout the season.
Smooth the cut rim
The smooth the cut rim matters for a practical recycled bottle cloche. For smooth the cut rim, check usable scale and accessible connections in this recycled cloche, not decorative objects. Choose this detail only where it solves a genuine issue in the yard. A compact home project should remain stable when handled and uncomplicated to clean, harvest or repair. Notice any sharp edge, loose connection or blocked route before putting the structure into regular use.

Removable cap opening
The removable cap opening matters for a practical recycled bottle cloche. For removable cap opening, check usable scale and accessible connections in this recycled cloche, not decorative objects. The purpose is to make the next practical task easier. Check how the gardener approaches the area with a hose, gloves, pot or harvest basket. If a decorative feature blocks that task, simplify the build rather than moving useful plants to match a styled picture.
Stake the cover against wind
The stake the cover against wind matters for a practical recycled bottle cloche. For stake the cover against wind, check usable scale and accessible connections in this recycled cloche, not decorative objects. An outdoor component needs maintenance after the first weekend. Look for moisture, movement, worn ties and changed plant weight as conditions shift. The correct adjustment depends on the crop and environment; no single arrangement automatically fits every U.S. garden.

Larger clear food tub
The larger clear food tub matters for a practical recycled bottle cloche. For larger clear food tub, check usable scale and accessible connections in this recycled cloche, not decorative objects. Treat this as a practical decision rather than a decoration. Measure the space, identify what the plant or gardener must reach, and inspect the joint or covering after ordinary weather. A simple accessible solution is easier to repair than a complicated arrangement that hides the working parts.
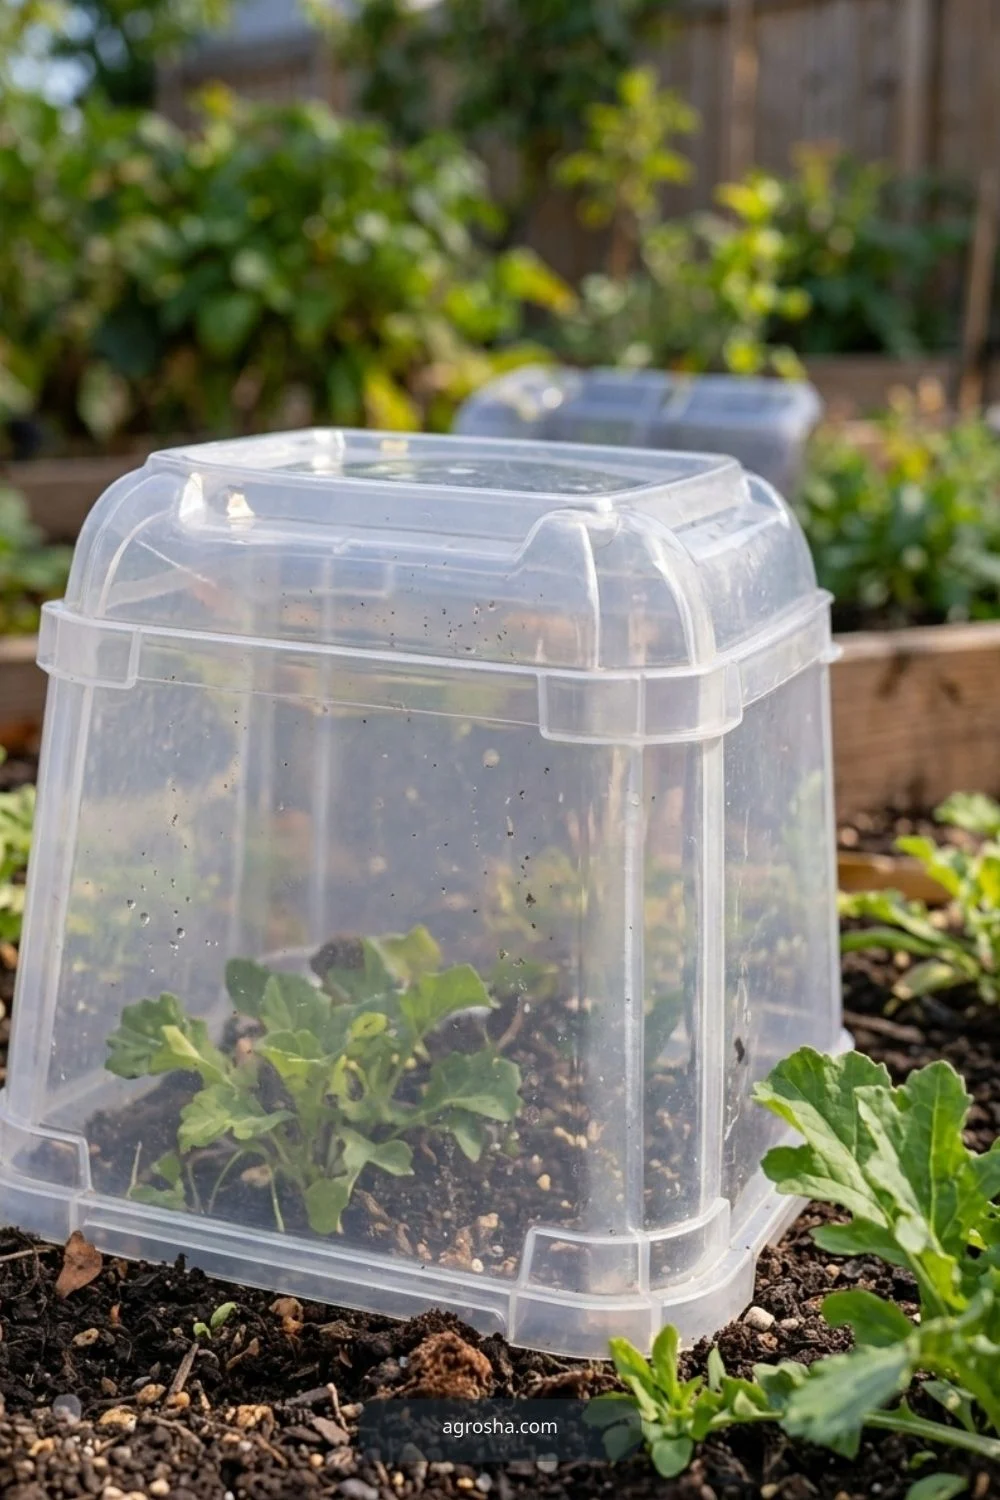
Avoid cloudy brittle packaging
The avoid cloudy brittle packaging matters for a practical recycled bottle cloche. For avoid cloudy brittle packaging, check usable scale and accessible connections in this recycled cloche, not decorative objects. This view is useful because it reveals where material meets the real garden. Before copying it, consider wet soil, sunlight, seasonal growth and how the component can be removed without damage. Check clearances again when the crop becomes larger or the container fills.
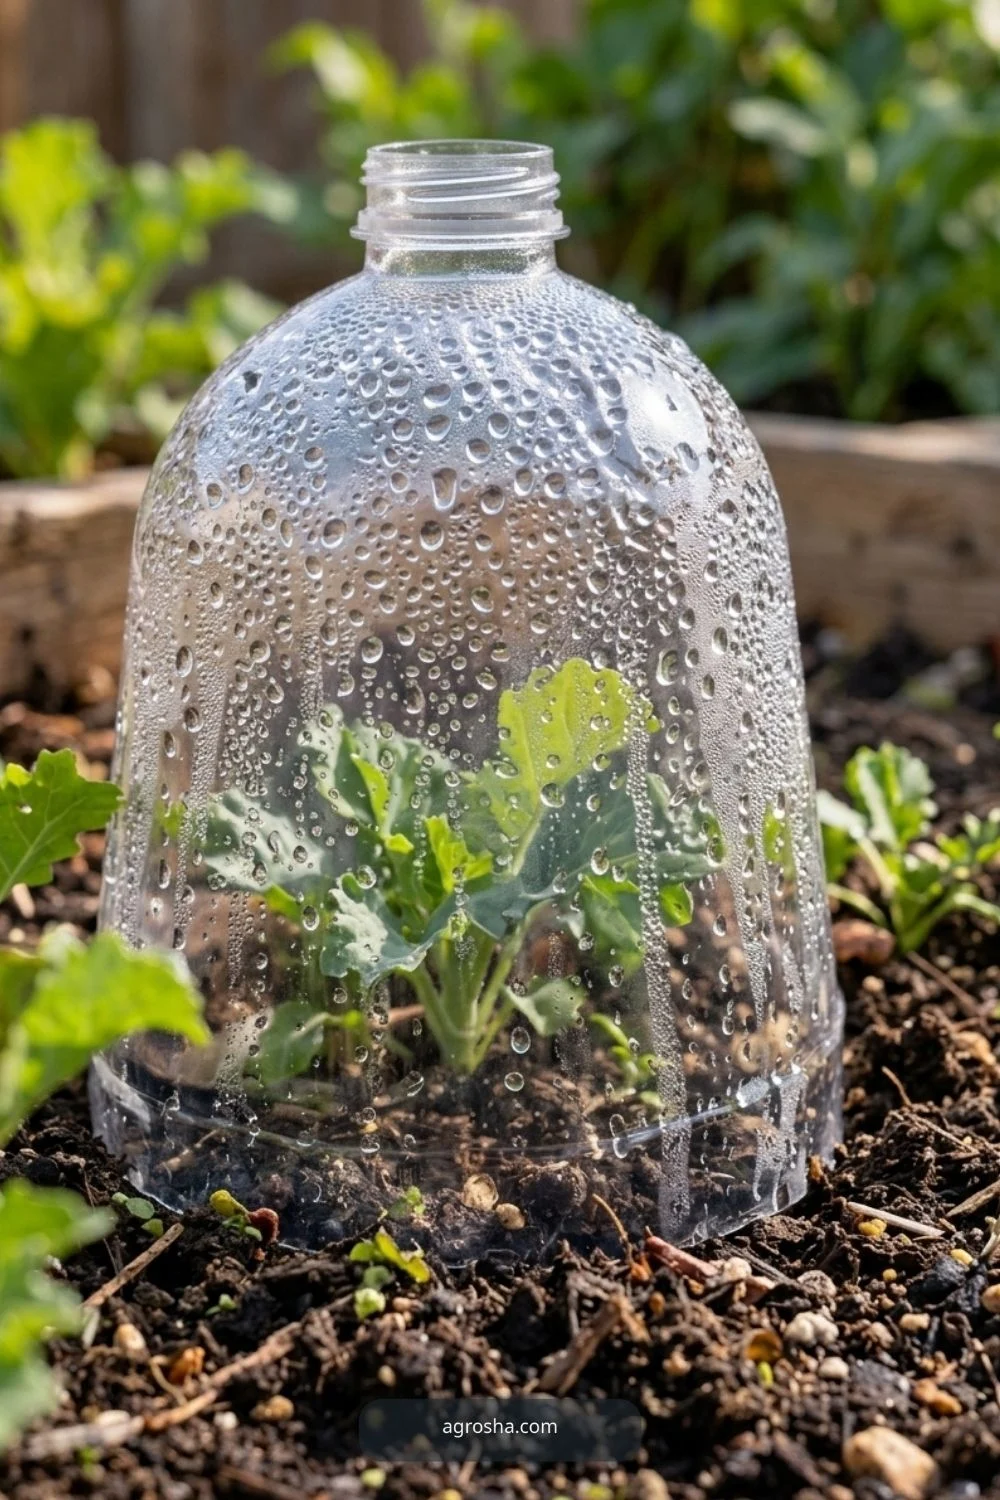
Check condensation
The check condensation matters for a practical recycled bottle cloche. A check condensation view must explain working scale, plant clearance, and exposed fittings in this recycled cloche. Small differences in spacing and support can matter more than a beautiful finish. Use suitable materials and confirm the actual site conditions rather than guessing dimensions from a photograph. Leave enough room for watering, inspection and safe hand access throughout the season.
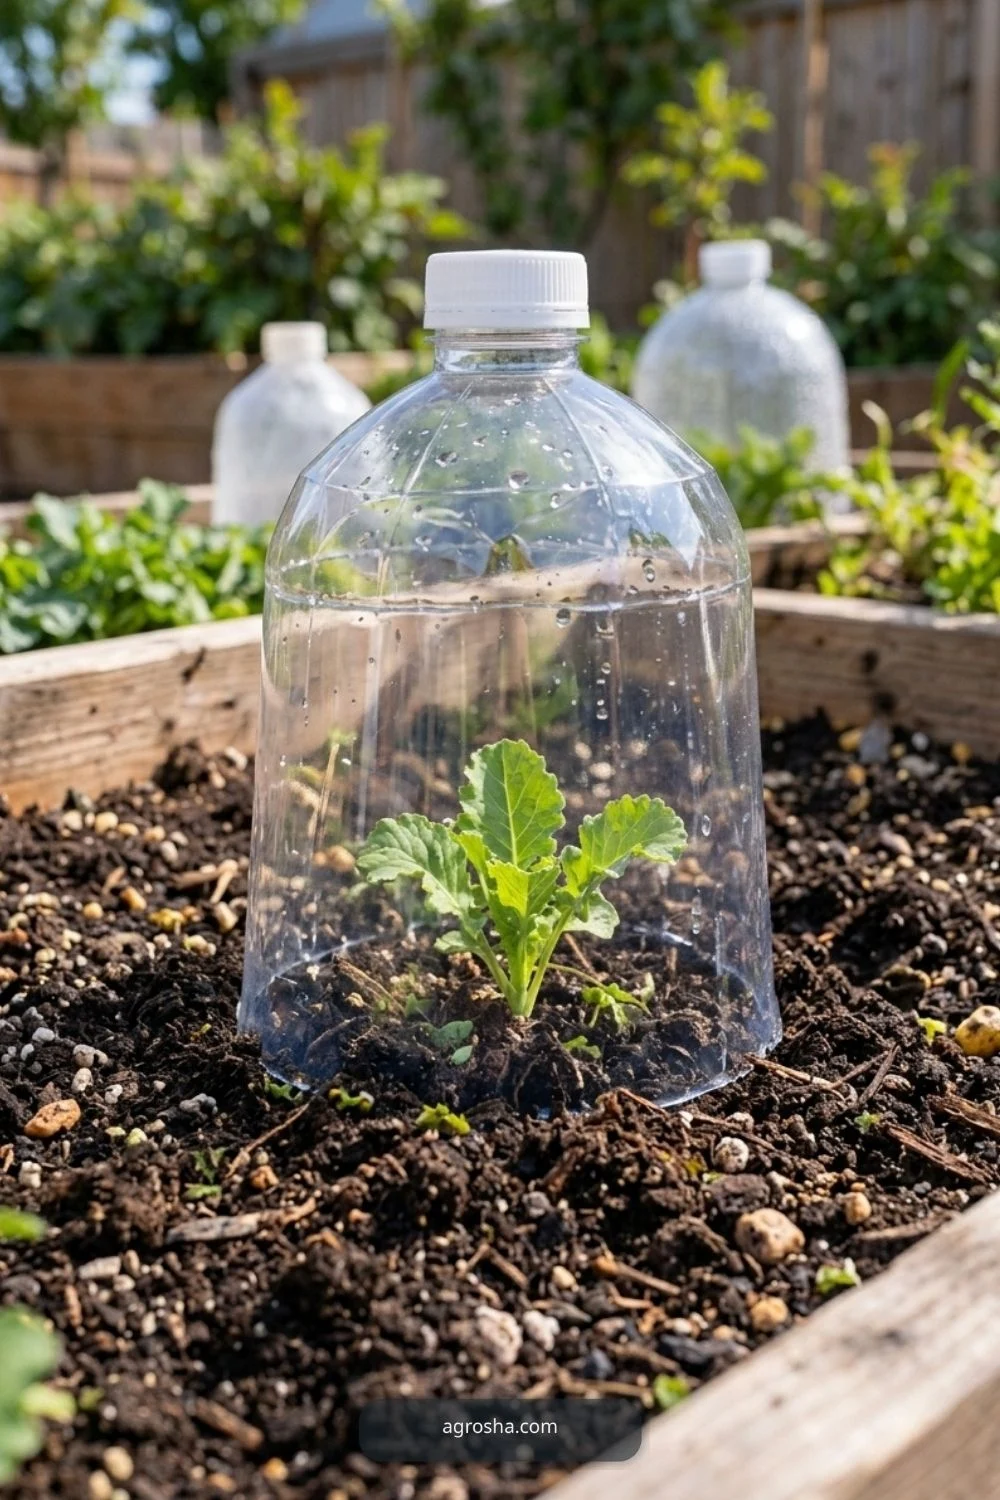
Mesh dome comparison
The mesh dome comparison matters for a practical recycled bottle cloche. For mesh dome comparison, check usable scale and accessible connections in this recycled cloche, not decorative objects. Choose this detail only where it solves a genuine issue in the yard. A compact home project should remain stable when handled and uncomplicated to clean, harvest or repair. Notice any sharp edge, loose connection or blocked route before putting the structure into regular use.

Root-safe placement
The root-safe placement matters for a practical recycled bottle cloche. A root-safe placement view must explain working scale, plant clearance, and exposed fittings in this recycled cloche. The purpose is to make the next practical task easier. Check how the gardener approaches the area with a hose, gloves, pot or harvest basket. If a decorative feature blocks that task, simplify the build rather than moving useful plants to match a styled picture.
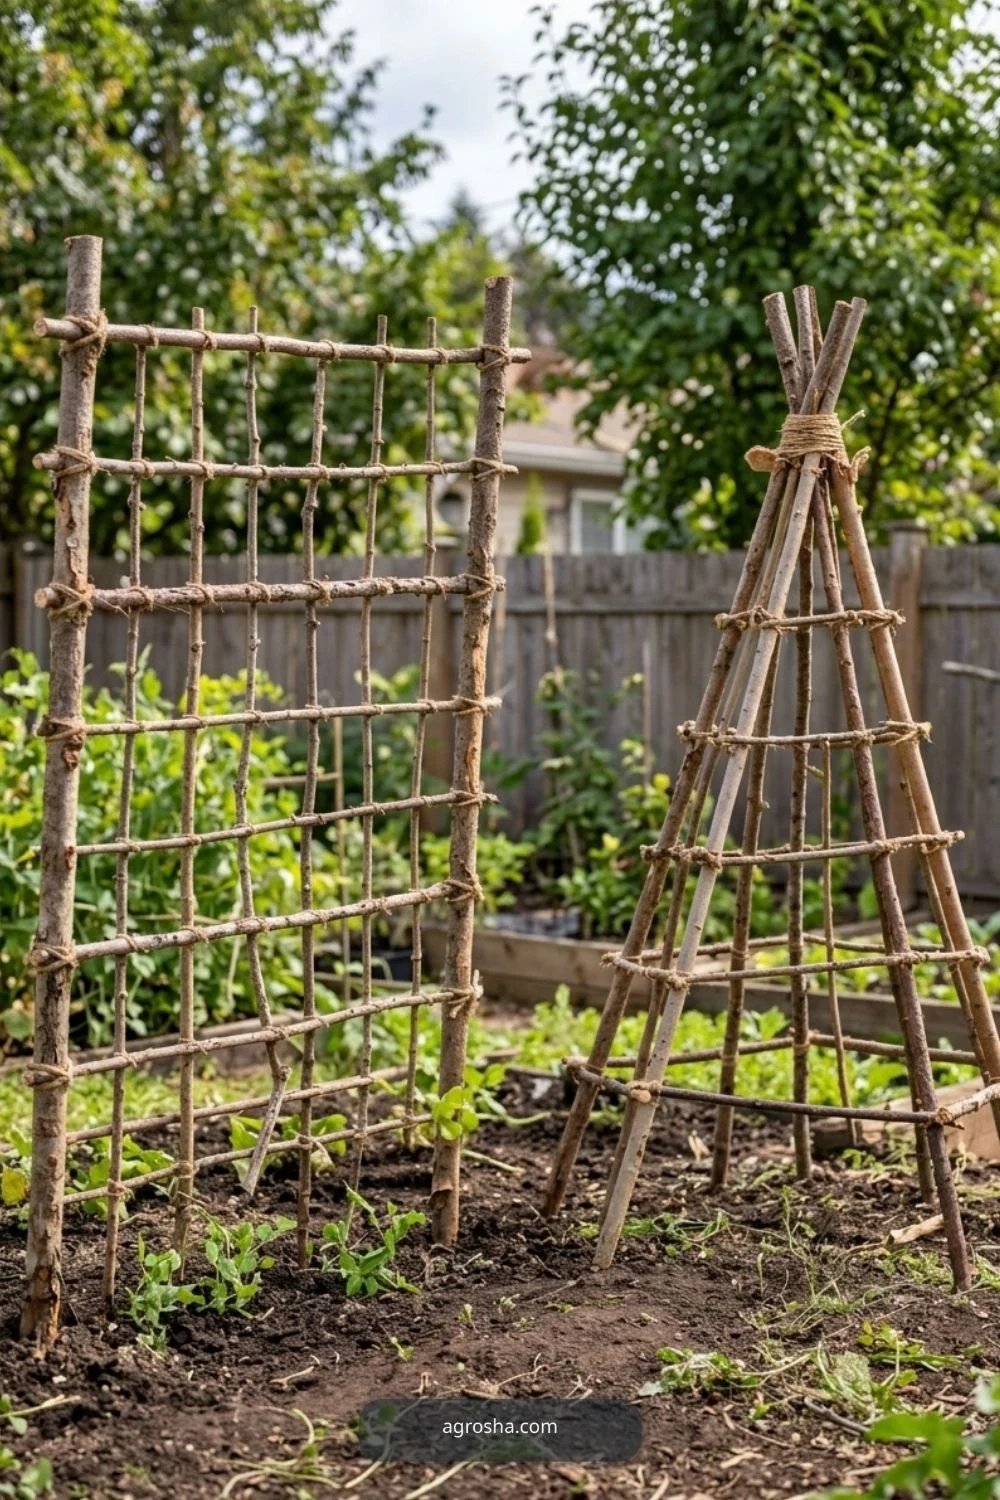
Water under the cloche
The water under the cloche matters for a practical recycled bottle cloche. For water under the cloche, check usable scale and accessible connections in this recycled cloche, not decorative objects. An outdoor component needs maintenance after the first weekend. Look for moisture, movement, worn ties and changed plant weight as conditions shift. The correct adjustment depends on the crop and environment; no single arrangement automatically fits every U.S. garden.

Open on sunny days
The open on sunny days matters for a practical recycled bottle cloche. For open on sunny days, check usable scale and accessible connections in this recycled cloche, not decorative objects. Treat this as a practical decision rather than a decoration. Measure the space, identify what the plant or gardener must reach, and inspect the joint or covering after ordinary weather. A simple accessible solution is easier to repair than a complicated arrangement that hides the working parts.
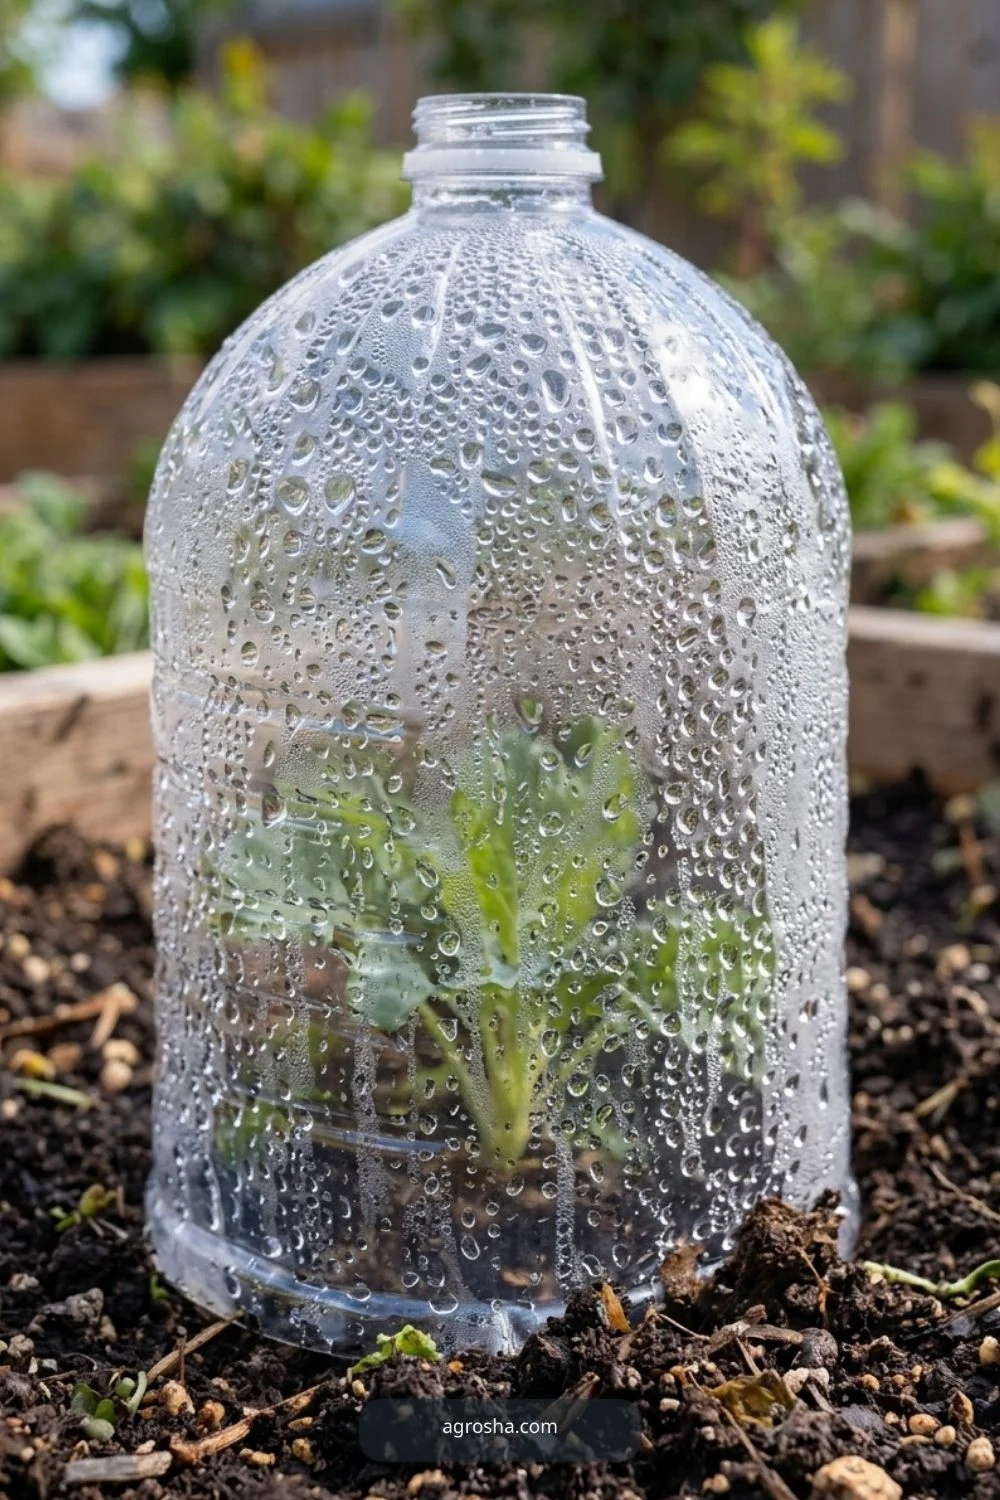
Allow pollination
The allow pollination matters for a practical recycled bottle cloche. A allow pollination view must explain working scale, plant clearance, and exposed fittings in this recycled cloche. This view is useful because it reveals where material meets the real garden. Before copying it, consider wet soil, sunlight, seasonal growth and how the component can be removed without damage. Check clearances again when the crop becomes larger or the container fills.
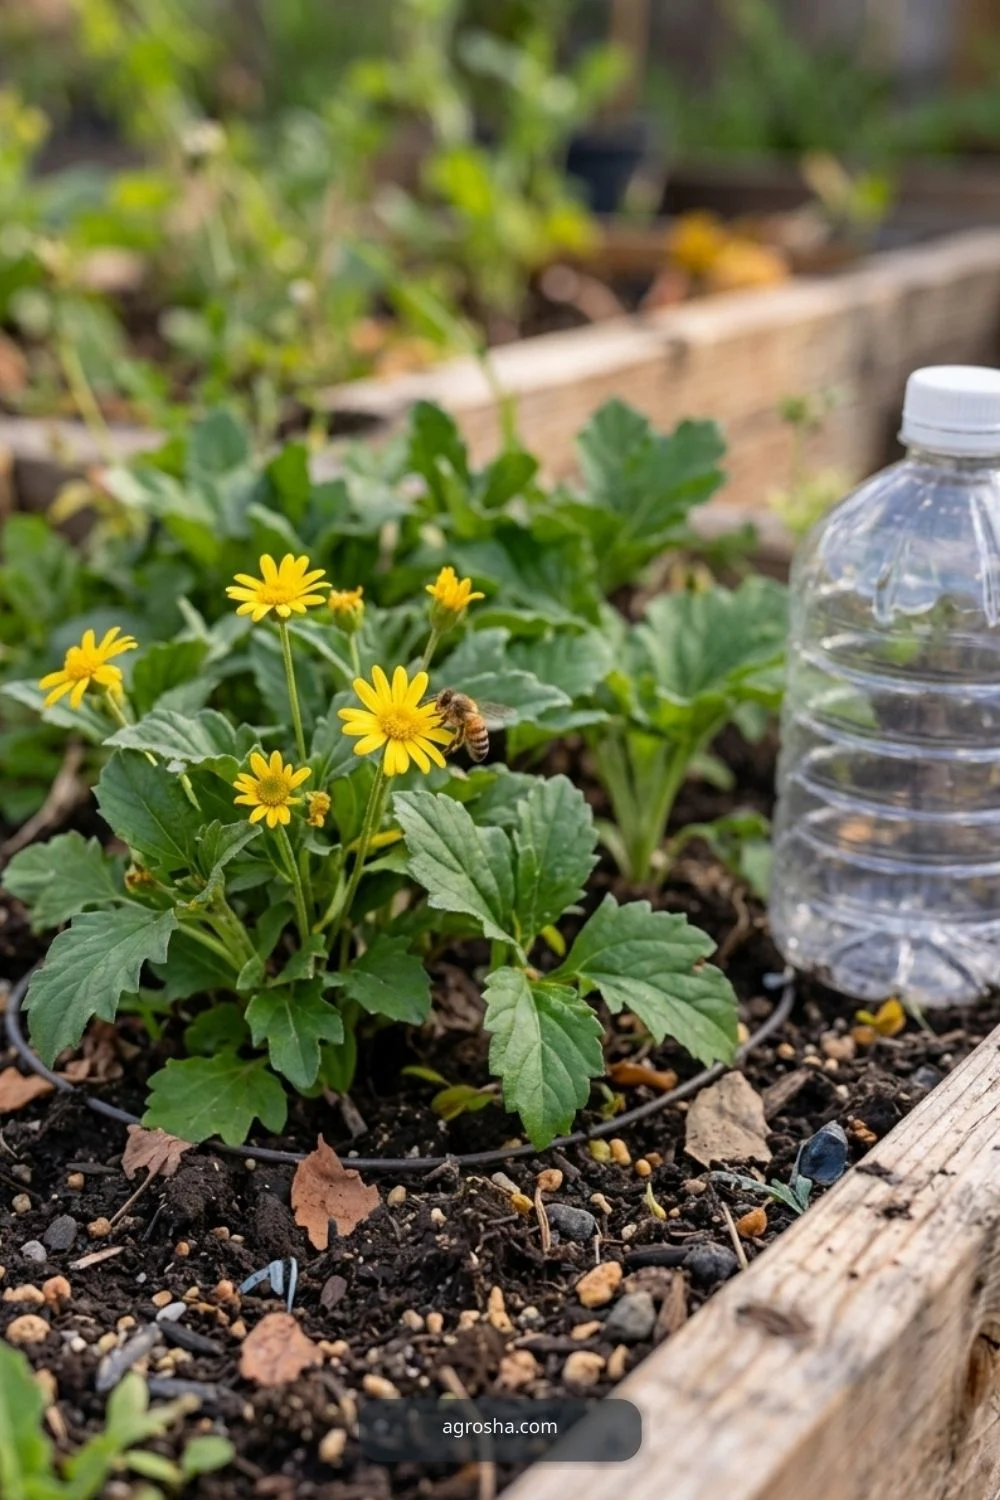
Retire cracked plastic
The retire cracked plastic matters for a practical recycled bottle cloche. For retire cracked plastic, check usable scale and accessible connections in this recycled cloche, not decorative objects. Small differences in spacing and support can matter more than a beautiful finish. Use suitable materials and confirm the actual site conditions rather than guessing dimensions from a photograph. Leave enough room for watering, inspection and safe hand access throughout the season.
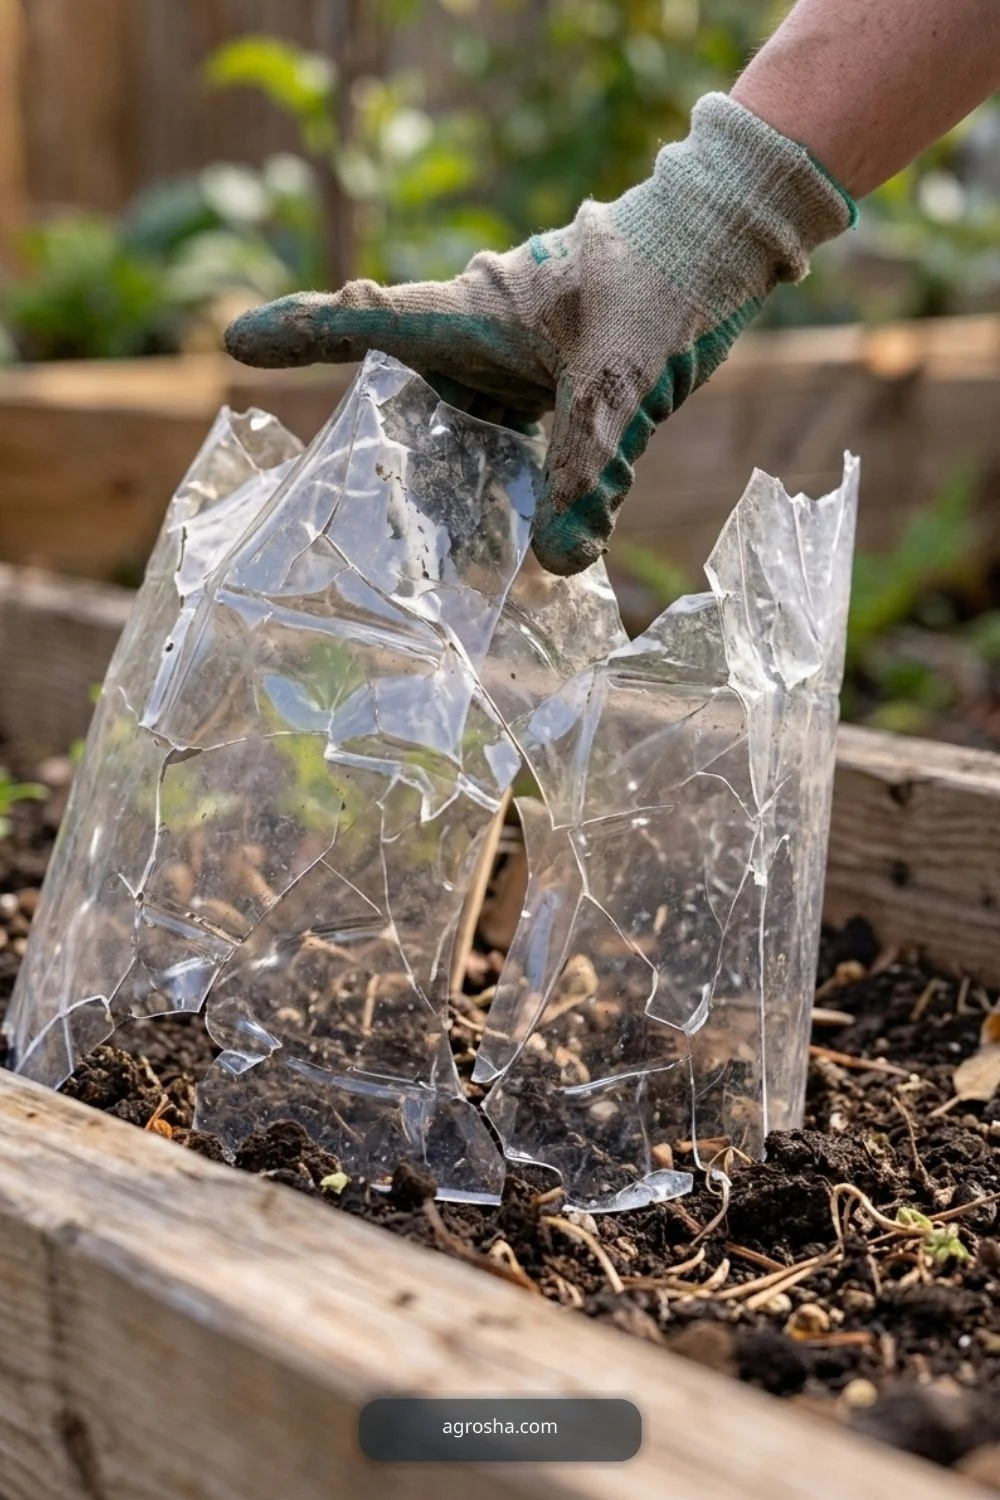
Clean reusable covers
The clean reusable covers matters for a practical recycled bottle cloche. For clean reusable covers, check usable scale and accessible connections in this recycled cloche, not decorative objects. Choose this detail only where it solves a genuine issue in the yard. A compact home project should remain stable when handled and uncomplicated to clean, harvest or repair. Notice any sharp edge, loose connection or blocked route before putting the structure into regular use.
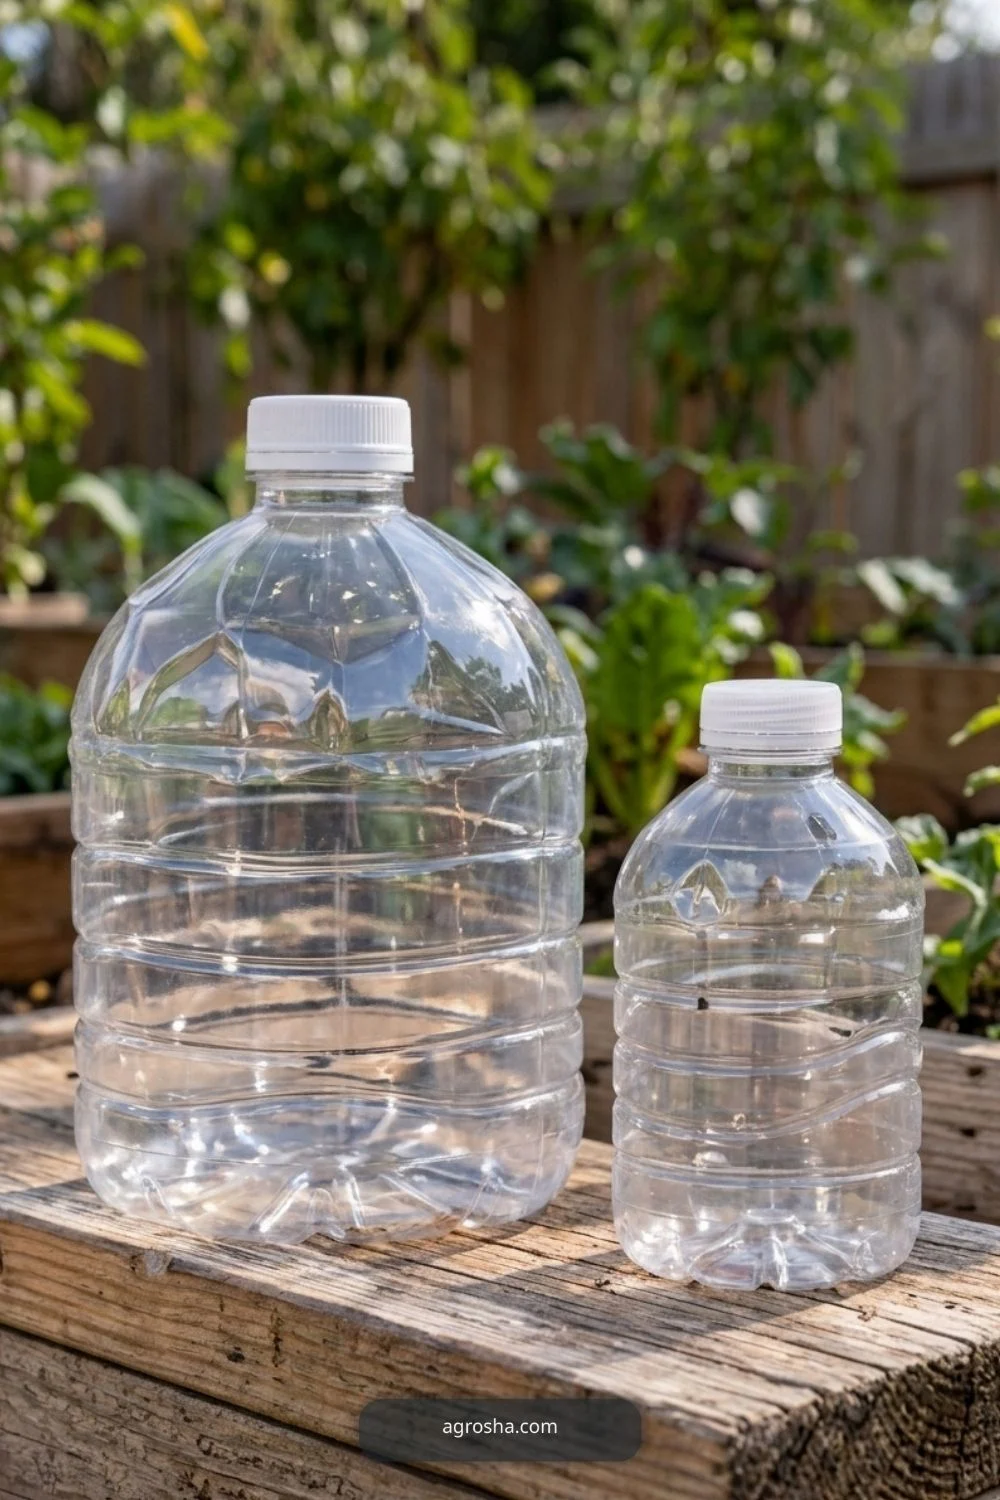
Make the simplest version first and test how it works in your own garden. Confirm which materials are appropriate, how the main parts join together, and what must remain accessible during routine care. If a connection becomes difficult to inspect, it can also become difficult to repair before something fails. The recycled bottle cloche should also account for food-safe materials, sharp edges, ventilation, sunlight, leaf clearance, and the limits of frost protection.
Look beyond the finished appearance to the way weather changes the project. Heavy rain, reflected summer heat, strong wind and a rapidly growing plant can alter a comfortable layout. Monitor the actual site rather than assuming a photographed arrangement will work without changes in a different climate. The recycled bottle cloche should also account for food-safe materials, sharp edges, ventilation, sunlight, leaf clearance, and the limits of frost protection.
Consider the people using the yard. Clear access makes it easier to water, feed, turn compost, harvest or replace a broken piece without stepping over an obstacle. If a proposed addition reduces safe access, leave it out until its necessity is clear. The recycled bottle cloche should also account for food-safe materials, sharp edges, ventilation, sunlight, leaf clearance, and the limits of frost protection.
Do not guess material safety from appearance. Reused materials may have unknown residues, weather damage, loose fasteners or coatings. Check their history where possible, remove sharp edges, and choose replacement parts suited to outdoor exposure and the actual weight they must handle. The recycled bottle cloche should also account for food-safe materials, sharp edges, ventilation, sunlight, leaf clearance, and the limits of frost protection.
Use photos as practical explanations, not structural certification. A picture can show visible placement, plant condition and construction stages, but cannot prove a hidden connection is properly rated or a foundation suits the local wind. Follow relevant manufacturer guidance and seek local expertise for structural uncertainty. The recycled bottle cloche should also account for food-safe materials, sharp edges, ventilation, sunlight, leaf clearance, and the limits of frost protection.
Think about how the project finishes the season. An easy-to-remove support or accessible container can be cleaned and reused, while an overcomplicated permanent structure may become an obstacle. Inspect stored parts before using them again with new seedlings or tools. The recycled bottle cloche should also account for food-safe materials, sharp edges, ventilation, sunlight, leaf clearance, and the limits of frost protection.
Choose details that help the plants and garden tasks rather than filling a picture with extra decoration. Natural wear and irregularity are ordinary, but rotting supports, blocked openings or material rubbing against foliage are reasons to intervene. The result should be believable and manageable. The recycled bottle cloche should also account for food-safe materials, sharp edges, ventilation, sunlight, leaf clearance, and the limits of frost protection.
Check the project from more than one position. A setup that looks convenient from the front may hide a problem behind the plant, enclosure or panel. Walk around it and rehearse the routine job it was built for before calling the plan complete. The recycled bottle cloche should also account for food-safe materials, sharp edges, ventilation, sunlight, leaf clearance, and the limits of frost protection.
Frequently Asked Questions
Can I use a milk jug as a cloche?
Yes if it is clean and translucent enough for the goal. The more opaque the jug, the less light reaches the plant; do not treat it as an all-purpose substitute.
Should the lid stay on?
Open or remove the lid as weather warms, and monitor the plant. A tightly sealed bottle can overheat or develop condensation.
How long can a recycled cloche stay in place?
Only while the crop and current weather make it useful. Check daily and remove when leaves begin touching the sides.
Does a bottle protect from a hard freeze?
Do not count on it. Severe cold may require additional protection or moving vulnerable plants inside.
Can I leave the cloche on flowering plants?
Check pollination needs and take it off when insects need access.
Reliable Guidance and Further Reading
For additional technical context, consult Royal Horticultural Society and University of Maryland Extension’s row-cover guidance. Use local extension advice for climate and conditions rather than expecting a single design to fit every region.
Final Thoughts
Start with one clean, easy-to-vent cloche and check it in sunshine before leaving it unattended. Remove the cover as the seedling grows, and replace damaged material rather than leaving sharp edges in the bed.