Plant propagation is an easy way to turn healthy parent plants into new plants without needing a large gardening area.
A useful propagation station does not need expensive glassware, decorative shelves, or a dedicated plant room. A bright corner, a simple shelf, a few jars, small nursery pots, and enough space to keep cuttings organized can be enough.
The goal is to create a setup that makes it easy to take cuttings, monitor roots, water young plants, and move successful cuttings into soil.
This guide walks through a practical small-space plant propagation station from the first empty corner to established young plants.
Choose a Bright Propagation Spot
Start with the location before buying shelves or supplies.
A propagation station works best somewhere you can check regularly without disturbing normal household movement.
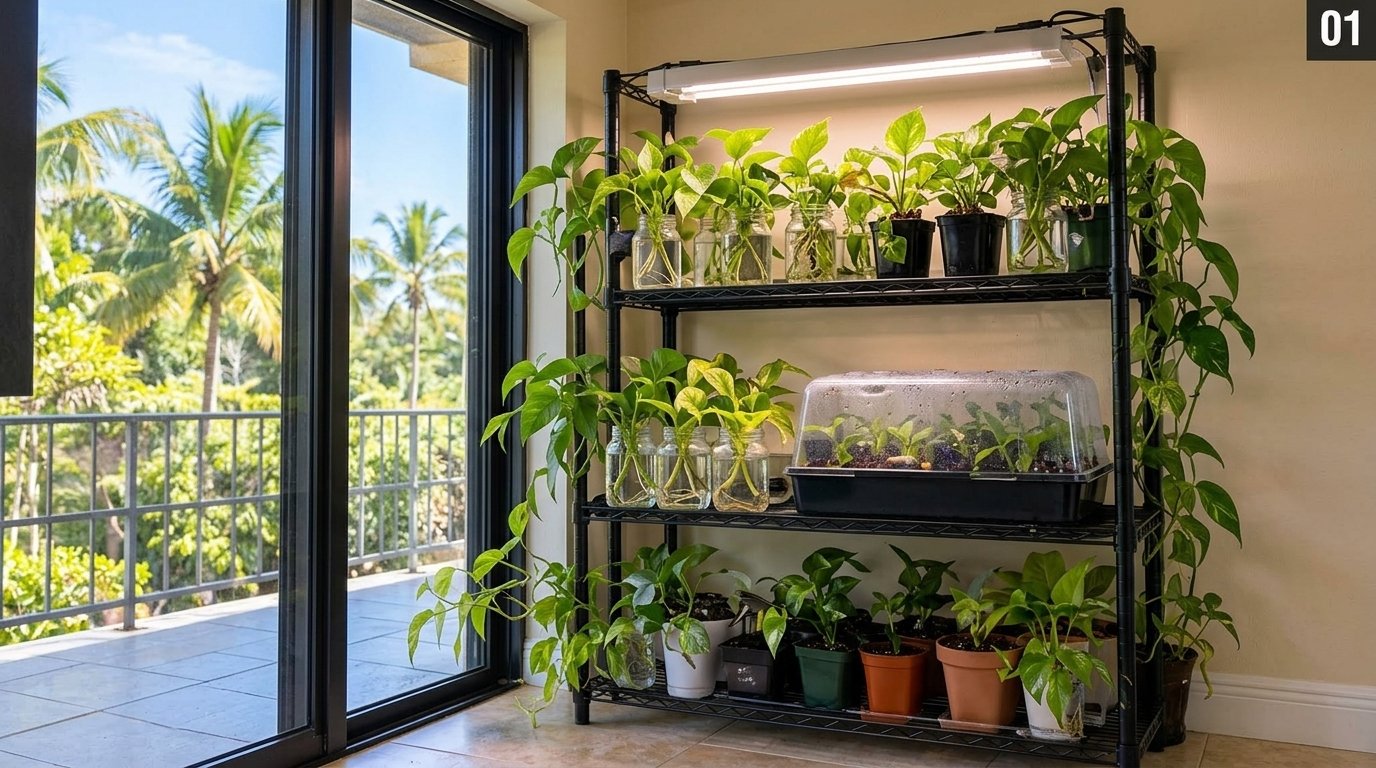
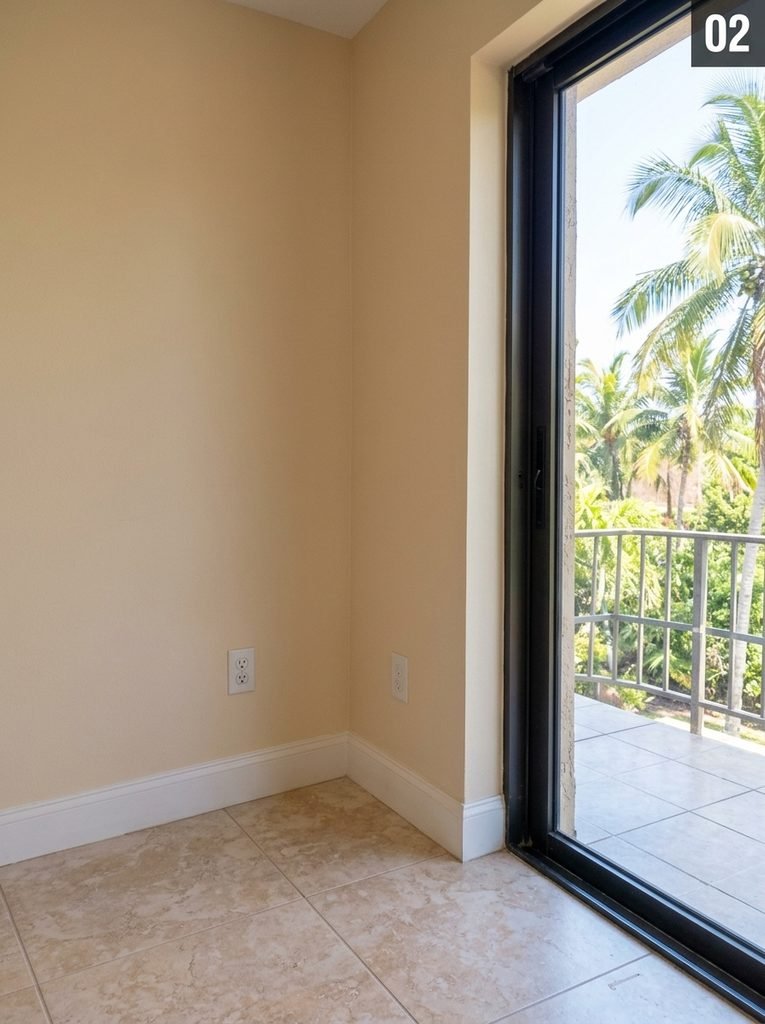
A bright area beside a window or sliding glass door can be useful, especially when the cuttings receive strong ambient light without spending hours in harsh direct sun.
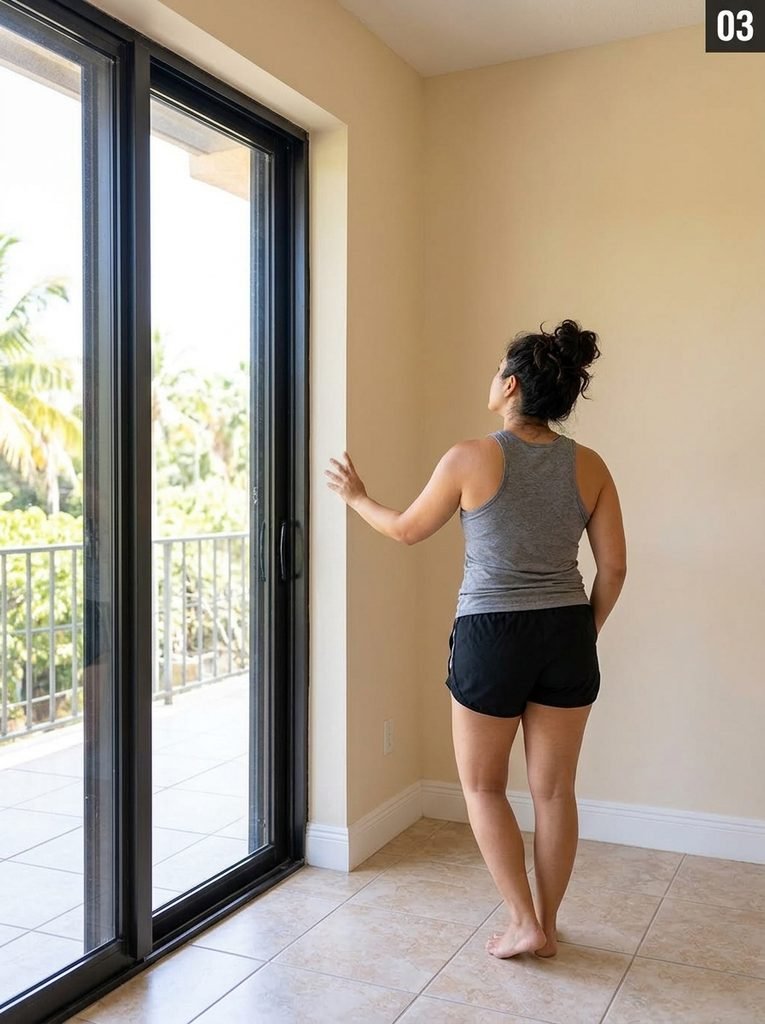
Watch the space at different times of day.
Look for:
- bright natural light
- convenient access
- room for a small shelf
- enough space to water and work
- a nearby surface for preparing cuttings
Avoid placing the station where doors, furniture, or walking paths constantly interfere with it.
Start With a Simple Propagation Shelf
You do not need a decorative plant cabinet.
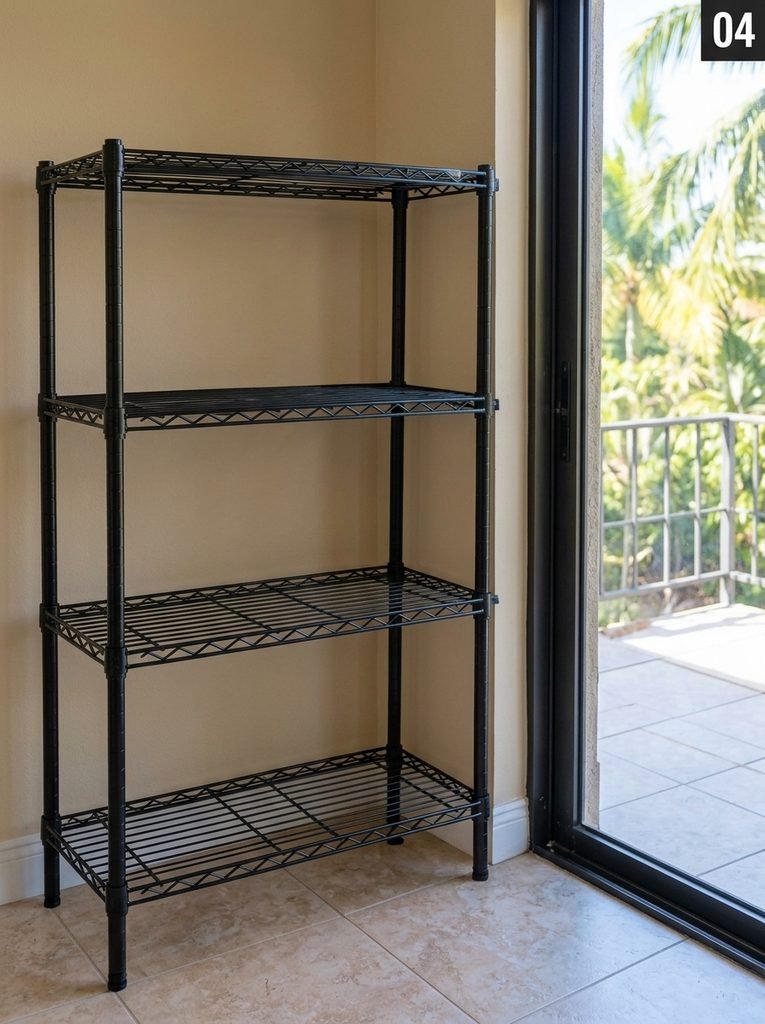
A basic utility shelf can keep jars, trays, and small pots off the floor while using vertical space efficiently.
Choose a shelf that feels stable and fits the available corner without blocking the window.
Leave some open space between levels. You may need room later for taller cuttings, a grow light, or newly transplanted plants.
Keep the Supplies Simple
Plant propagation only requires a few basic tools.
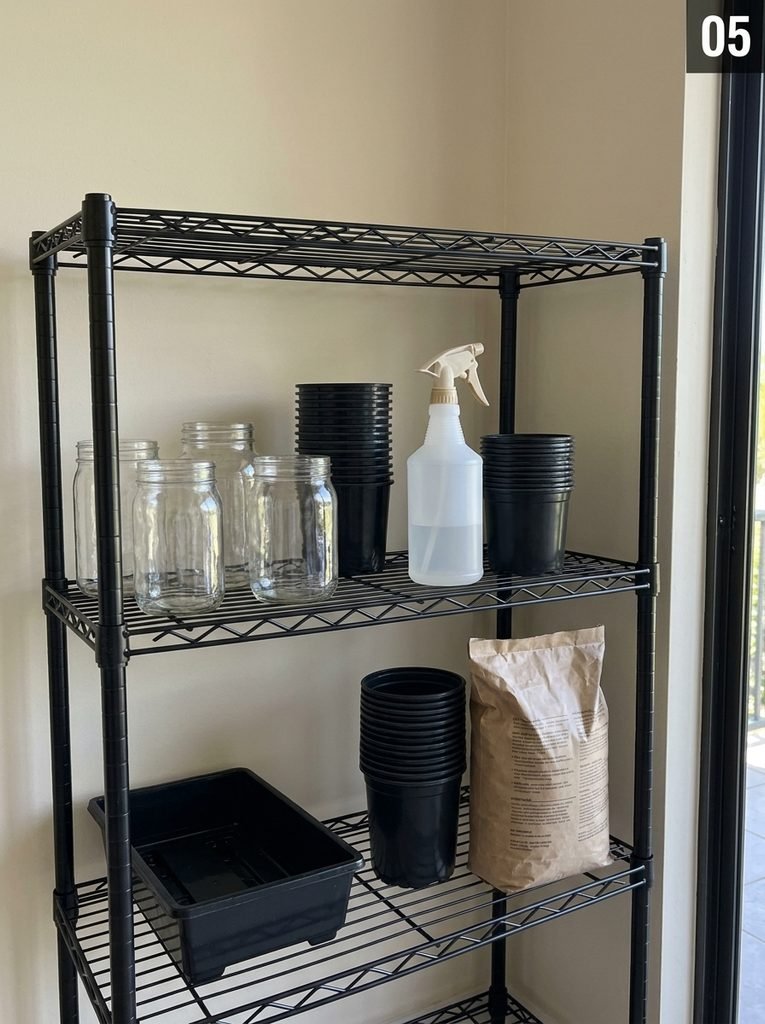
A practical setup may include:
- clean pruning snips
- clear jars or small containers
- nursery pots
- propagation trays
- potting mix
- a spray bottle
- blank plant markers
- a watering container
You do not need every propagation accessory at the beginning.
Start with what you will actually use and add equipment only when the setup requires it.
Select Healthy Plant Material
Healthy cuttings usually start with a healthy mother plant.
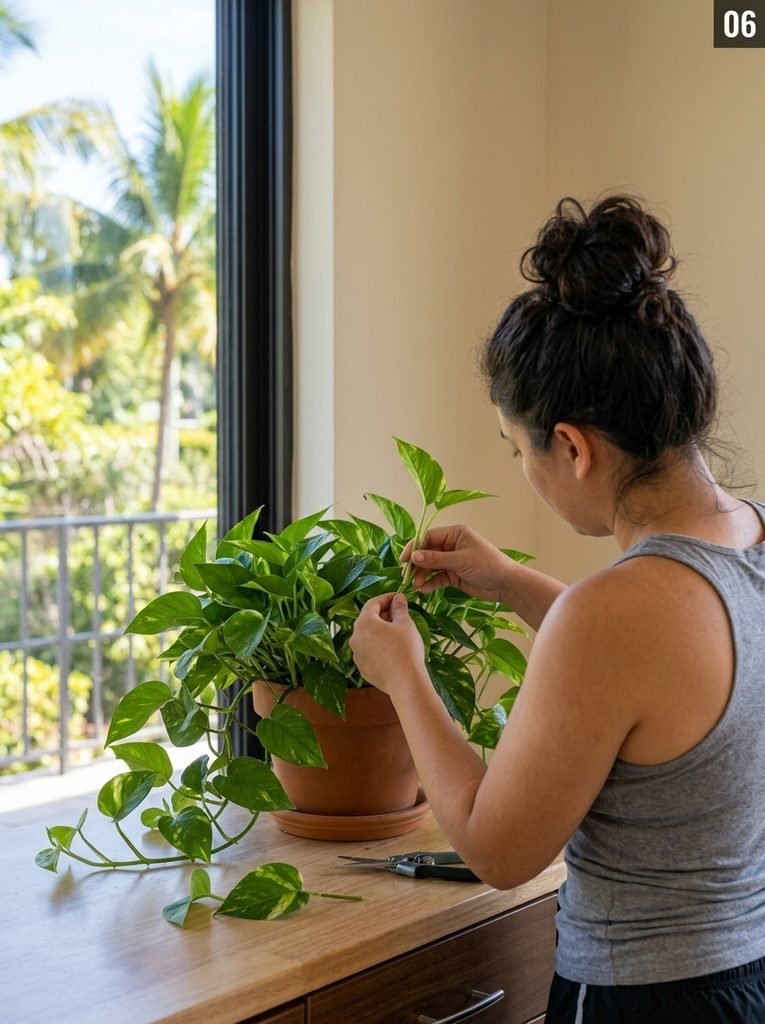
Look for a stem with healthy leaves and visible nodes.
Avoid using badly damaged, weak, or heavily stressed growth when better plant material is available.
The exact cutting method depends on the plant, so understand where the nodes are before making the cut.
Take the Cutting Carefully
Use clean pruning snips or scissors suitable for plant care.
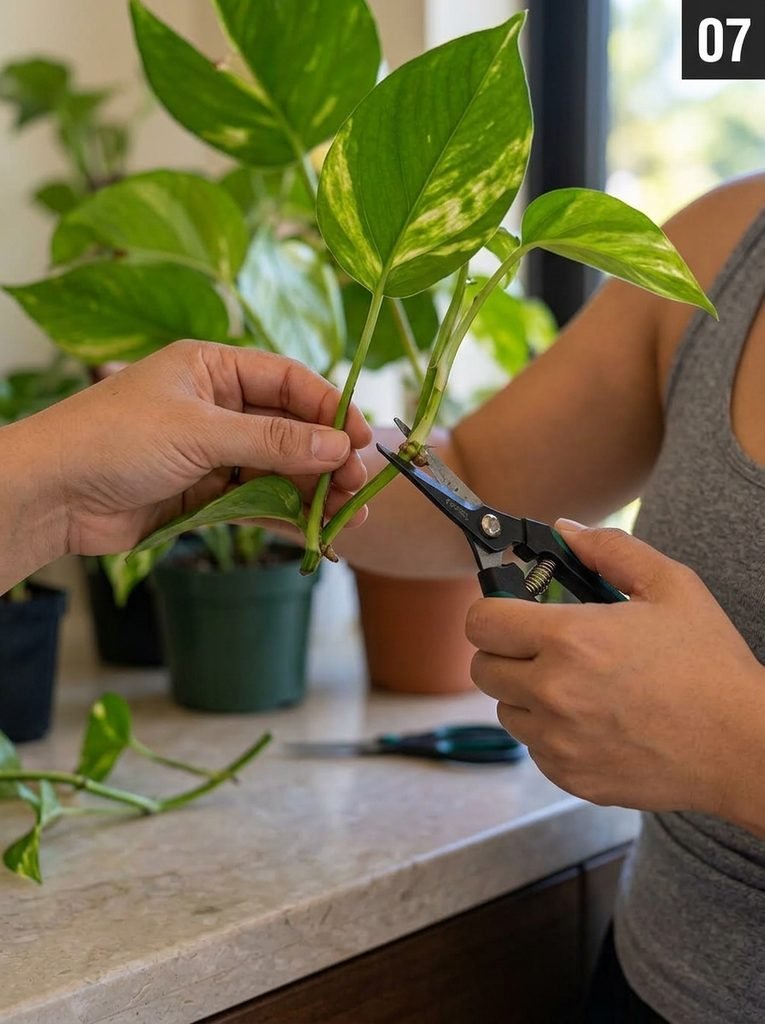
For many common vining houseplants, a cutting needs at least one node because that is where new roots can develop.
Do not make the cutting unnecessarily long.
A manageable stem with healthy leaves and the correct node placement is easier to fit into a jar or small propagation pot.
Prepare the Cutting
Once the stem is removed, prepare the lower part before propagation.
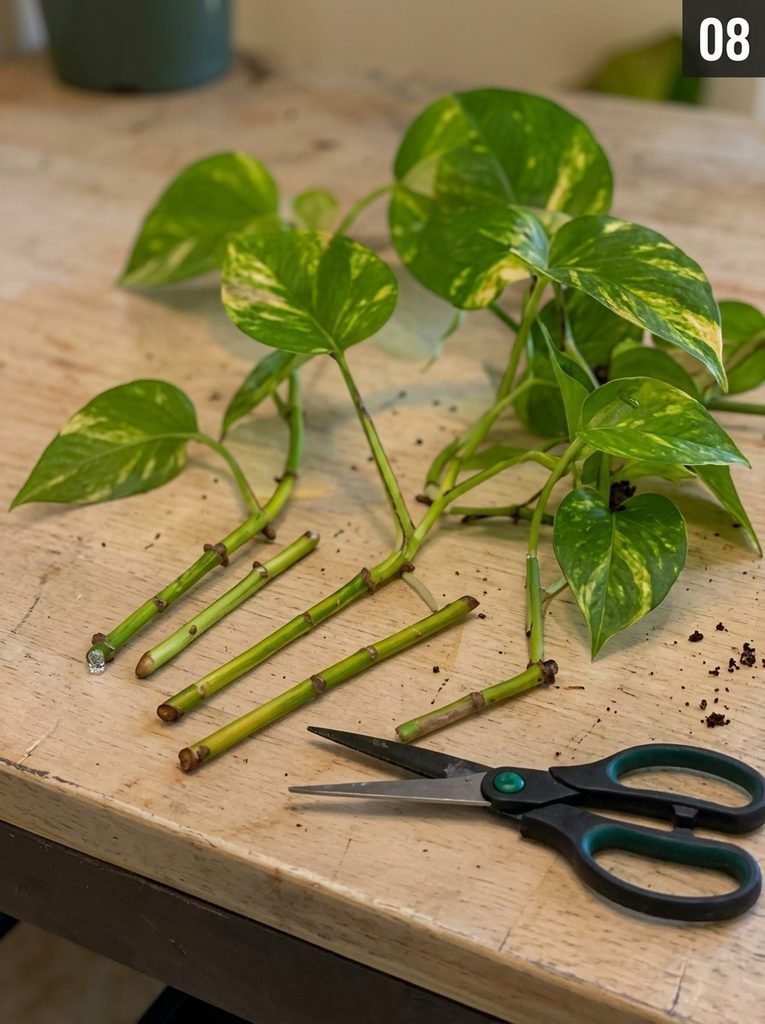
If lower leaves would sit under water or become buried in wet potting mix, remove those leaves while keeping healthy upper foliage.
This helps keep leaves out of standing water and gives you a clean section of stem to work with.
Handle the stem gently so the node is not damaged.
Water vs Soil Propagation
There is no single method that is best for every plant.
Two common options are water propagation and direct soil propagation.
Start Water Propagation
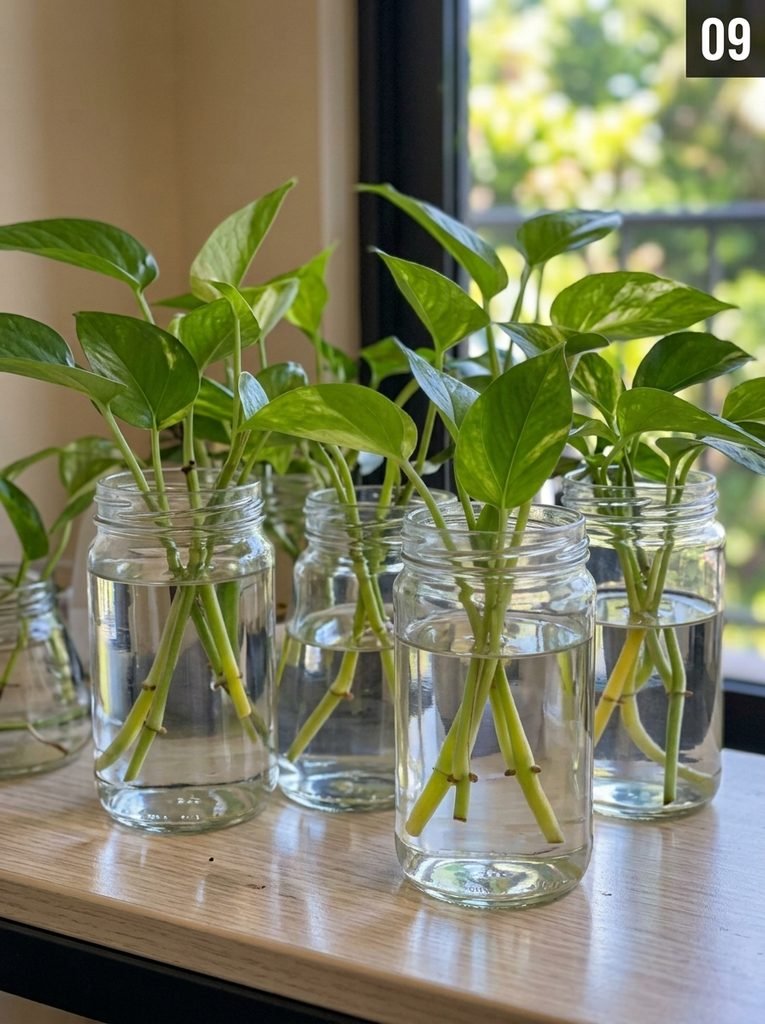
Place the lower node of the cutting into clean water while keeping the leaves above the water line.
Use a container large enough to hold the cutting without crowding several stems together.
Clear jars make it easy to see:
- water condition
- early root development
- damaged stem tissue
- when roots are becoming established
Refresh the water when it becomes cloudy or dirty.
Start Soil Propagation
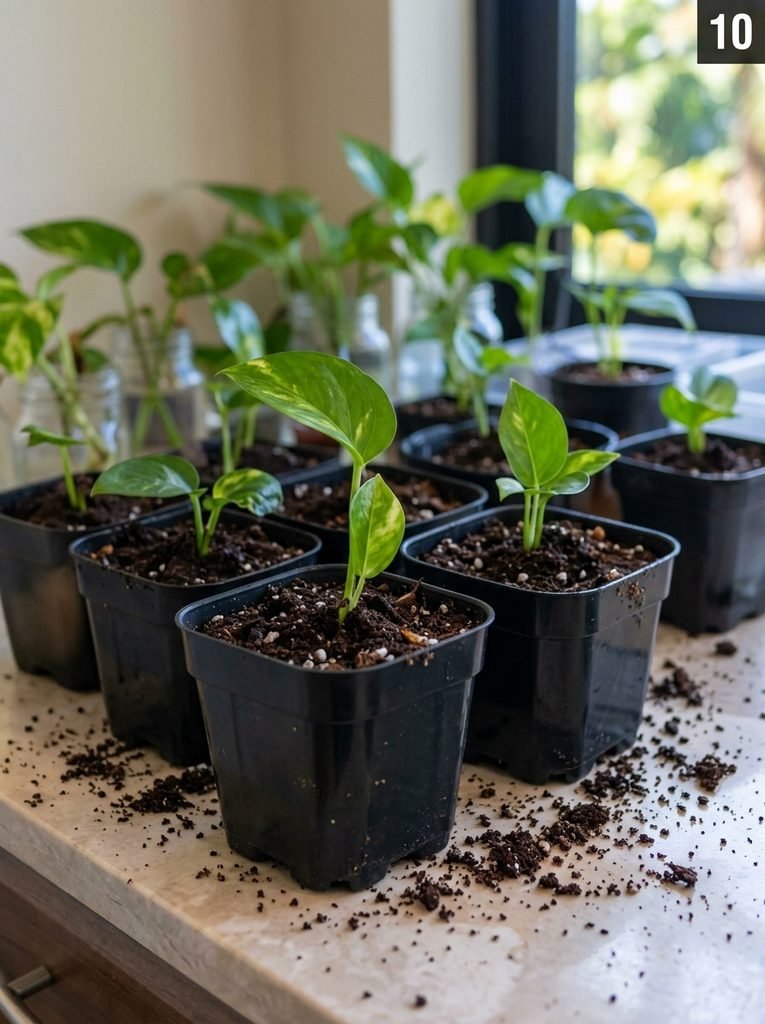
Some cuttings can also be placed directly into a light potting medium.
Use small containers rather than putting a tiny cutting into an oversized pot.
Keep the growing medium appropriately moist while the cutting is establishing, but avoid leaving it constantly saturated.
Water and soil propagation can both be useful, so a propagation station can support both methods at the same time.
Organize the Propagation Shelf
Once the first batches are started, organize them so they remain easy to check.
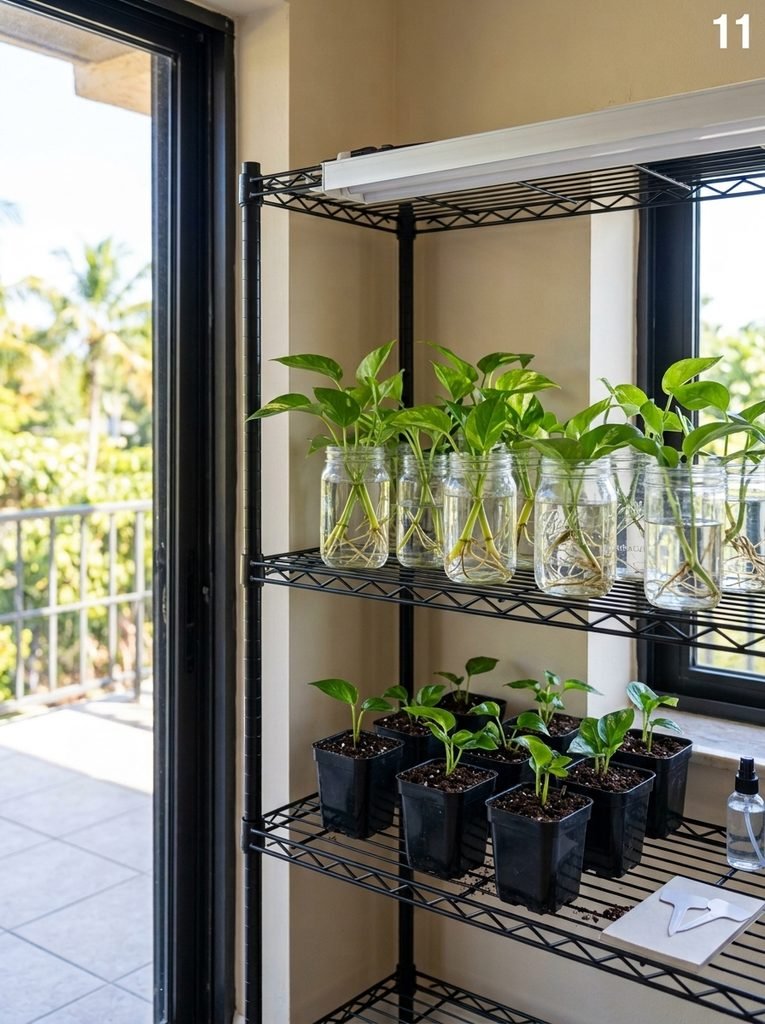
For example:
- keep water jars together
- group soil cuttings on a tray
- leave room under each shelf level
- keep watering tools accessible
- avoid packing every available inch
A little open shelf space makes the station easier to clean and adjust later.
Add a Propagation Light When Needed
Natural window light may be enough in some locations, but a simple grow light can help when the area is not consistently bright.
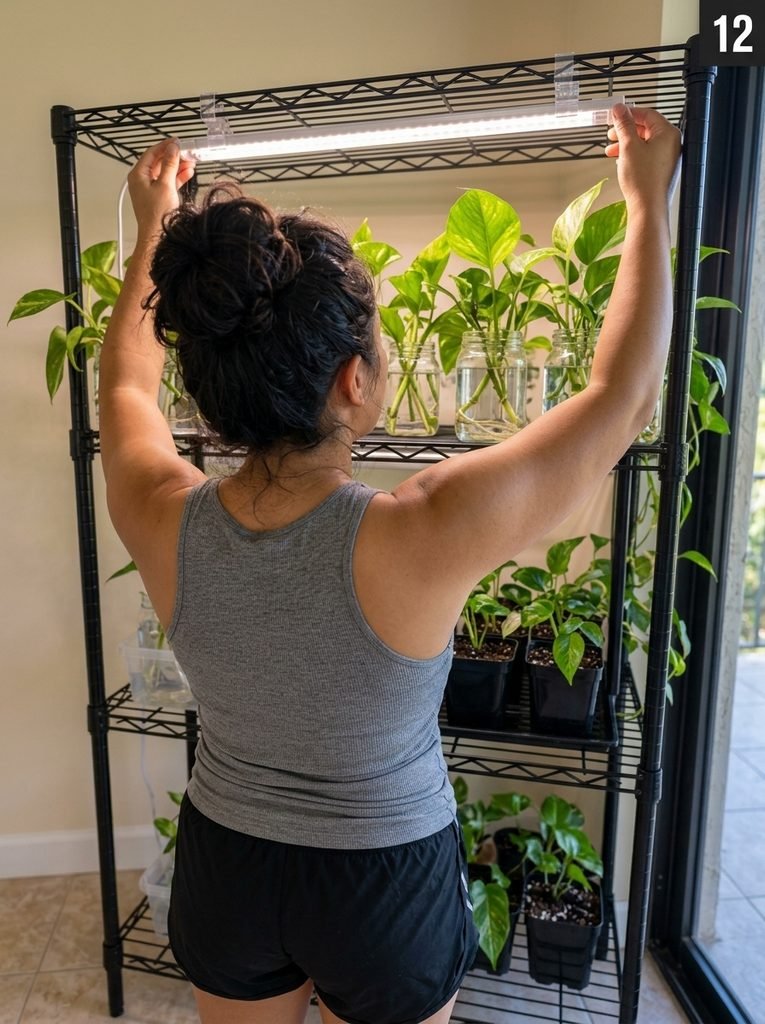
A basic white LED grow light is usually easier to live with indoors than an overly bright decorative setup.
Mount it securely and keep electrical components away from standing water.
The goal is to supplement useful light, not turn the corner into a commercial growing room.
Adjust Light Placement
A grow light should not sit directly against the leaves.
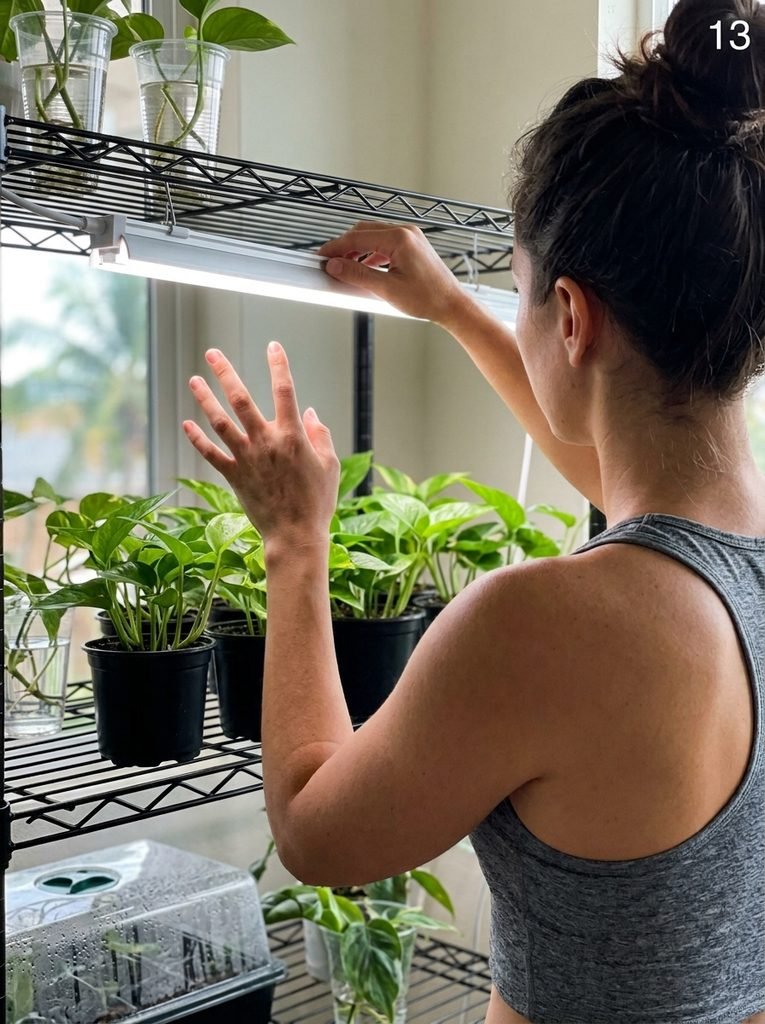
Leave practical space between the light and plant foliage.
Watch the plants after the light is installed.
If foliage becomes stressed, bleached, or excessively stretched, the light conditions may need adjustment.
Different plants can respond differently, so use plant growth as feedback rather than relying only on appearance.
Use Humidity Support Only Where Useful
Some propagation setups benefit from higher humidity, especially small soil-propagated cuttings.
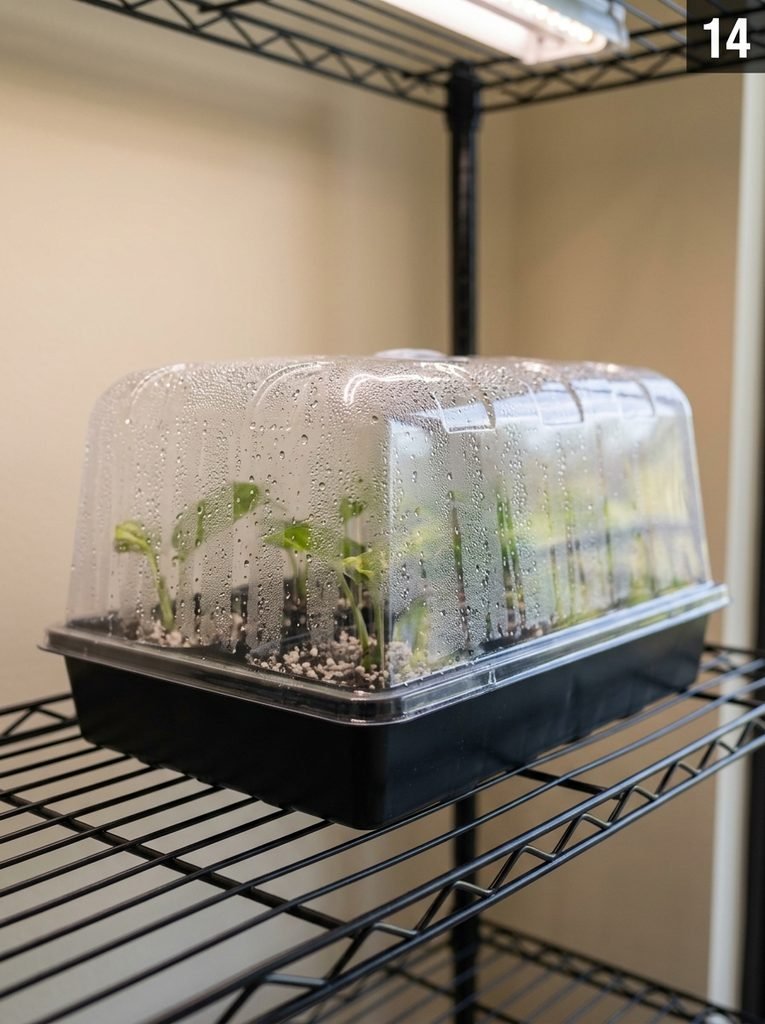
A clear humidity dome can help reduce moisture loss around young cuttings.
However, the container should not become a permanently sealed, dripping environment.
Very heavy condensation, stagnant air, and constantly wet growing media can create problems.
Use humidity support as a tool, not as a requirement for every cutting.
Watch Water Roots Develop Gradually
Root development takes time.
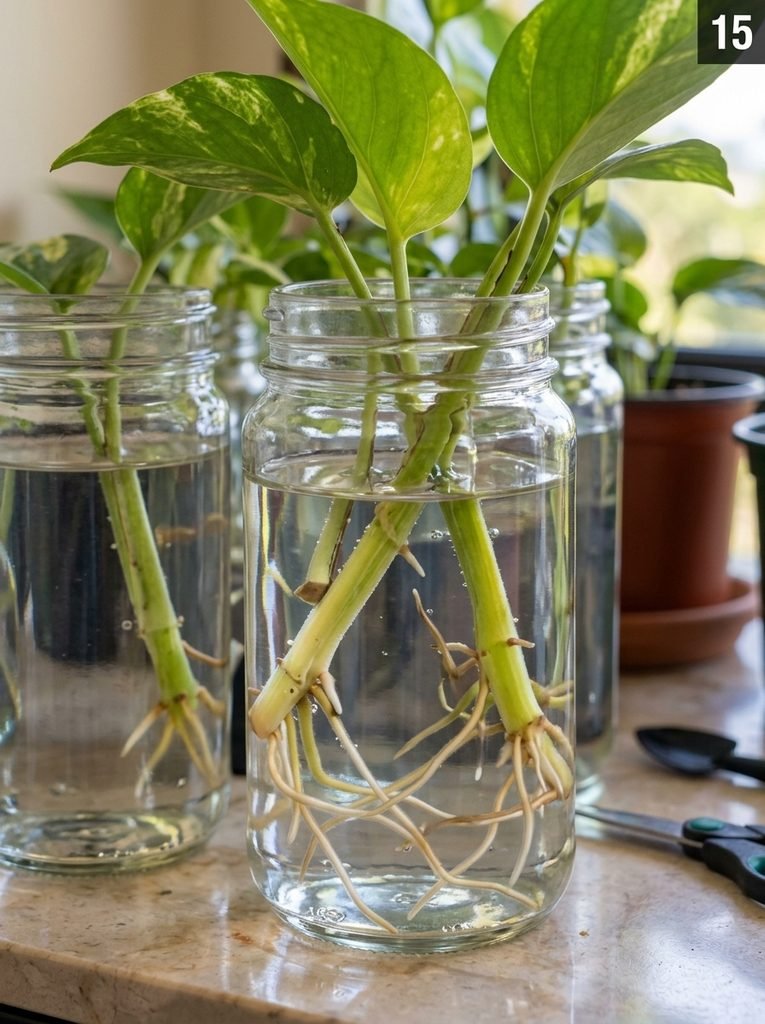
Do not expect a fresh cutting to suddenly produce a large root system.
Early roots may be short and uneven.
Continue monitoring:
- water clarity
- stem condition
- leaf health
- new root growth
The goal is steady, healthy progress rather than dramatic growth.
Check Soil Cuttings for New Growth
Soil-propagated cuttings can be harder to inspect because the roots are hidden.
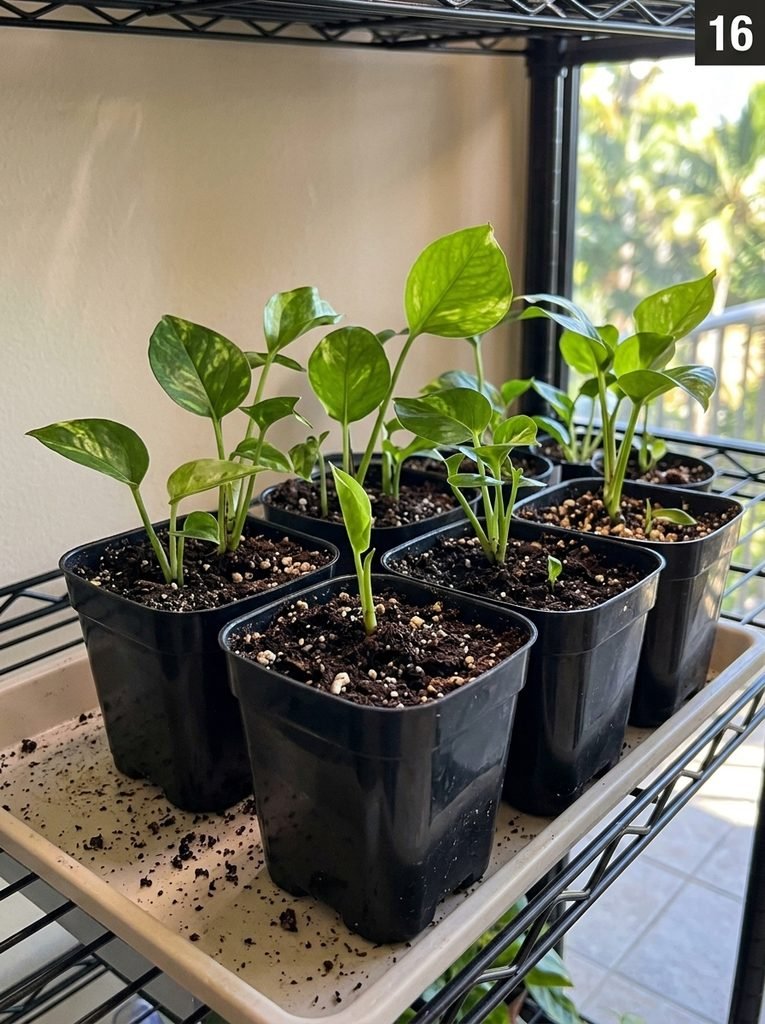
Instead of repeatedly pulling the cutting out of the soil, look for signs such as:
- healthy upright leaves
- modest new growth
- continued stem firmness
- gradual establishment
Avoid disturbing the root zone unnecessarily.
Young cuttings should still look like young plants at this stage.
Label and Track Cuttings
Once you are propagating several plants, it becomes easy to forget which batch was started first.
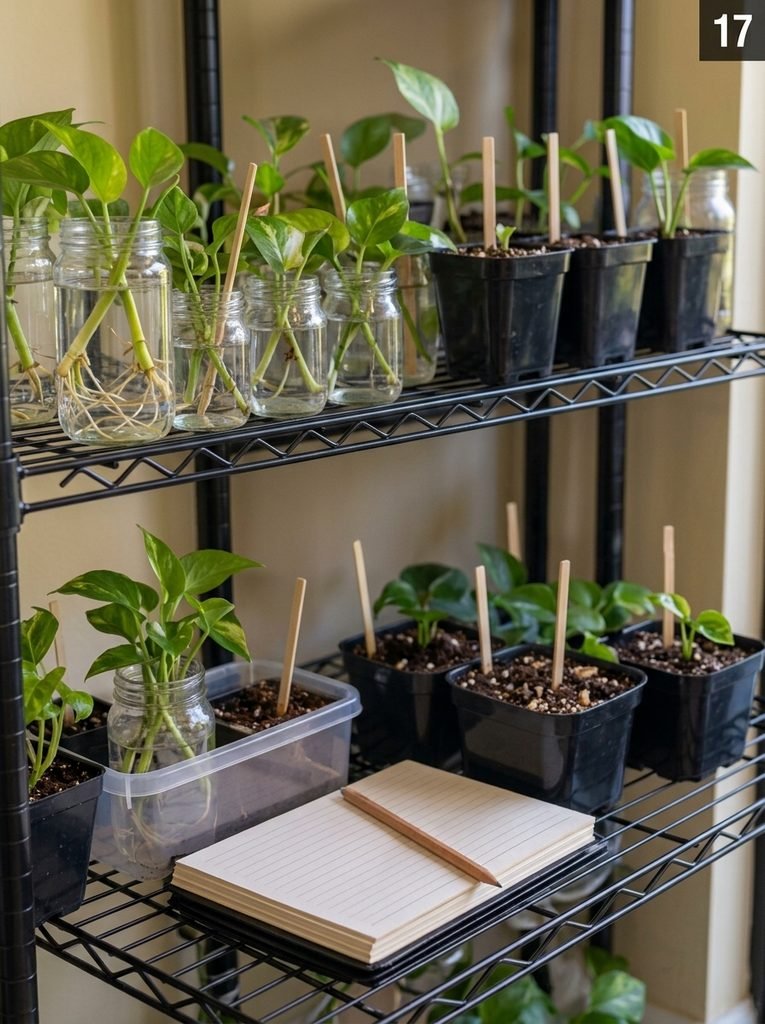
Use simple plant markers and a notebook or digital record to track useful details such as:
- plant type
- propagation method
- start date
- transplant date
- which cuttings succeeded
- which method worked best
The tracking system does not need to be complicated.
The purpose is to learn from each batch and avoid mixing up similar-looking cuttings.
Check Root Health
Water propagation makes root inspection easy.
Healthy young roots often look light-colored and firm.
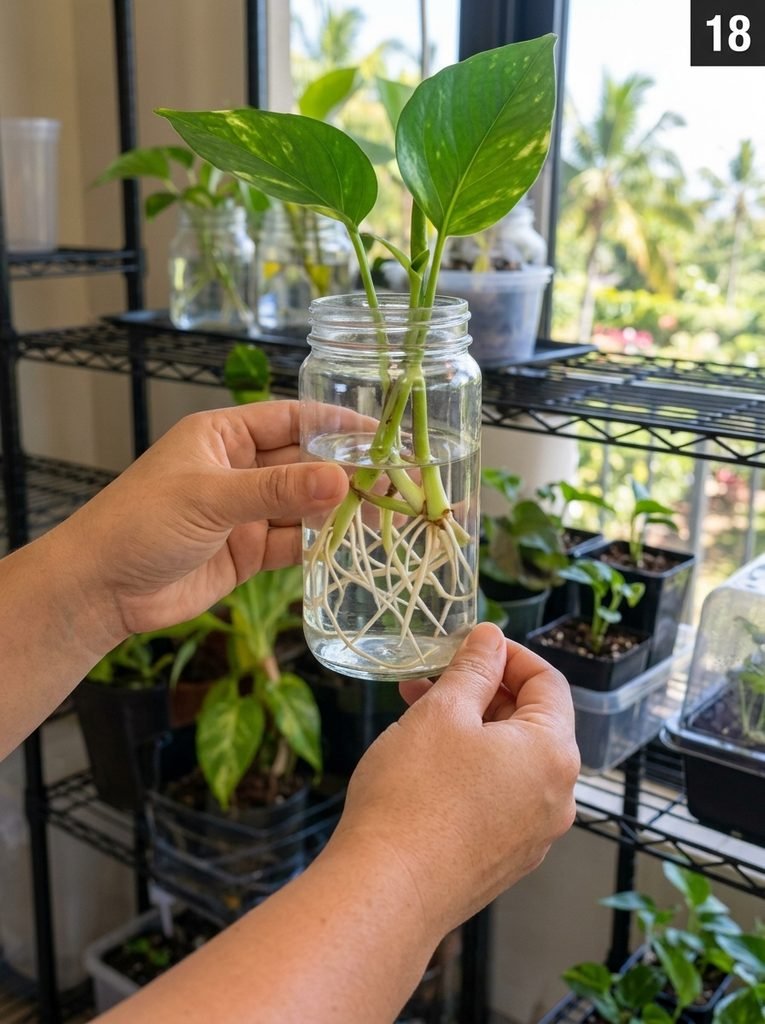
When checking a jar, also look at the water and the submerged stem.
If the water becomes dirty or the stem begins deteriorating, address the problem instead of waiting for a larger root system.
Avoid handling delicate new roots more than necessary.
Transplant a Rooted Cutting
Once a cutting has developed a useful root system, it can be moved into soil.
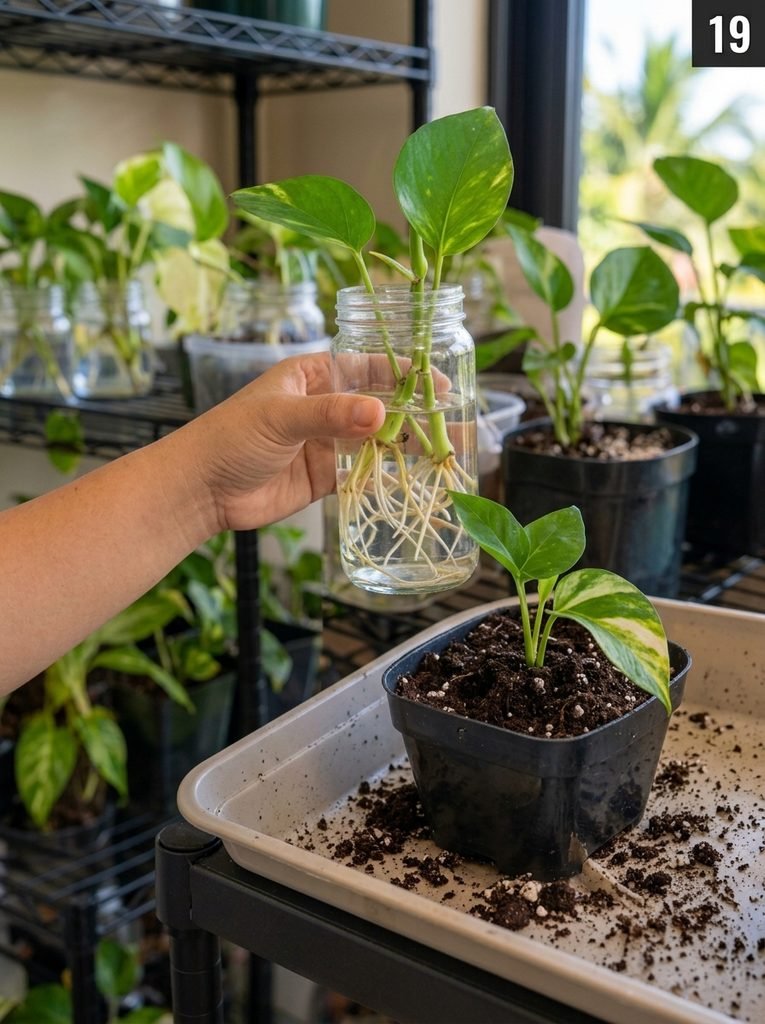
Choose a small nursery pot with drainage.
Add potting mix, position the rooted cutting carefully, and fill around the roots without crushing them.
Water the soil after transplanting so it settles around the roots.
The new plant may need a short adjustment period after moving from water to soil.
Let Young Plants Establish
Freshly transplanted cuttings are not mature plants yet.
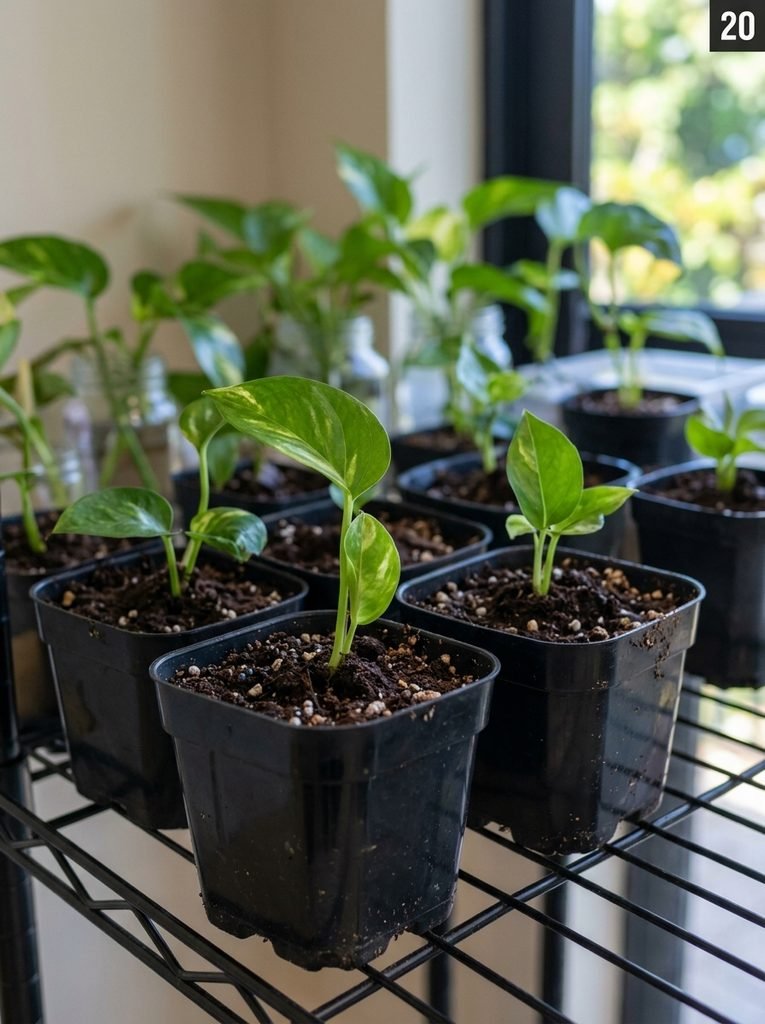
Keep them in stable conditions while they establish.
Watch for:
- new leaves
- healthy stems
- reasonable soil moisture
- signs of stress
- gradual growth
Do not rush them into oversized containers just because roots have formed.
Small pots are often easier to manage while young plants are establishing.
The Final Working Propagation Station
A useful propagation station will usually contain plants at several stages.
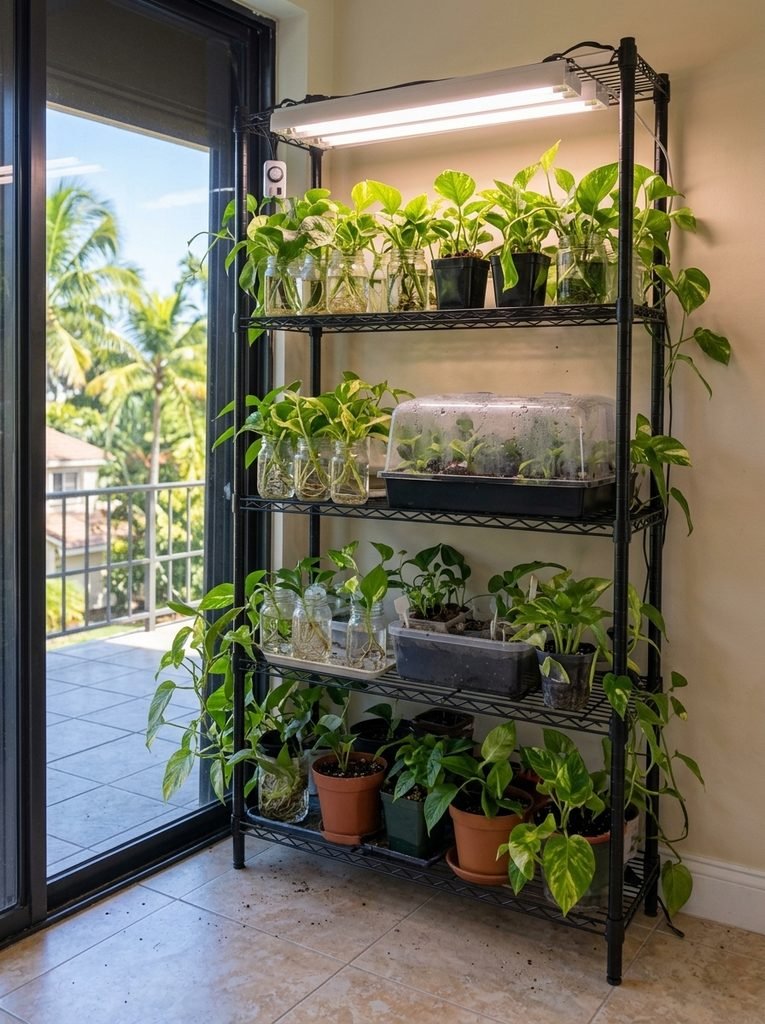
You might have:
- fresh water cuttings
- rooted jars
- soil cuttings
- young transplanted plants
- a humidity tray
- a simple grow light
- some open shelf space
That is more practical than filling every shelf with decorative jars.
A good propagation station should make plant care easier.
Common Propagation Setup Mistakes
Choosing Harsh Direct Sun
Bright light can be useful, but intense direct sun through glass may overheat jars or stress cuttings.
Choose the location carefully and watch how the light changes during the day.
Submerging Leaves in Water
Leaves sitting in water can deteriorate.
Keep the node and lower stem positioned appropriately while leaves remain above the water line.
Packing Too Many Cuttings Into One Jar
Crowded jars are harder to monitor and can make stems difficult to separate later.
Use several simple containers instead.
Letting Propagation Water Become Stagnant
Check water regularly and refresh it when needed.
Clear jars make this easier to notice.
Using Huge Pots for Tiny Cuttings
A small cutting does not need a large volume of wet potting mix.
Use a pot that matches the scale of the young root system.
Keeping Soil Constantly Wet
Moisture is important, but constantly saturated potting mix can create poor growing conditions.
Let the needs of the plant and growing medium guide watering.
Putting the Grow Light Too Close
More light is not automatically better.
Keep a practical distance between the light and the foliage and adjust if plants show stress.
Overcrowding the Shelf
Leave room to inspect, water, clean, and move plants.
A propagation station should remain usable as the plants grow.
Frequently Asked Questions
Is water or soil better for plant propagation?
Both methods can work. Water propagation makes root development easy to observe, while soil propagation allows the cutting to establish directly in a growing medium. The best method depends on the plant and your setup.
Do plant cuttings need a grow light?
Not always. A bright location may provide enough natural light. A grow light can be helpful when natural light is limited or inconsistent.
How much light do propagation cuttings need?
Many cuttings do well with bright indirect light. Avoid assuming that strong direct sunlight is always better.
Should I use a humidity dome for every cutting?
No. Humidity domes can be useful for some soil-propagated cuttings, but not every plant needs one.
When should a water-propagated cutting be moved to soil?
Transplant when the cutting has developed a healthy root system that can be handled without excessive damage. The exact timing varies by plant.
How do I organize multiple propagation batches?
Use simple blank plant markers while working, then keep the plant name, date, propagation method, and progress in a notebook or digital record.
Final Thoughts
Plant propagation does not require a beautiful plant room or an expensive collection of equipment.
A bright corner, a stable shelf, clean tools, a few jars, small nursery pots, and a simple system for tracking cuttings can create a useful propagation station.
Start small.
Take healthy cuttings, choose water or soil propagation based on the plant, give the cuttings appropriate light and moisture, watch roots develop gradually, and transplant only when the new plant is ready.
A good propagation station is not just pretty.
It helps you see what is working, care for cuttings consistently, and turn successful propagation into healthy young plants.