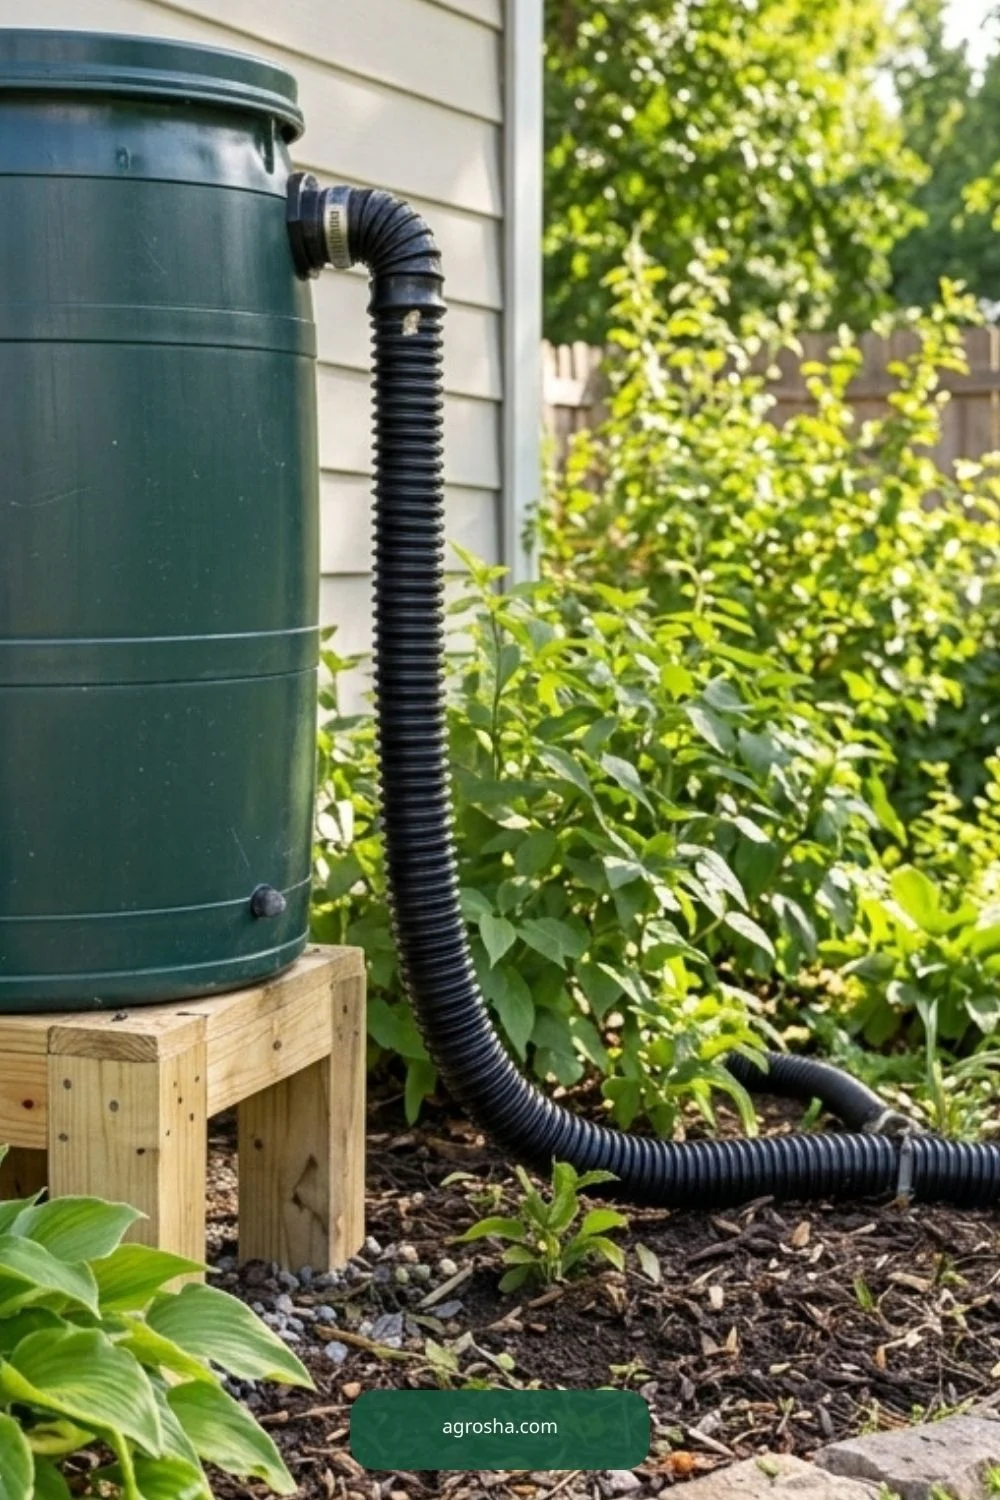
A full rain barrel needs somewhere safe for the next roof runoff to go. An overflow system uses an outlet near the upper side of the barrel and a suitable pipe or hose to carry excess water toward an approved drainage area. The trick is making that route work during a heavy shower, not simply connecting a decorative hose. This guide covers fitting selection, a secure leak-resistant connection, mosquito exclusion and a controlled test before the rain arrives.
Quick Answer
To install a DIY rain barrel overflow system, identify the barrel’s designated upper outlet, attach a compatible screened bulkhead or overflow fitting, connect a suitably sized hose without kinks, and lead the discharge to a safe pervious drainage area away from the foundation. Test the path with clean water and inspect it regularly.
If runoff crosses an uneven yard, review our sloped backyard garden ideas before choosing where excess water can safely flow.
Planning and Safety
Review the path of the roof runoff before drilling anything. The downspout inlet, upper overflow outlet and ground below the barrel should form a sensible drainage route. Avoid sending water onto a neighbor’s property, a public walk, a basement wall or a steep eroding slope. Rutgers describes useful foundation setbacks for suitable permeable areas, but follow local drainage requirements and site conditions rather than claiming one distance works for every property.
A barrel can weigh hundreds of pounds when filled. Drain and disconnect it before altering fittings, and do not climb on its support to reach a high outlet. Keep inlet and overflow access screened so mosquitoes cannot enter. The overflow must have adequate capacity for the intended roof area and local storms; if you cannot establish that from a manufacturer or qualified drainage specialist, do not claim the system will handle all rainfall.
Materials and Tools
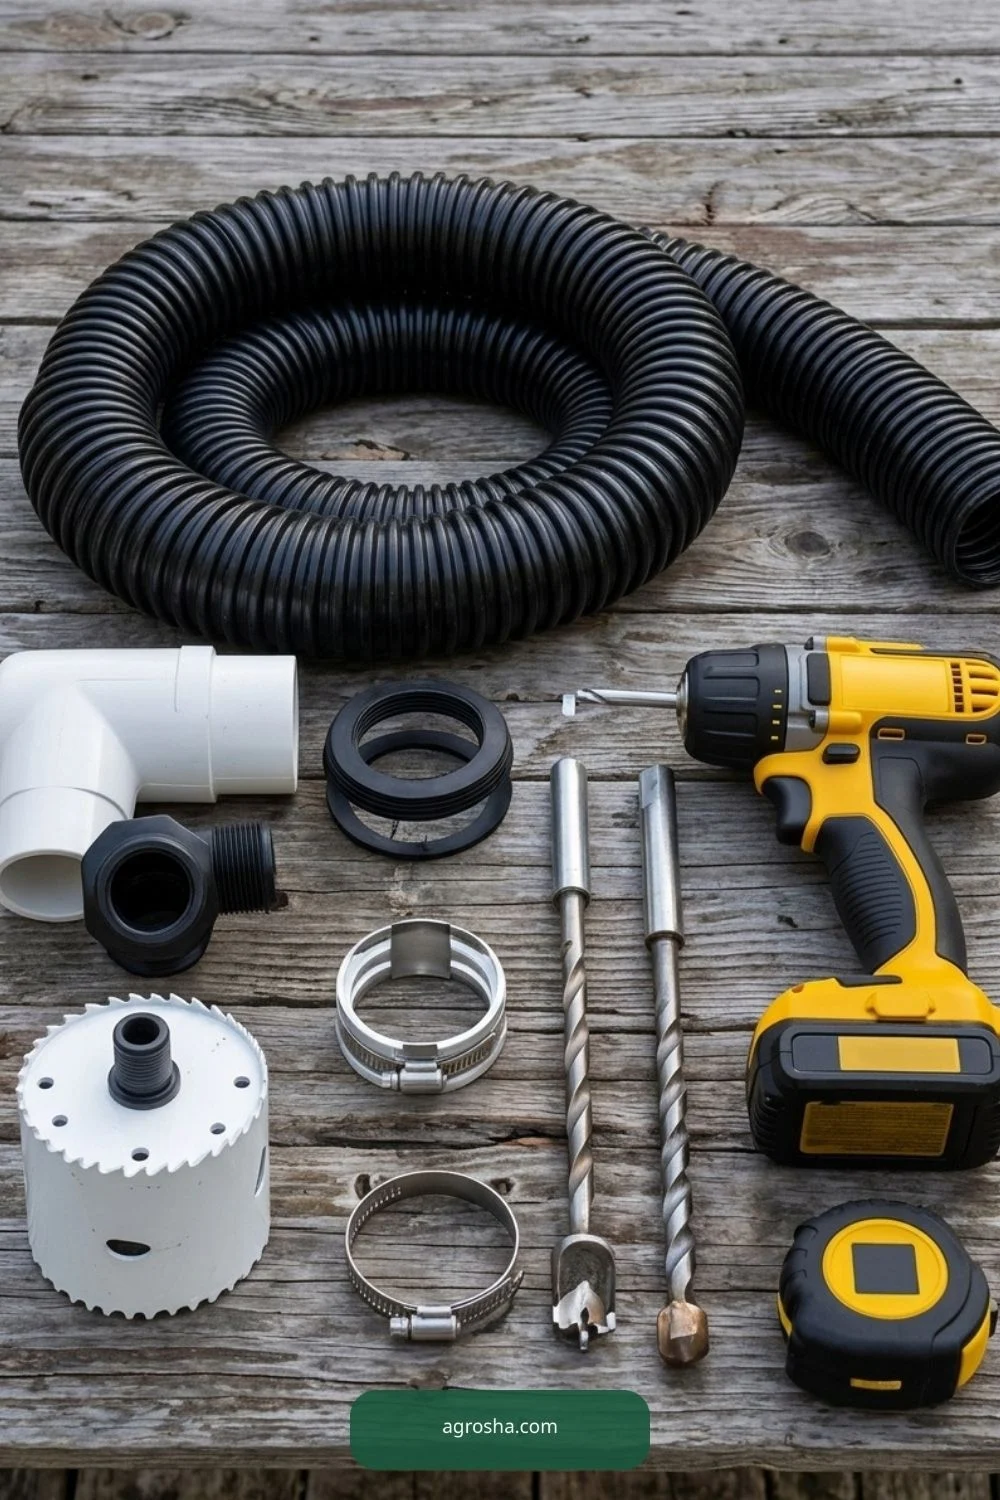
- Rain barrel with a designated overflow location and known material history
- Compatible overflow bulkhead, gasket or manufacturer-approved fitting
- Suitable screened intake or mosquito-resistant outlet arrangement
- Hose or pipe compatible with the outlet and local drainage rules
- Appropriate drill and hole saw sized to the actual fitting instructions
- Gloves, eye protection, measuring tape and clean water for tests
Use the fitting manufacturer’s hole size and gasket instructions rather than a one-size-fits-all drill diameter. Some barrels already include an overflow spigot and need no new hole. A flexible hose may be enough for a small installation, while a longer routed drain may need a different system design and local approval.
Step-by-Step Installation
1. Identify where excess water begins
Examine the barrel inlet and its highest intended water level. Overflow should start before water backs up into uncontrolled openings or spills down the supporting structure. A screened inlet and suitable downspout diverter are separate components; neither eliminates the need for a reliable overflow route.

If the barrel already has a built-in overflow connection, confirm its condition and diameter before buying duplicate fittings.
2. Map the discharge destination
Walk the route from the barrel to a suitable absorbent lawn, rain garden or other approved pervious area. Check how the yard slopes and where heavy runoff would travel. Keep discharge out of neighboring property and away from walls, basement openings, sidewalks and places where erosion is likely.
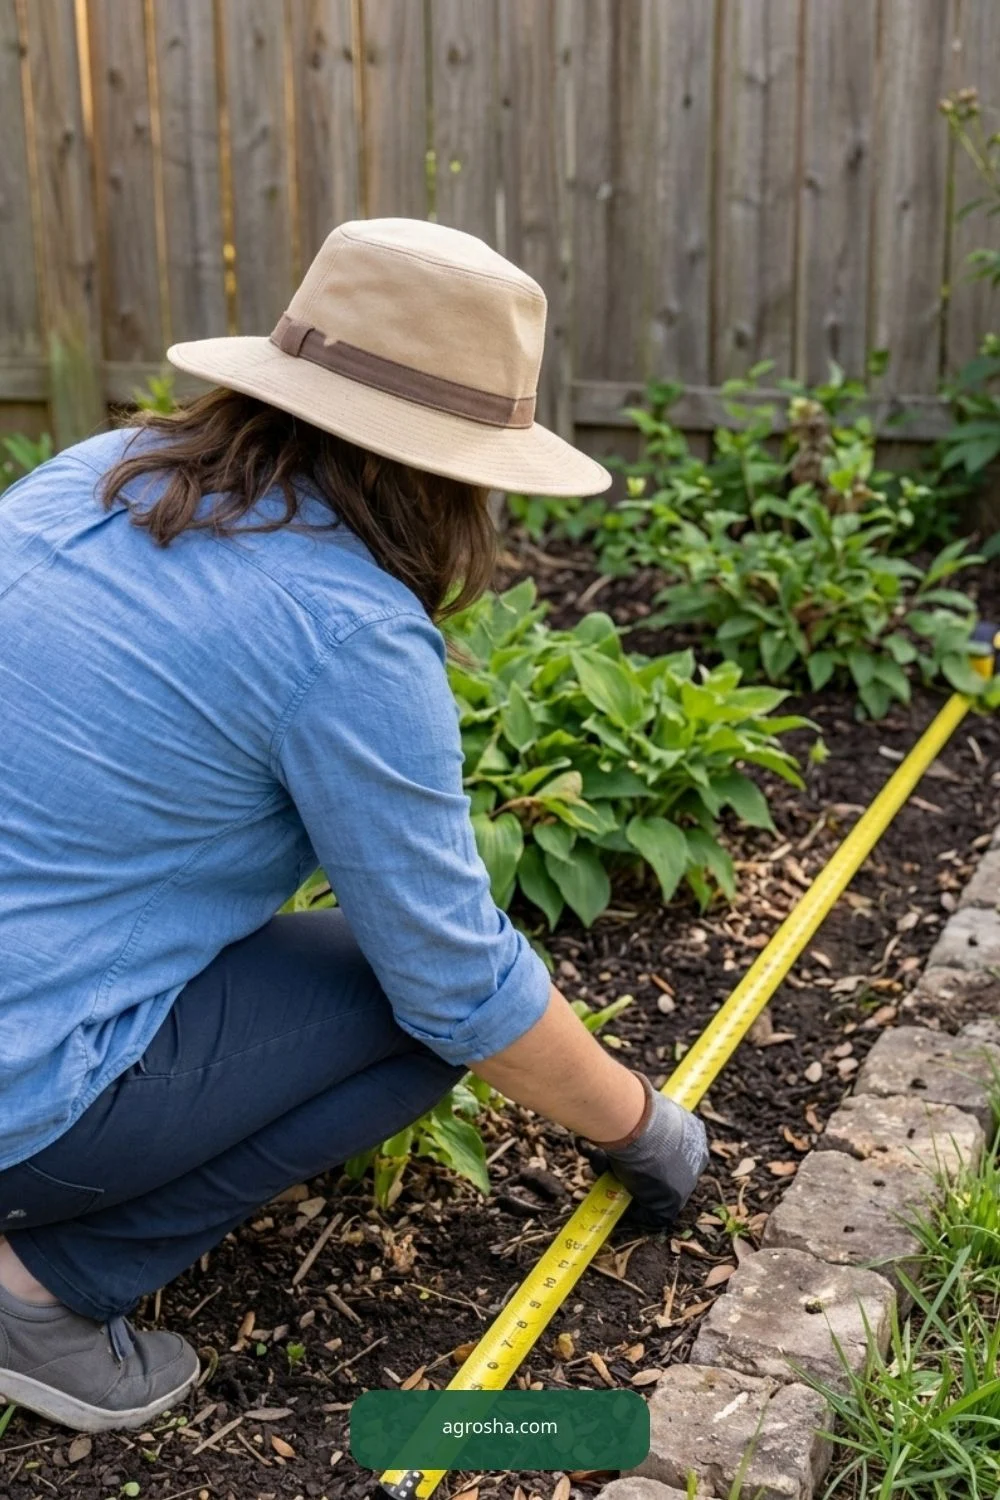
A hose lying across a walkway may be a trip hazard even if its end is in the correct location; plan a safe protected route.

3. Select the fitting and pipe
Match the fitting to the barrel wall, opening style and hose size. Check whether it uses a gasket, nut, washer or another manufacturer-specified seal. Fittings are not interchangeable simply because both look round. Inspect the inside access: some closed-top barrels make it difficult to hold a nut behind the wall.
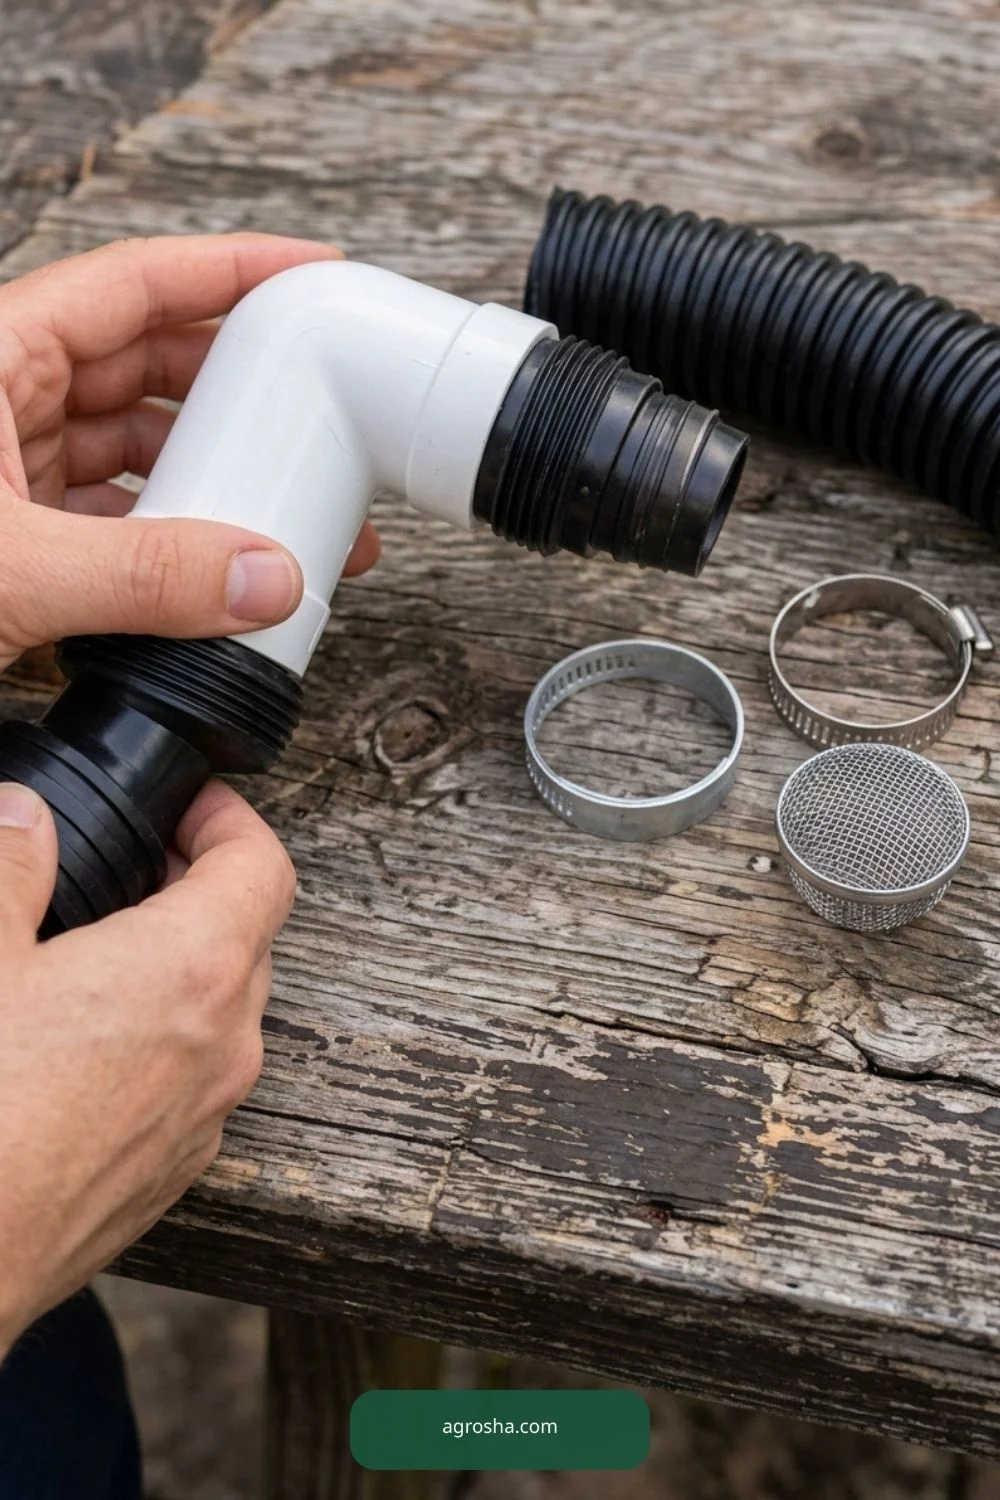
Do not force a hose over an incompatible thread or claim a bead of caulk fixes a structurally poor fit.

4. Prepare the empty barrel
Disconnect the inlet and let stored water drain before cutting or lifting parts. Stabilize the empty container on a firm surface with its intended drilling point accessible. Mark the opening according to the actual fitting specification. Do not cut while a full barrel rests on a tall stand.
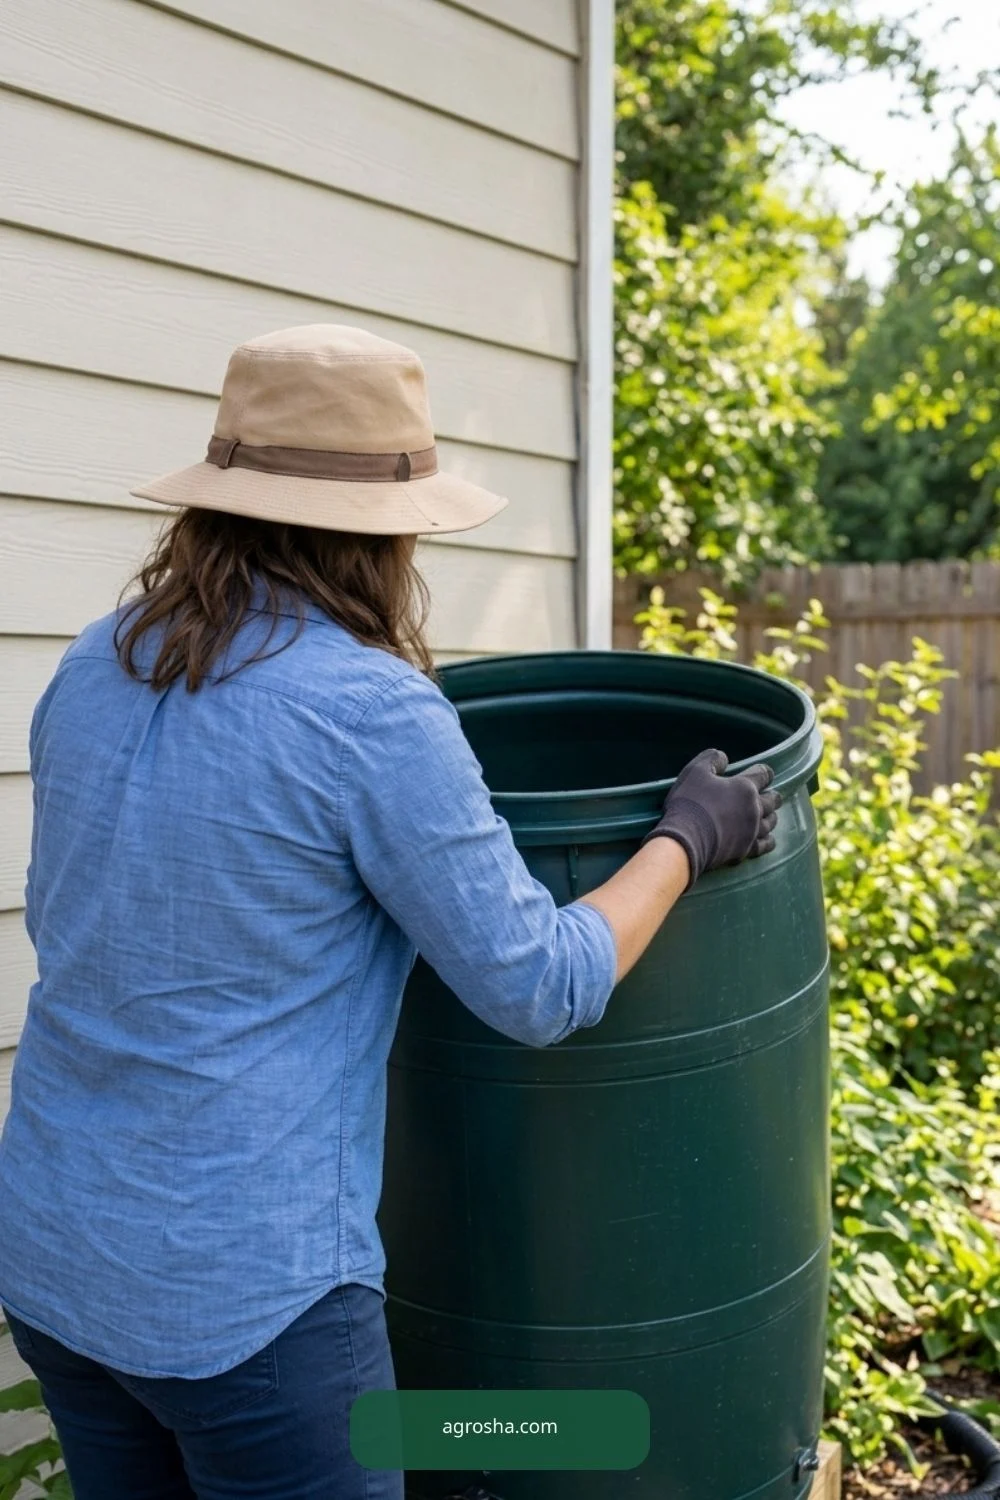
Look inside for obstructions so the fitting does not interfere with a lid, screen, downspout connector or internal brace.

5. Drill or use the existing port
If an approved opening is not already present, drill only to the diameter given for the specific fitting. Use protective eyewear and secure the barrel so the wall does not flex away from the tool. Remove plastic burrs and fragments, keeping debris out of the water storage area.

A rough oversized hole may leak even with extra sealant. Stop and consult the component instructions rather than enlarging it repeatedly.

6. Seat the overflow connection
Place gasket and fitting on the correct side of the wall according to the supplier’s directions. Tighten without cracking thin plastic or distorting the seal. Verify the interior connection remains accessible for inspection. If the joint shifts when the hose moves, add the intended support rather than relying on a tight hose alone.
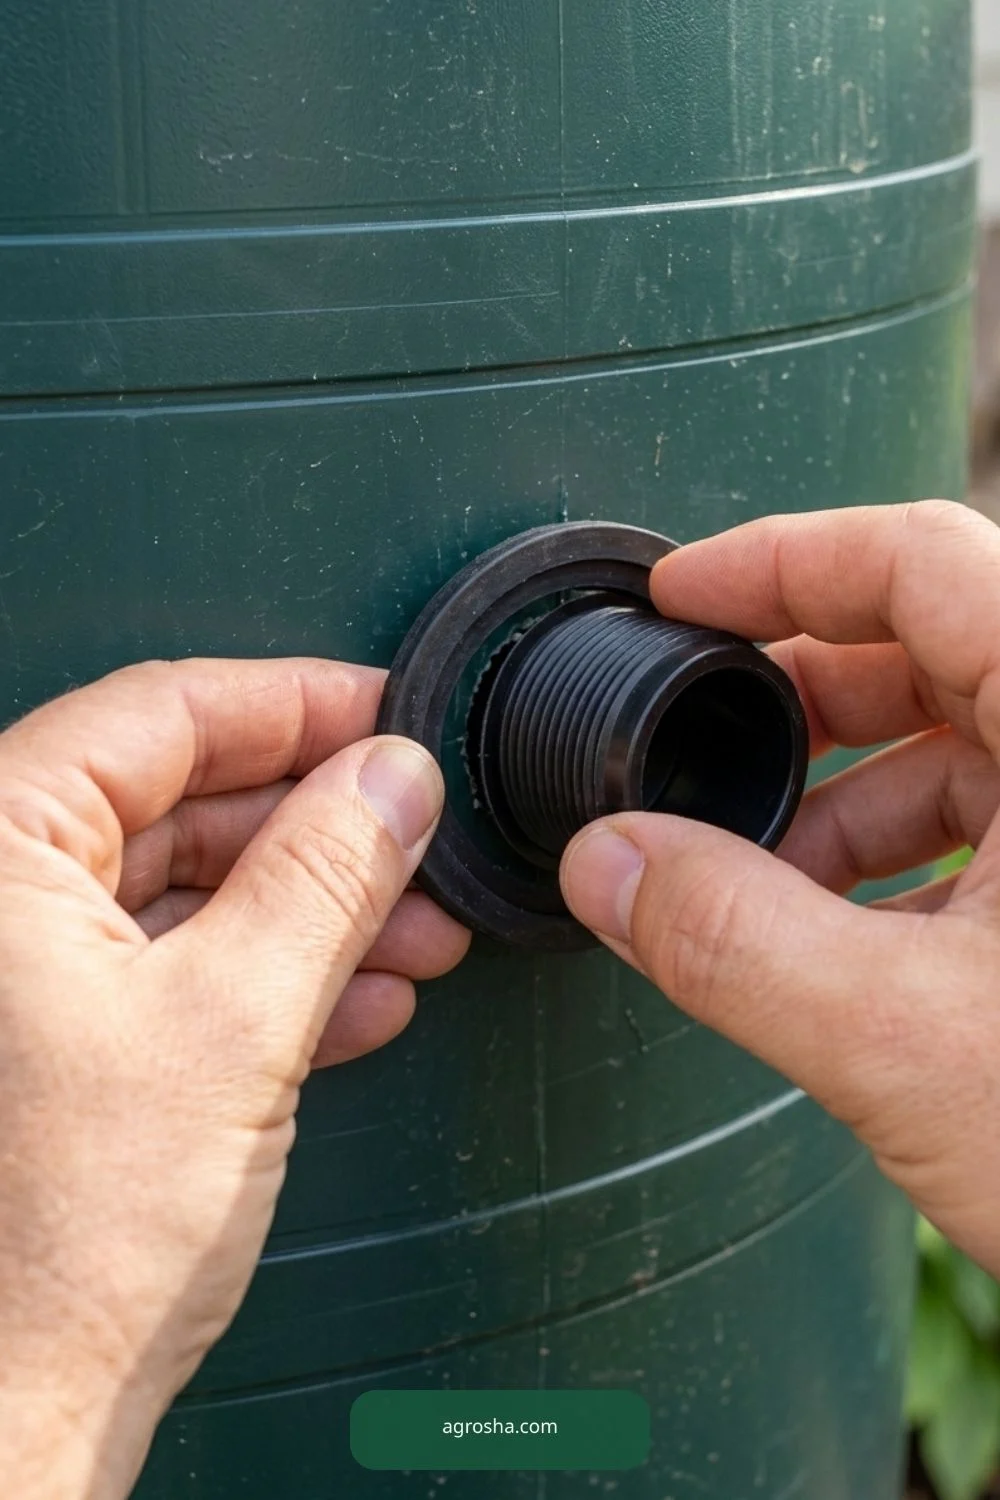
A clean, seated gasket is important; over-tightening can be as damaging as leaving a nut loose.

7. Prevent insect access
Confirm screened inlets and overflow openings cannot admit mosquitoes. Rutgers notes that mosquitoes can enter through overflow openings and recommends suitable screening and hose arrangements. Select durable mesh, secure it without blocking the water path, and make it reachable for cleaning.
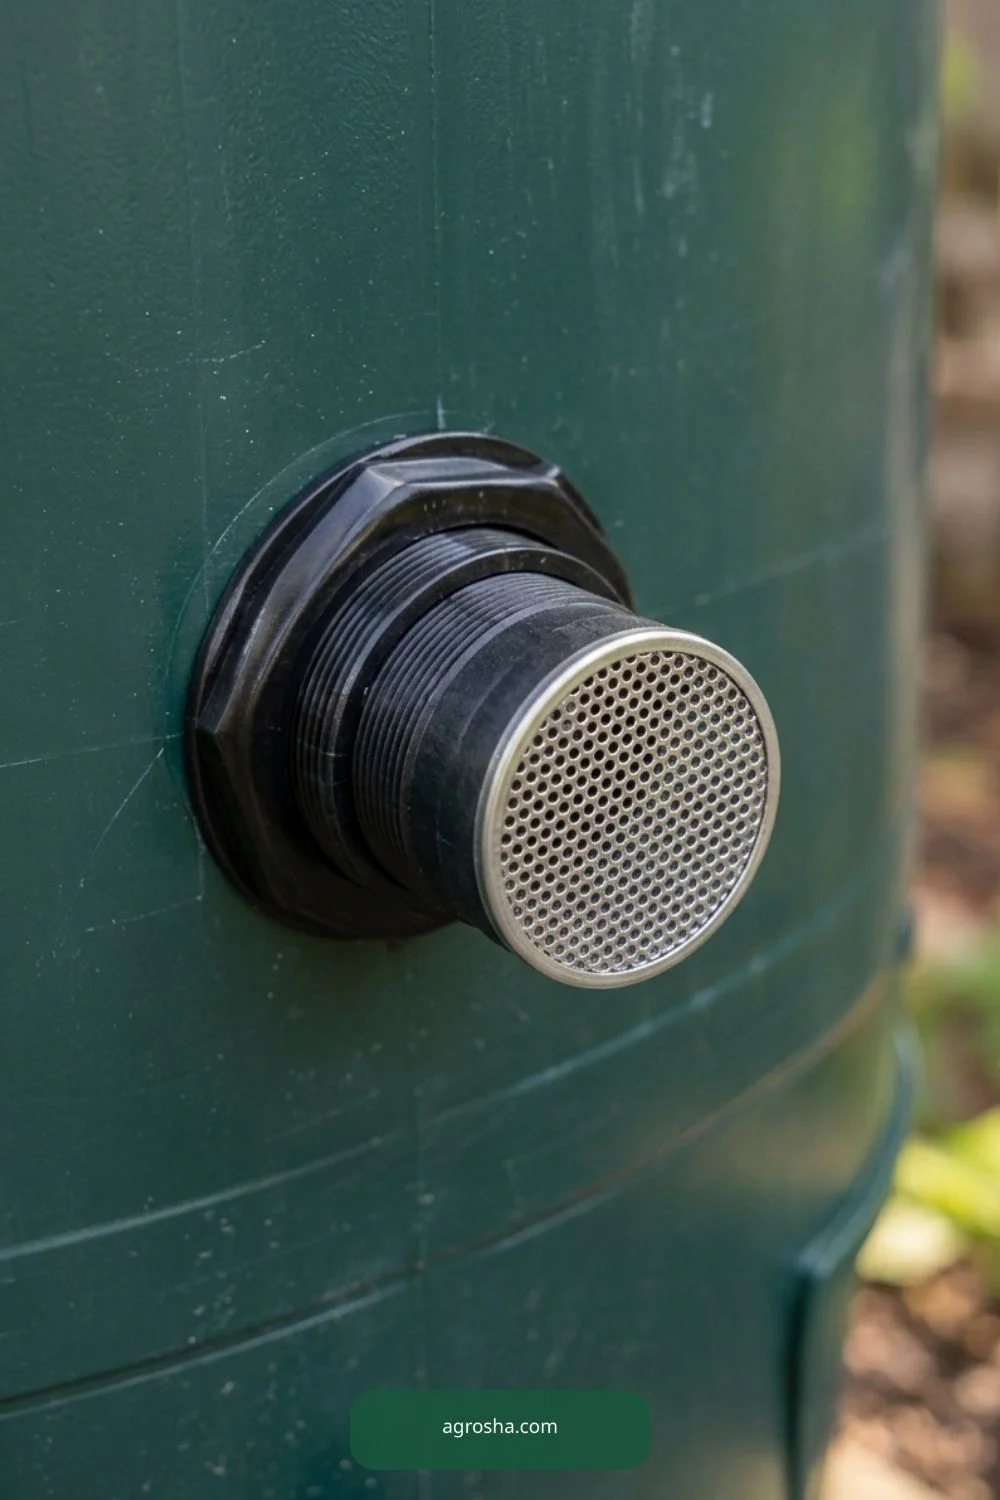
Mesh that is crushed or clogged will reduce flow. Inspect it after storms and whenever leaves accumulate.
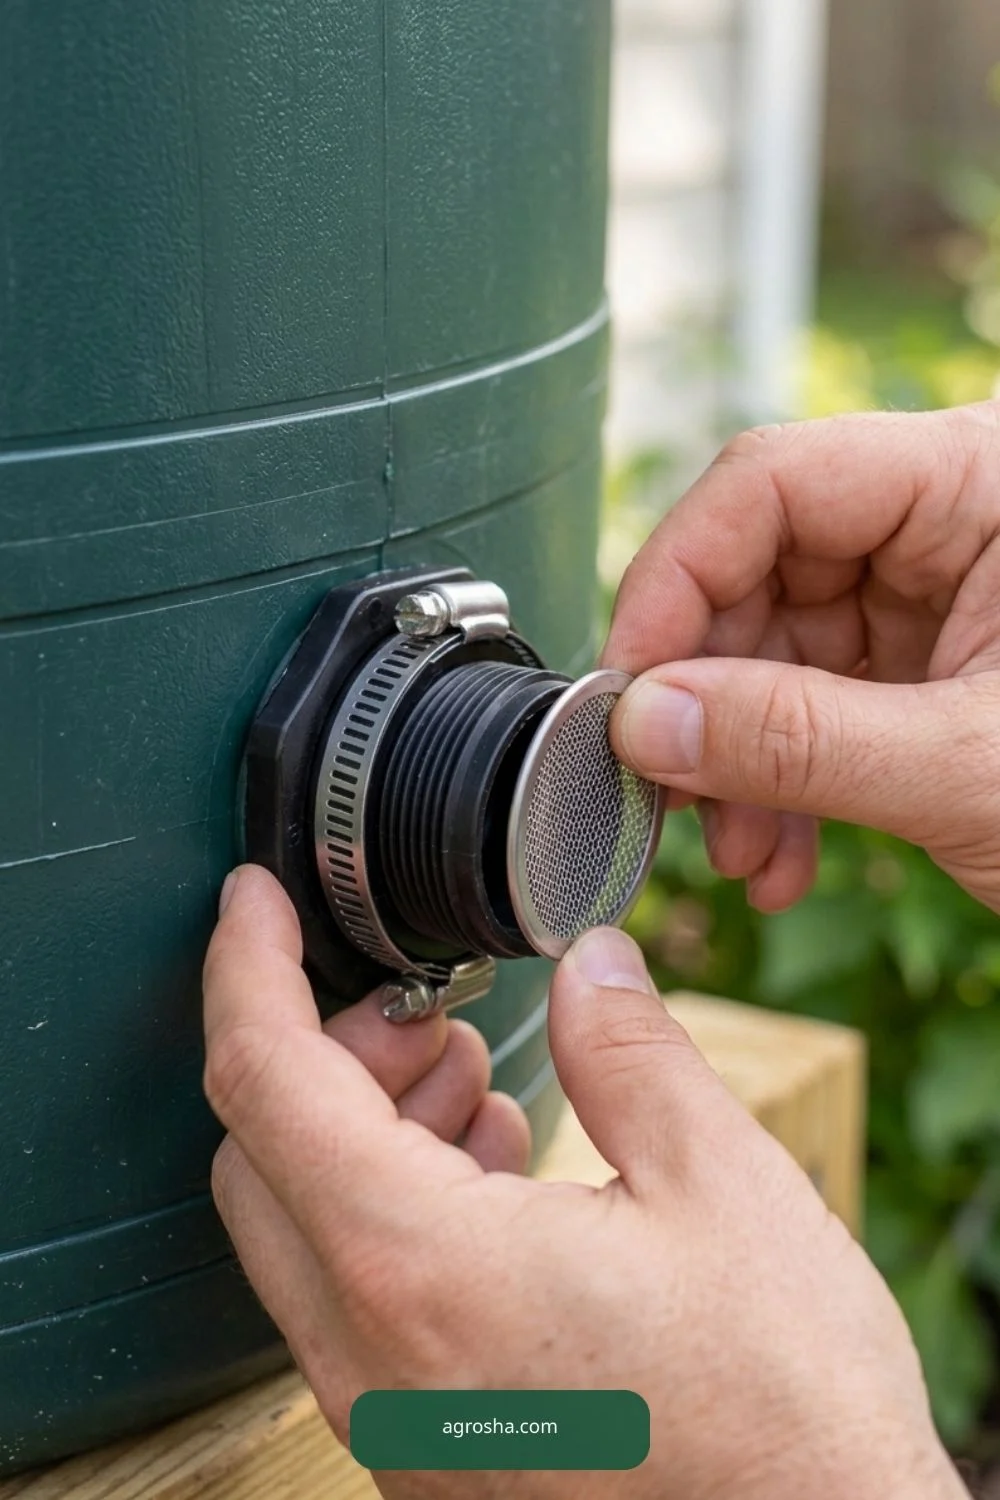
8. Attach and support the hose
Connect the hose to the fitting without bending the barrel wall or putting sideways strain on the gasket. Route it downhill or as required by the selected drainage design; avoid sharp kinks, high trapped loops and accidental stepping points. Keep its outlet positioned where discharge cannot erode a foundation or make paths slippery.
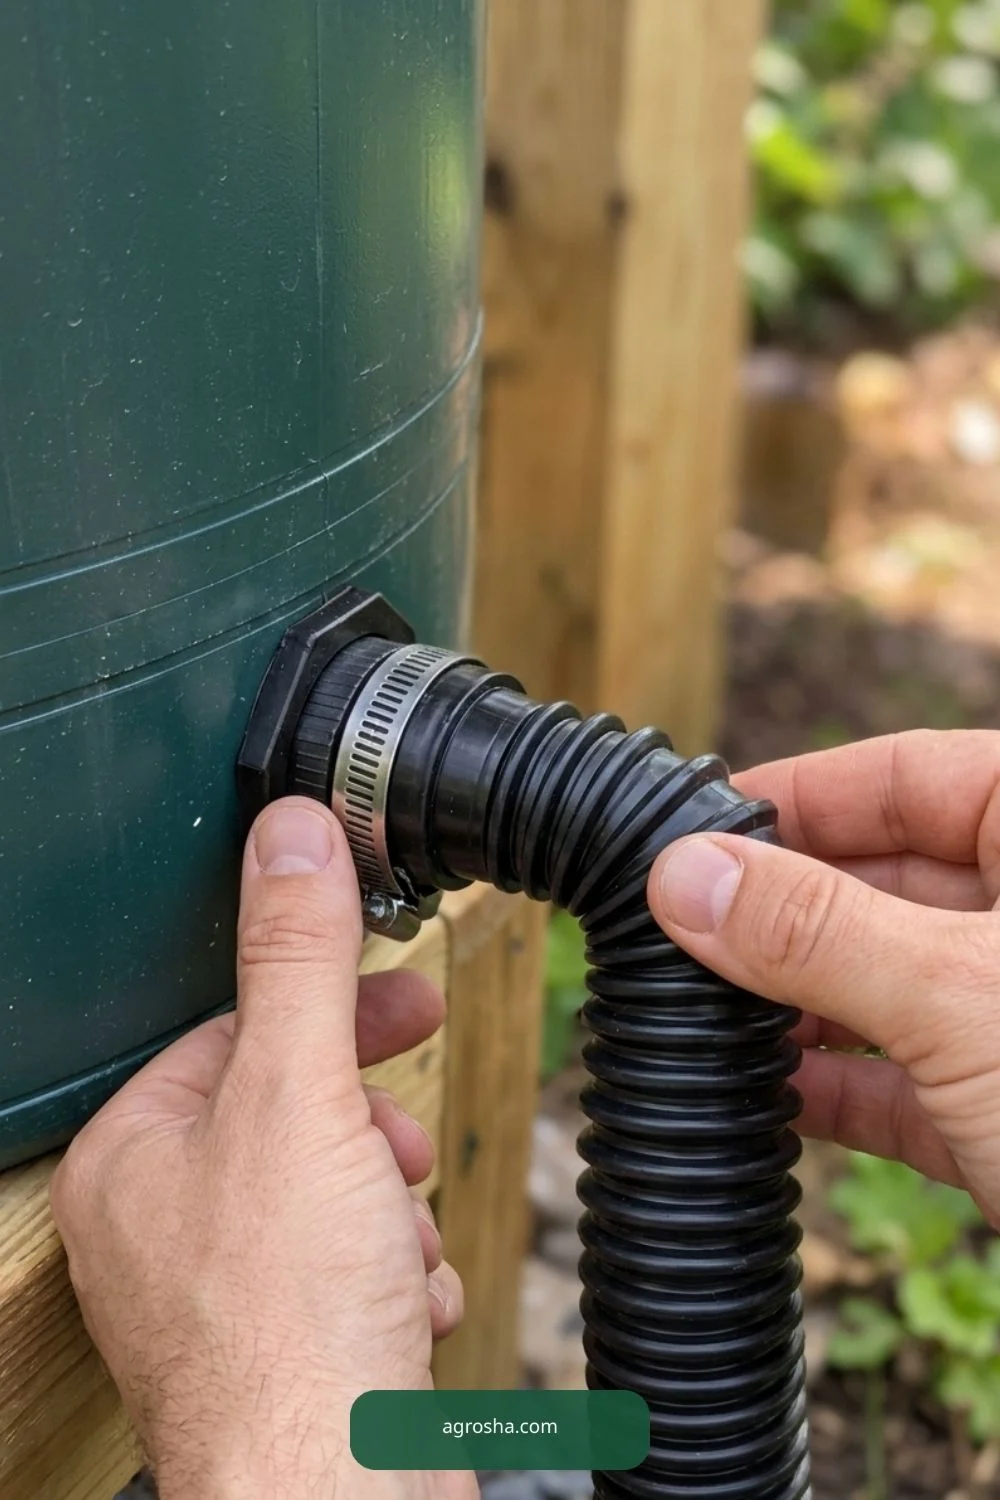
If the hose must cross a walking route, change the route or protect it appropriately rather than leaving it loose across the ground.
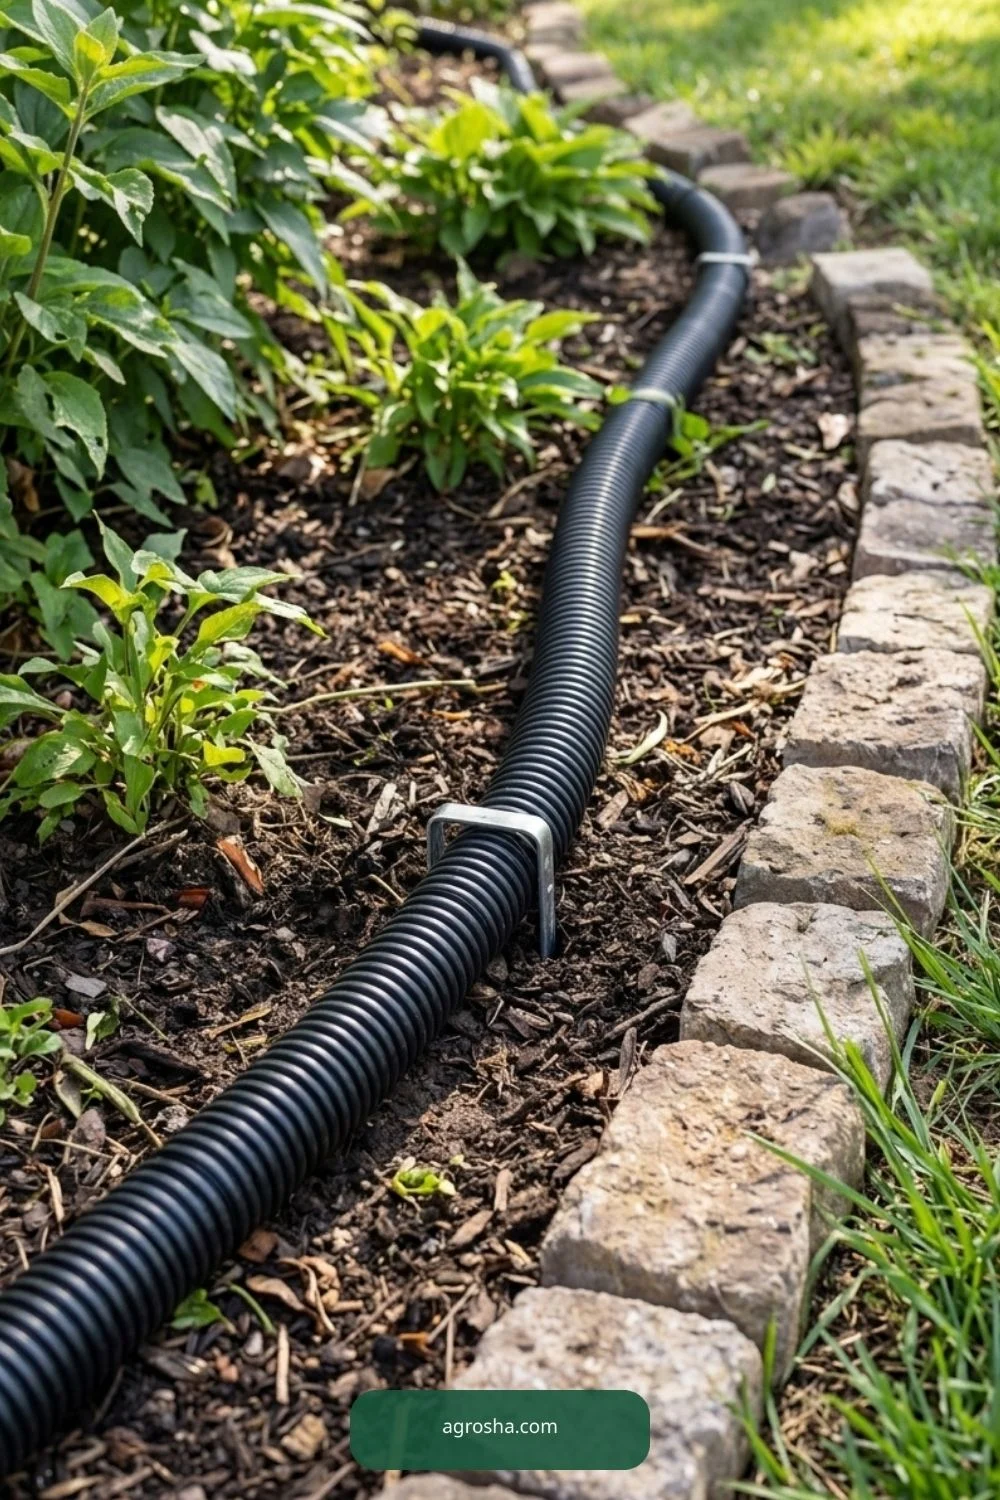
9. Test water flow before a storm
With the barrel stable and the fittings inspected, add clean water gradually until it reaches the overflow height. Watch the outlet and first hose connection for seepage. Confirm water exits at the intended place and does not pool under the barrel, against the house or beside neighboring property.
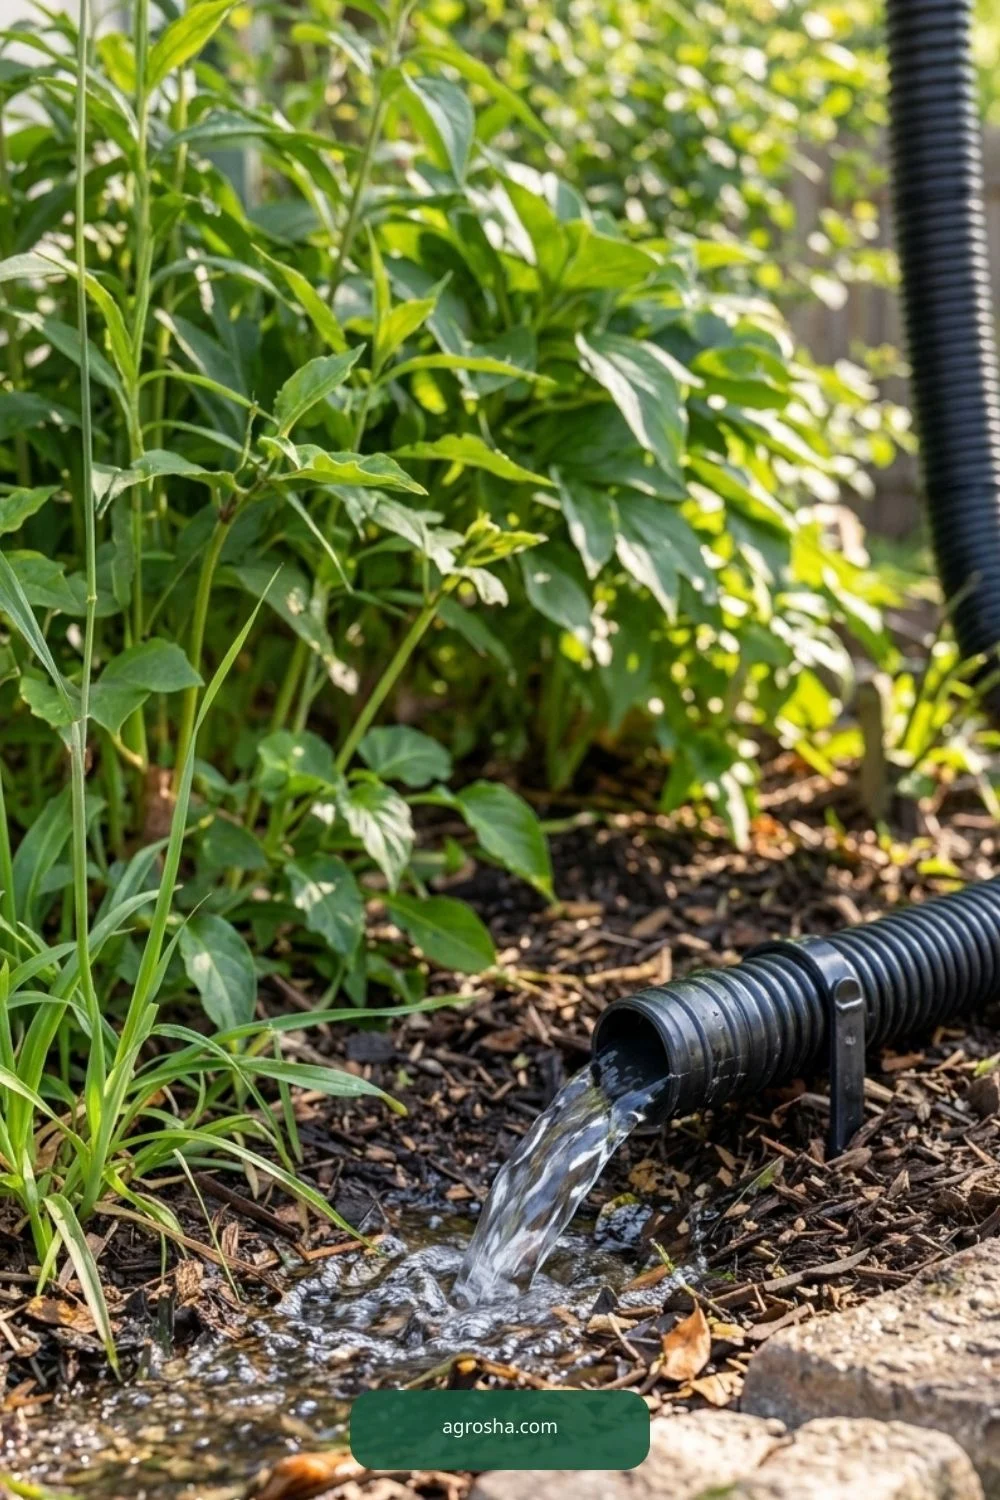
A trickle during a garden-hose test does not prove capacity for a major downpour. Confirm flow sizing separately when designing the system.
10. Correct leaks only after draining
If the fitting drips around the wall, stop the test and lower the water below the connection before adjustment. Reinspect gasket placement, debris and hose tension. A small leak may be caused by a misaligned seal, not a lack of more silicone. Never work under a shifting water-filled barrel.
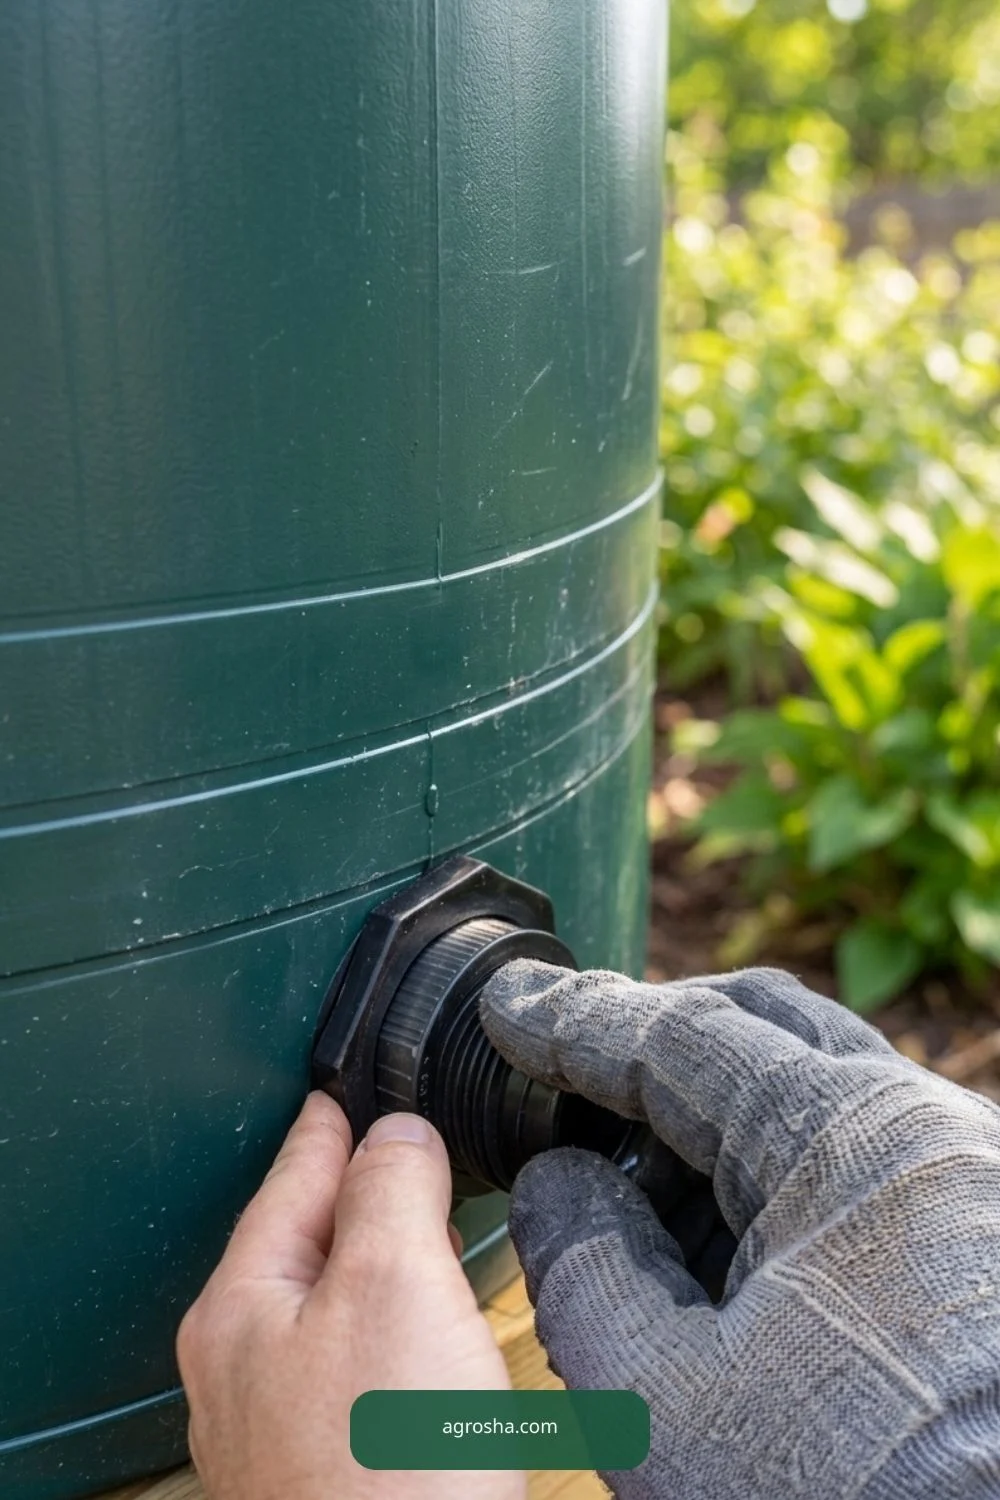
Record what was changed and repeat the controlled test from the beginning. Do not publish or use a leaking installation as a finished result.
11. Keep the drainage path serviceable
After windy storms, clear leaves from the intake and outlet screen, inspect the hose for crushed sections and check soil at the discharge point for erosion. In freezing weather, follow the barrel and fitting winterization instructions. The overflow should remain easy to see and clean.
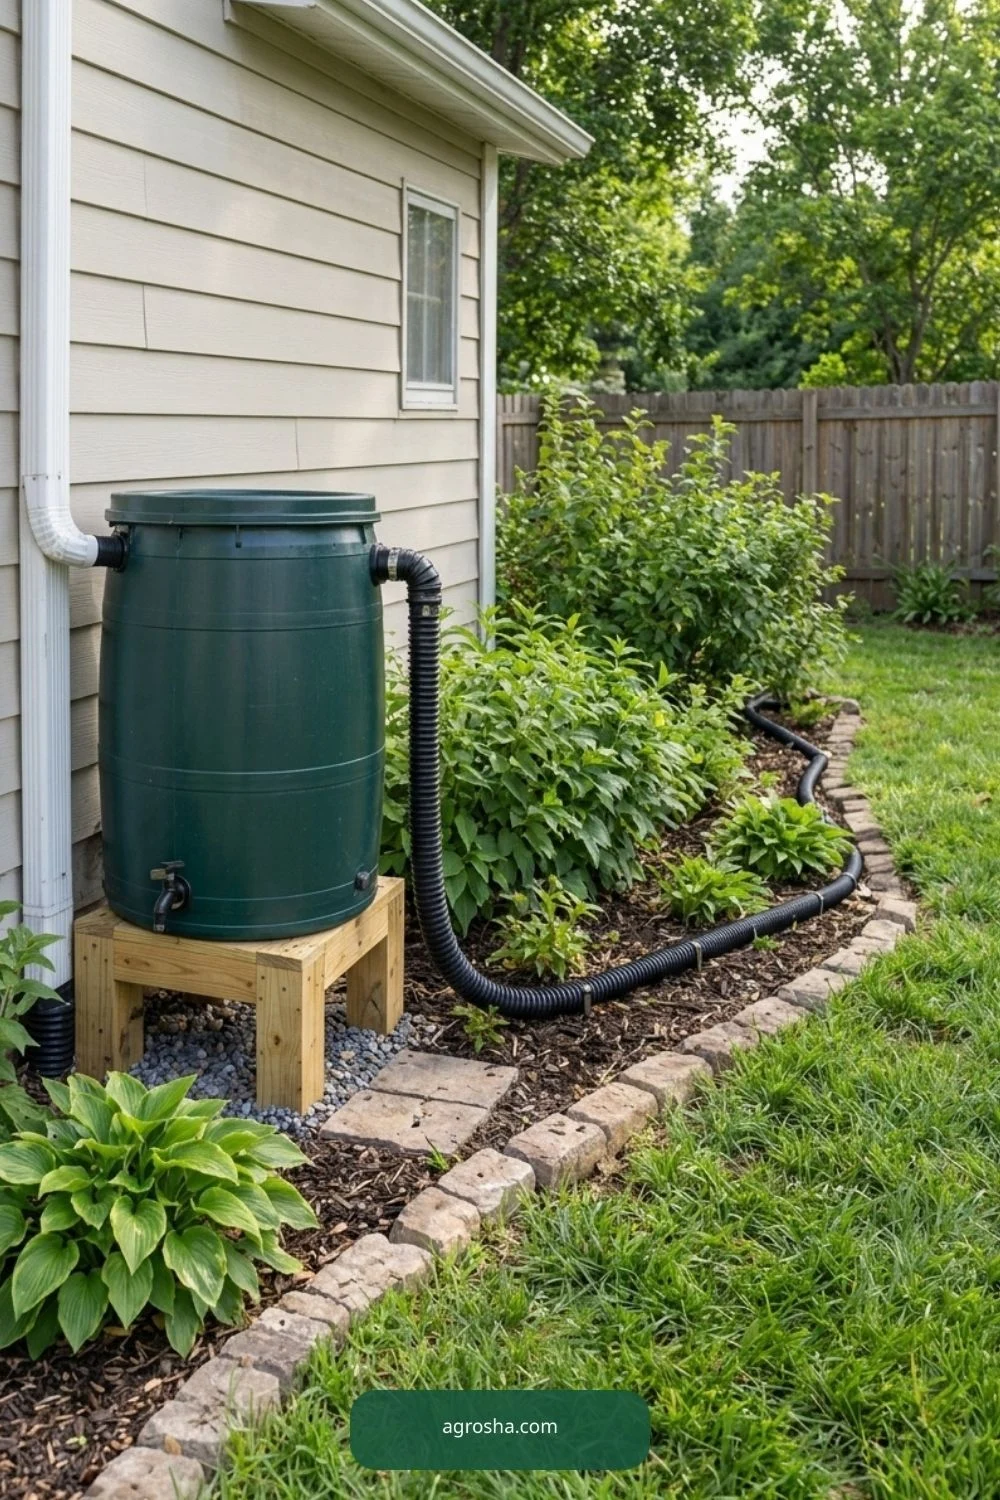
A later-season photo should show the same outlet and route, not a suddenly different fitting or hose that was never installed.
Practical Design Decisions
Overflow and ordinary faucet service different purposes. The lower spigot is for using stored water; the upper fitting must direct water that arrives after the tank is full. Connecting a hose only to the bottom tap does not protect the top from spilling during a storm.
A downspout diverter can return some water to the original drain when a barrel fills, but its behavior depends on the specific kit. Check the actual product’s diagram. Do not assume every diverter provides a complete overflow design when roof drainage has no safe secondary path.
Rainwater from roofs is non-potable, and barrels require screens and routine cleaning. If the system serves ornamental plants, keep the water away from food-contact surfaces and wash hands after handling dirty screens or runoff. Check roof type and local regulations before collecting.
Rutgers advises routing overflow away from the building foundation and protecting inlets and outlets from mosquitoes. Practical setbacks, capacity and discharge options depend on whether the home has a basement, crawl space, hardscape and local stormwater requirements.
Avoid These Mistakes
- drilling the wrong hole size for a bulkhead fitting
- routing excess water toward the house or neighbor
- leaving overflow hose kinked or blocked
- omitting mosquito screening
- adjusting a connection while the barrel is loaded and unstable
Frequently Asked Questions
Where should rain barrel overflow water go?
Toward an approved suitable drainage or infiltration area, not against foundations, across walks or onto neighboring property. Confirm local site drainage guidance.
Why does my overflow joint leak?
Common checks include gasket position, fit, damaged wall, debris and hose strain. Lower the water before correcting it.
Can I connect any garden hose?
Not necessarily. The overflow connection and hose must fit, and the chosen size must suit expected inflow and drainage routing.
Do overflow outlets need screens?
Yes, insect exclusion matters. Use a maintainable screened or otherwise mosquito-resistant connection without obstructing necessary flow.
Will it work in every storm?
No universal guarantee is possible. Capacity depends on roof area, rainfall intensity, hose dimensions and the route.
Sources and Further Guidance
For additional technical context see Rutgers: Rain Barrels Part II; confirm local codes and product instructions for the actual site.
For additional technical context see Rutgers: Rain Barrels and Mosquitoes; confirm local codes and product instructions for the actual site.
Final Thoughts
Build the overflow route as carefully as the rain barrel itself. A compatible fitting, a safe discharge location and an easy-to-clean mosquito barrier are more valuable than extra accessories. Test gently before storms, and keep watching the outlet after each season.