A DIY worm composting station outdoors needs more than a photogenic bin. Composting worms depend on a cool, moist, well-ventilated environment, and an outdoor container can become too hot, too wet or too cold quickly. This beginner plan starts with a simple lidded storage-bin setup in a sheltered spot and includes a realistic backup for extreme weather.
Quick Answer
Use a dark, opaque plastic storage bin with ventilation and controlled drainage, add damp shredded cardboard bedding, and introduce composting red wigglers from a reputable source. Keep the system in deep shade, away from pooling rain, and check temperature and moisture regularly. Move it to a protected climate-controlled place when conditions are outside the worms’ safe range.
Outdoor worm bins need protection from harsh direct sun; our shade garden ideas explain how to assess light conditions around planting areas.
Before You Build: Check Your Site
A sound diy worm composting station outdoors starts with the garden you actually have. Choose the location for access, sunlight or shade, weather, and the way this project will be used. Think about maintenance and how you will remove or repair components when the season changes.
- Know the seasonal daytime and nighttime temperatures, not just today’s forecast.
- Keep the bin away from direct sun and runoff areas.
- Provide air while keeping insects and larger scavengers out.
- Check local recommendations before deciding how much food a new worm population can process.
Materials and Tools
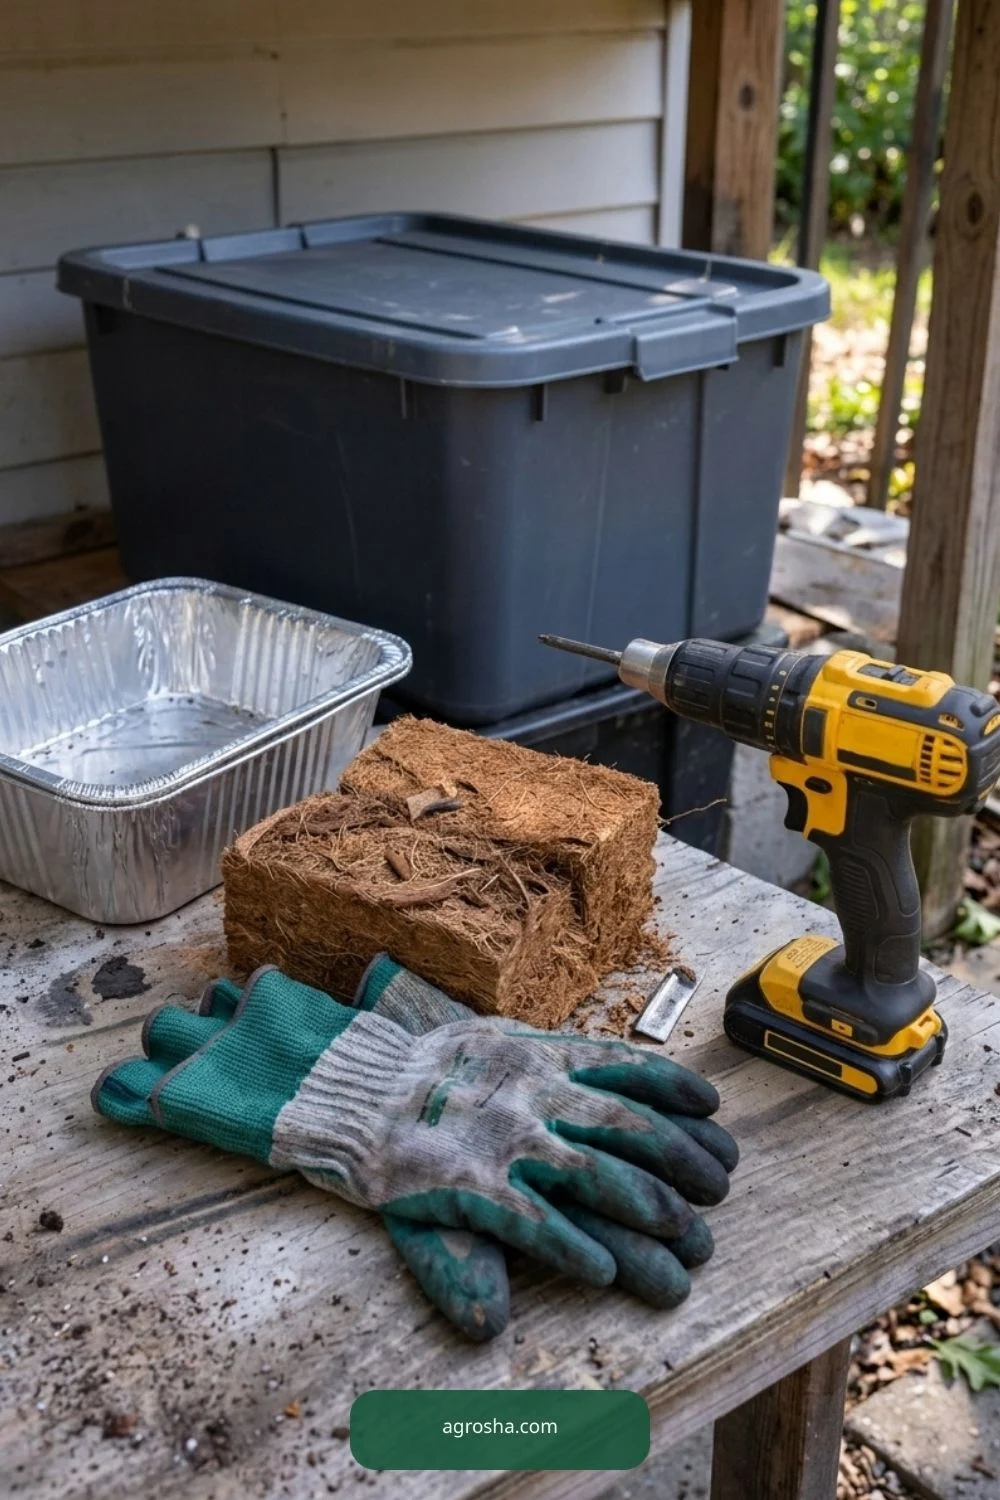
The following is a practical starting list rather than a guaranteed one-size-fits-all kit. Choose dimensions and fastening methods only after measuring the actual site and checking product instructions.
- Opaque plastic storage bin with secure lid, chosen for manageable size
- Small drill bits and safe drilling surface for ventilation and drainage
- Shredded uncoated cardboard or paper for bedding
- Composting red wigglers, not random garden earthworms
- Small catch tray, risers and an appropriate moisture check method
- A sheltered outdoor stand or shaded patio space
Step-by-Step: Build a Practical Version
Work on a stable surface, wear suitable protection, and stop if an attachment or material seems unsafe. The steps describe a representative small-yard build, not an engineered specification.
1. Choose a cool protected site
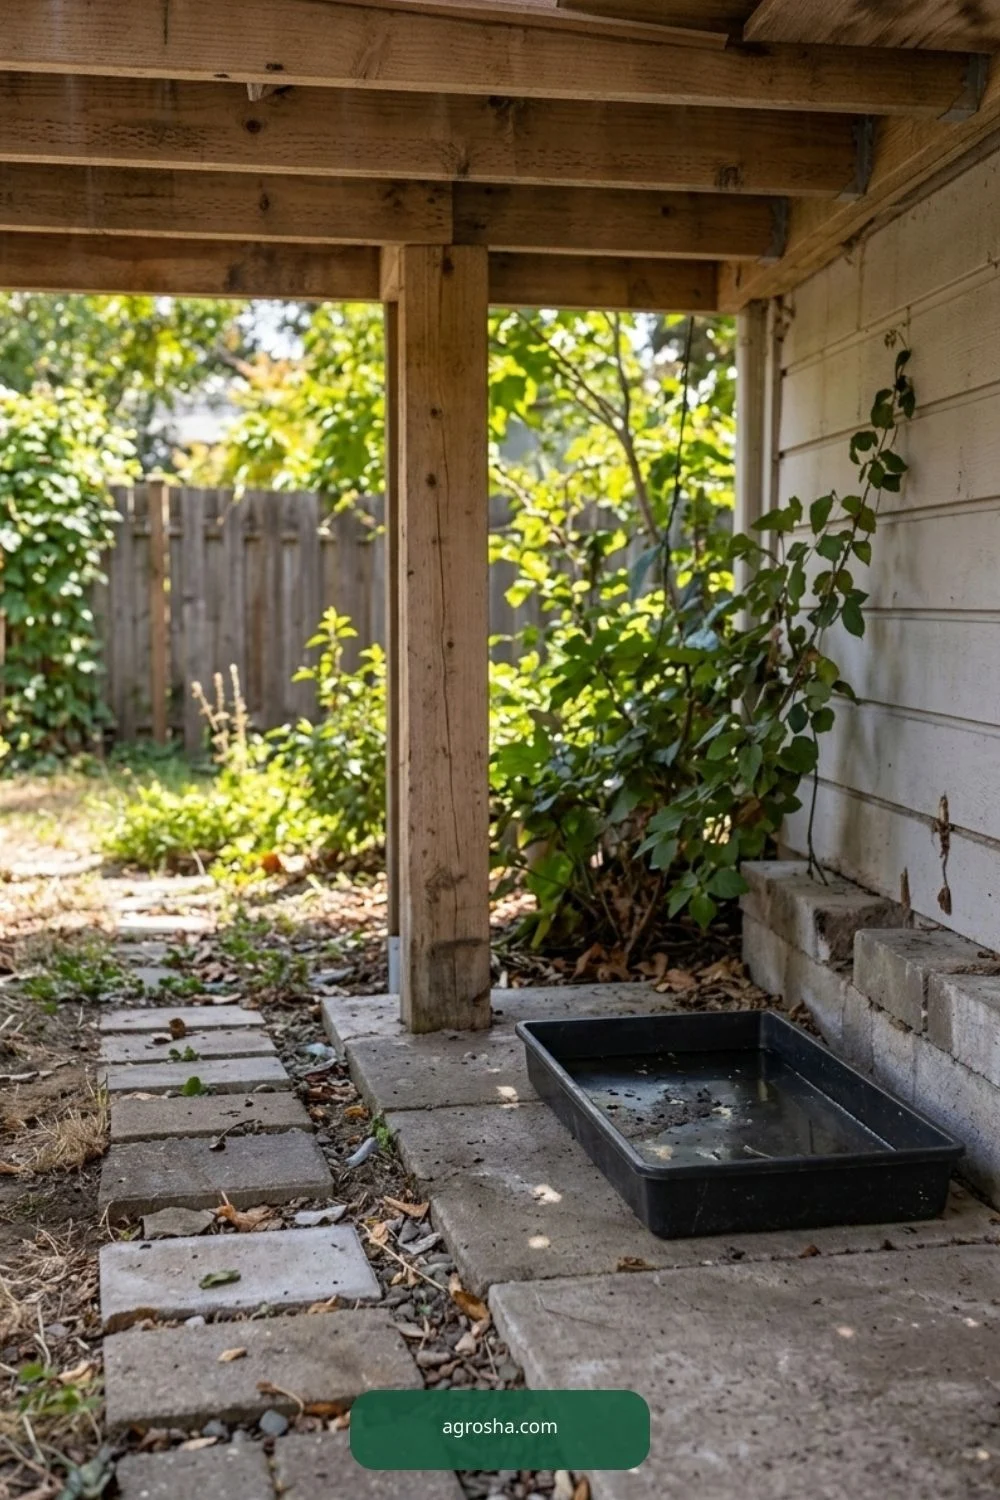
Find a place in full shade, sheltered from driving rain and strong heat-reflecting walls. A roof or porch can help, but avoid unsafe structures or areas where water collects. The station must be easy to inspect and move when a heat wave or cold snap approaches.
2. Select a manageable ventilated container
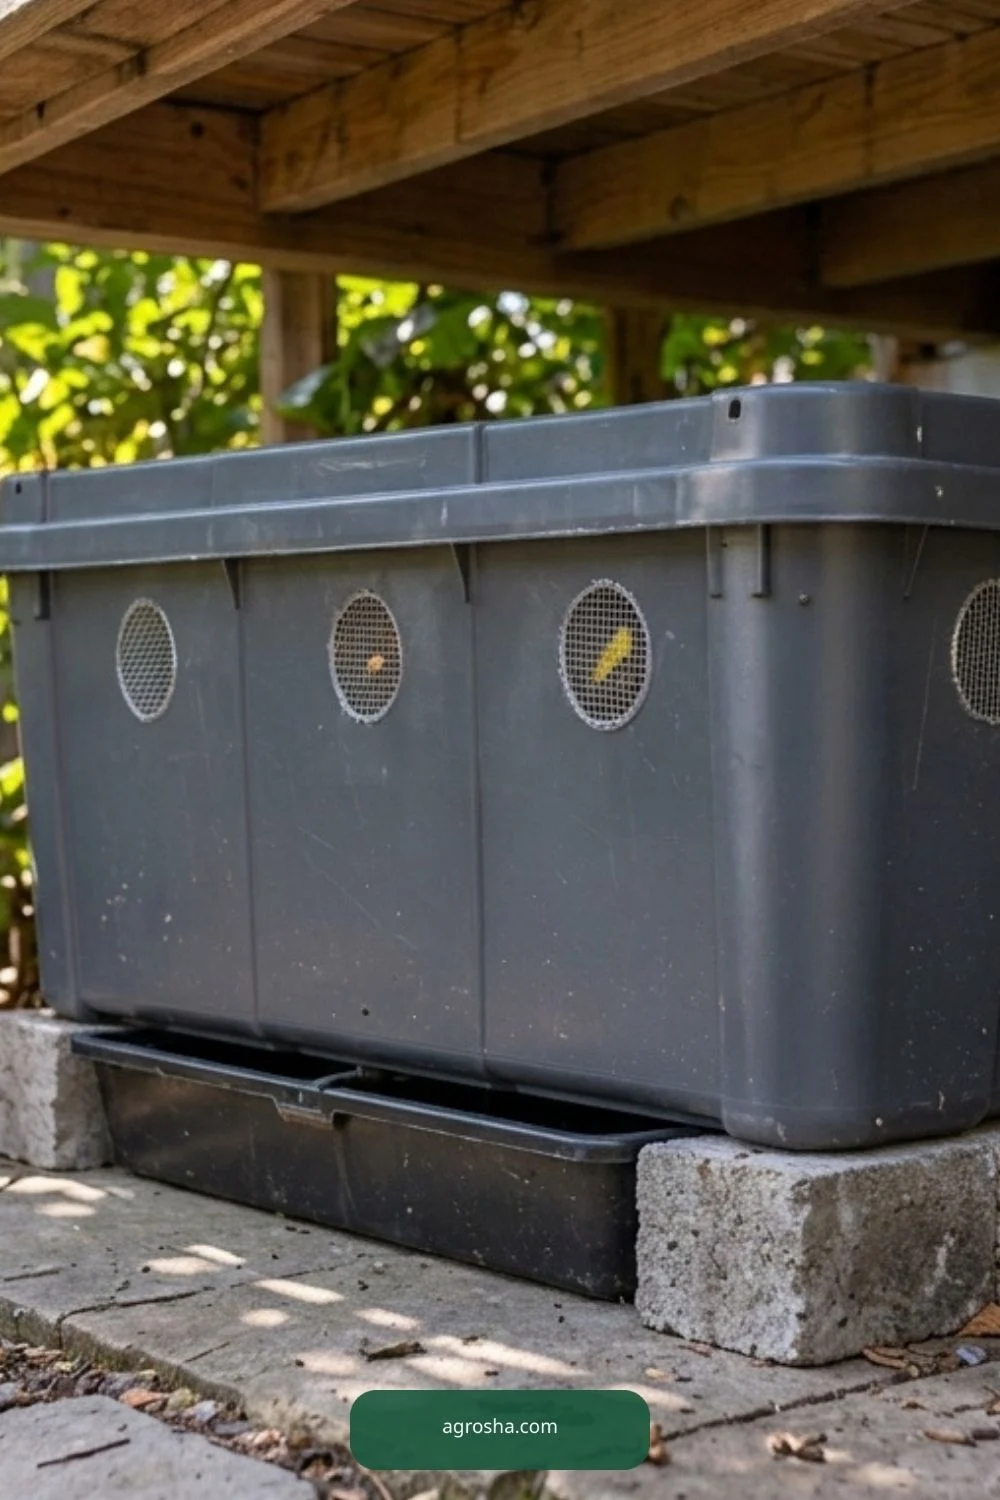
Start with a simple opaque tote instead of a complex recycled sculpture. The lid should fit while still allowing air movement through appropriate screened ventilation holes. Provide controlled drainage so the bedding cannot turn into standing water.

3. Drill air and drainage openings safely
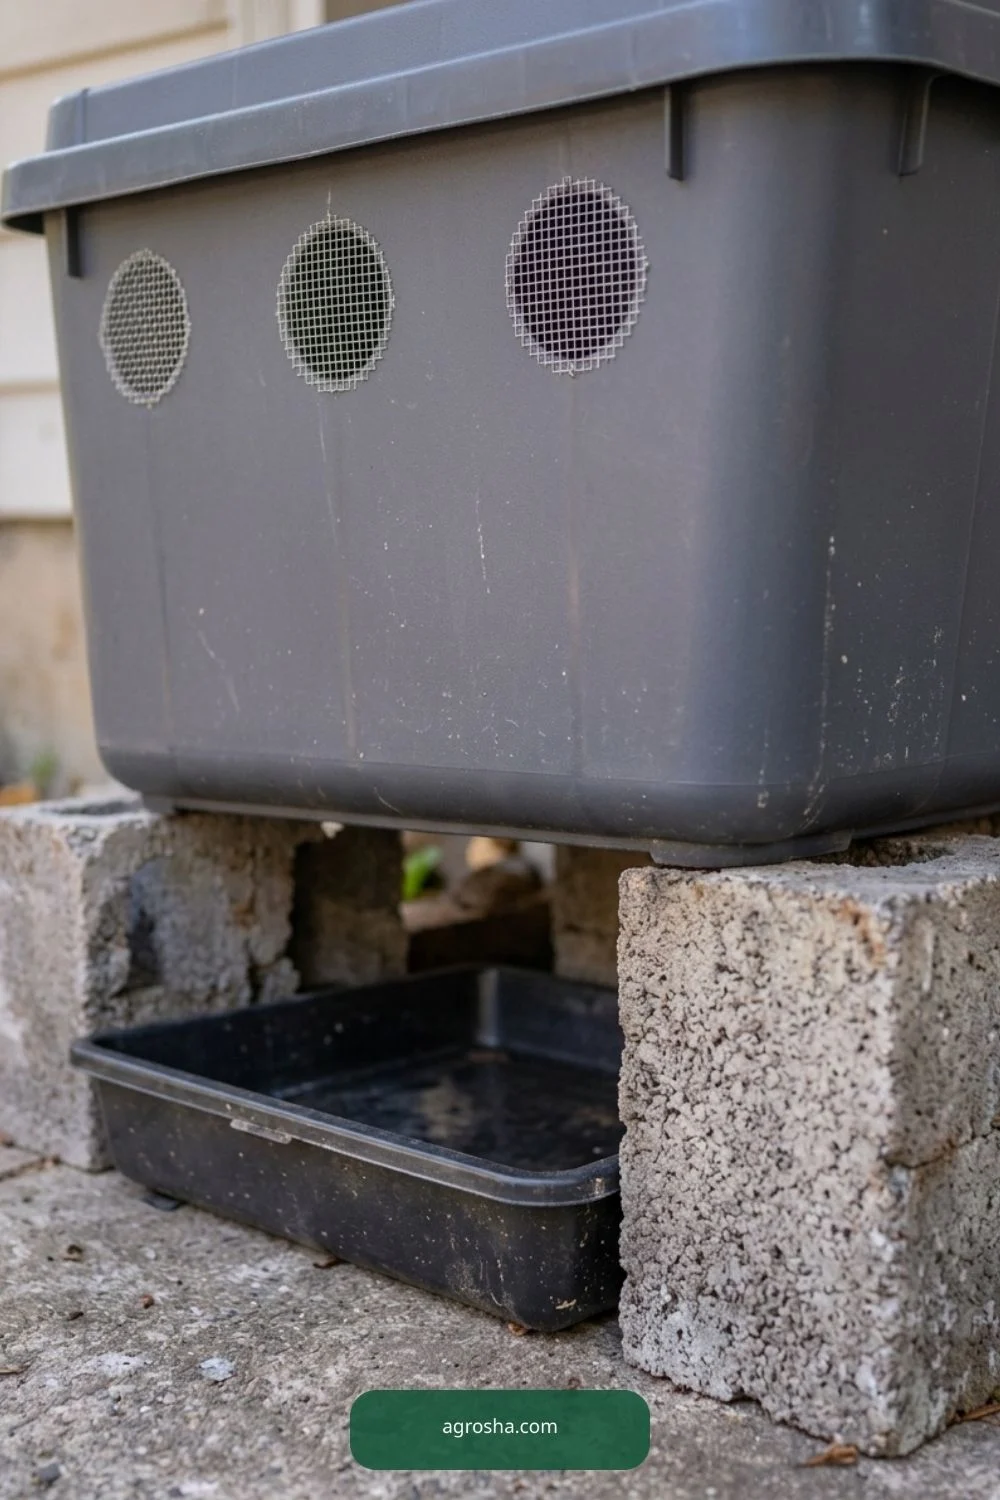
Secure the empty container on a stable work surface and drill suitable small holes where they will not weaken critical edges. Keep ventilation near the upper sides and manage bottom runoff with an appropriate tray. Remove sharp burrs and clean out drilling residue before use.
4. Add bedding with the right moisture
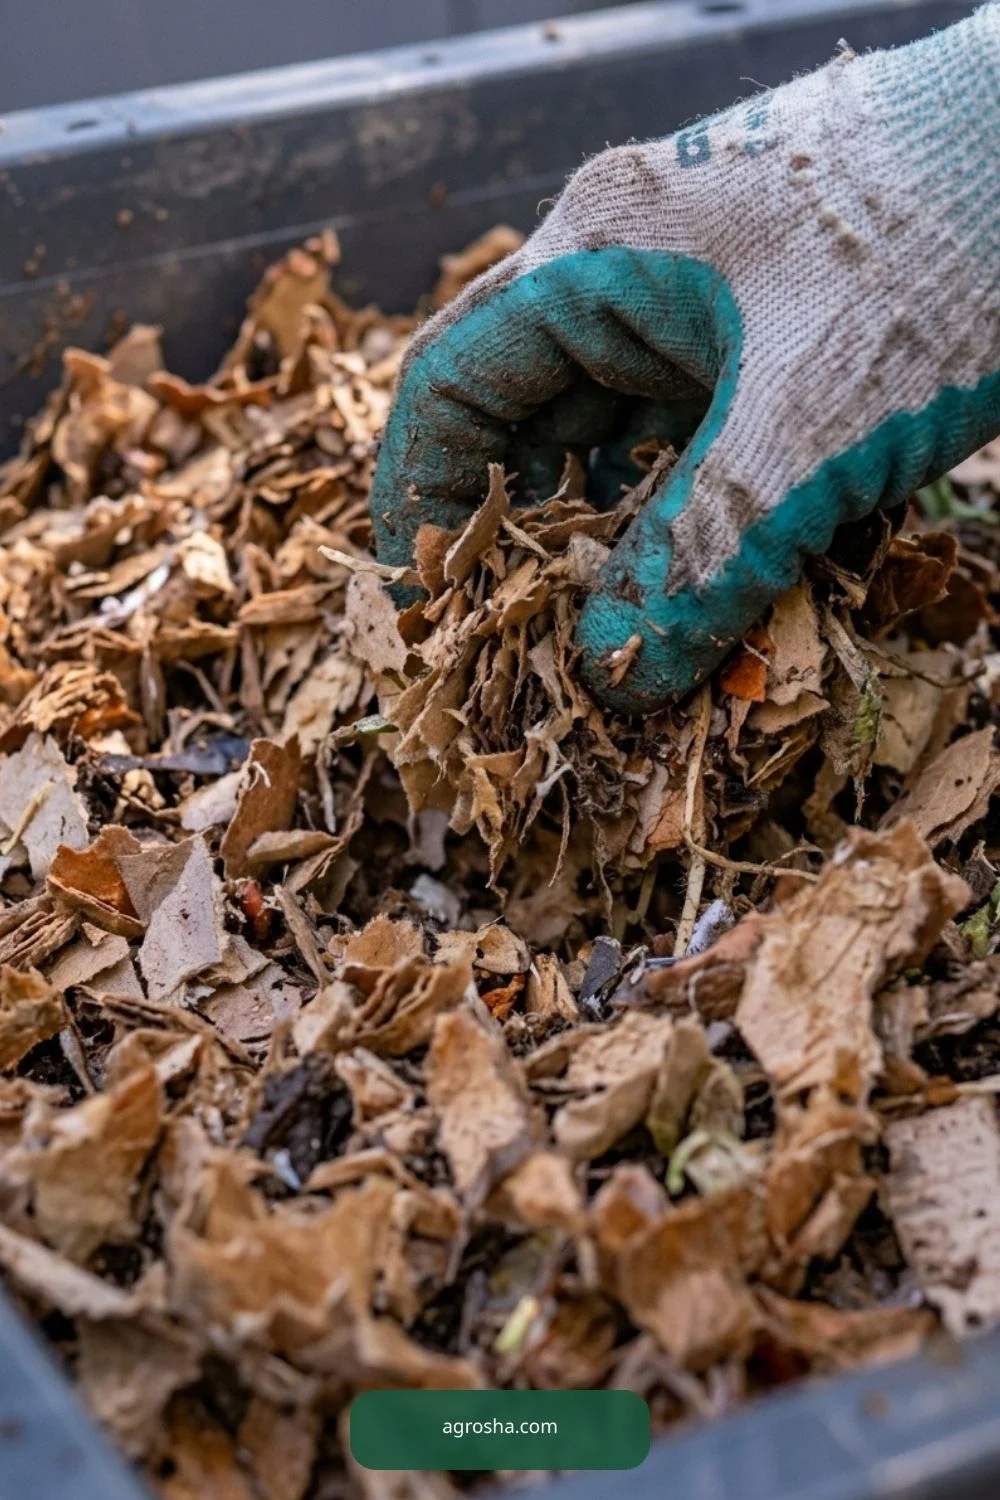
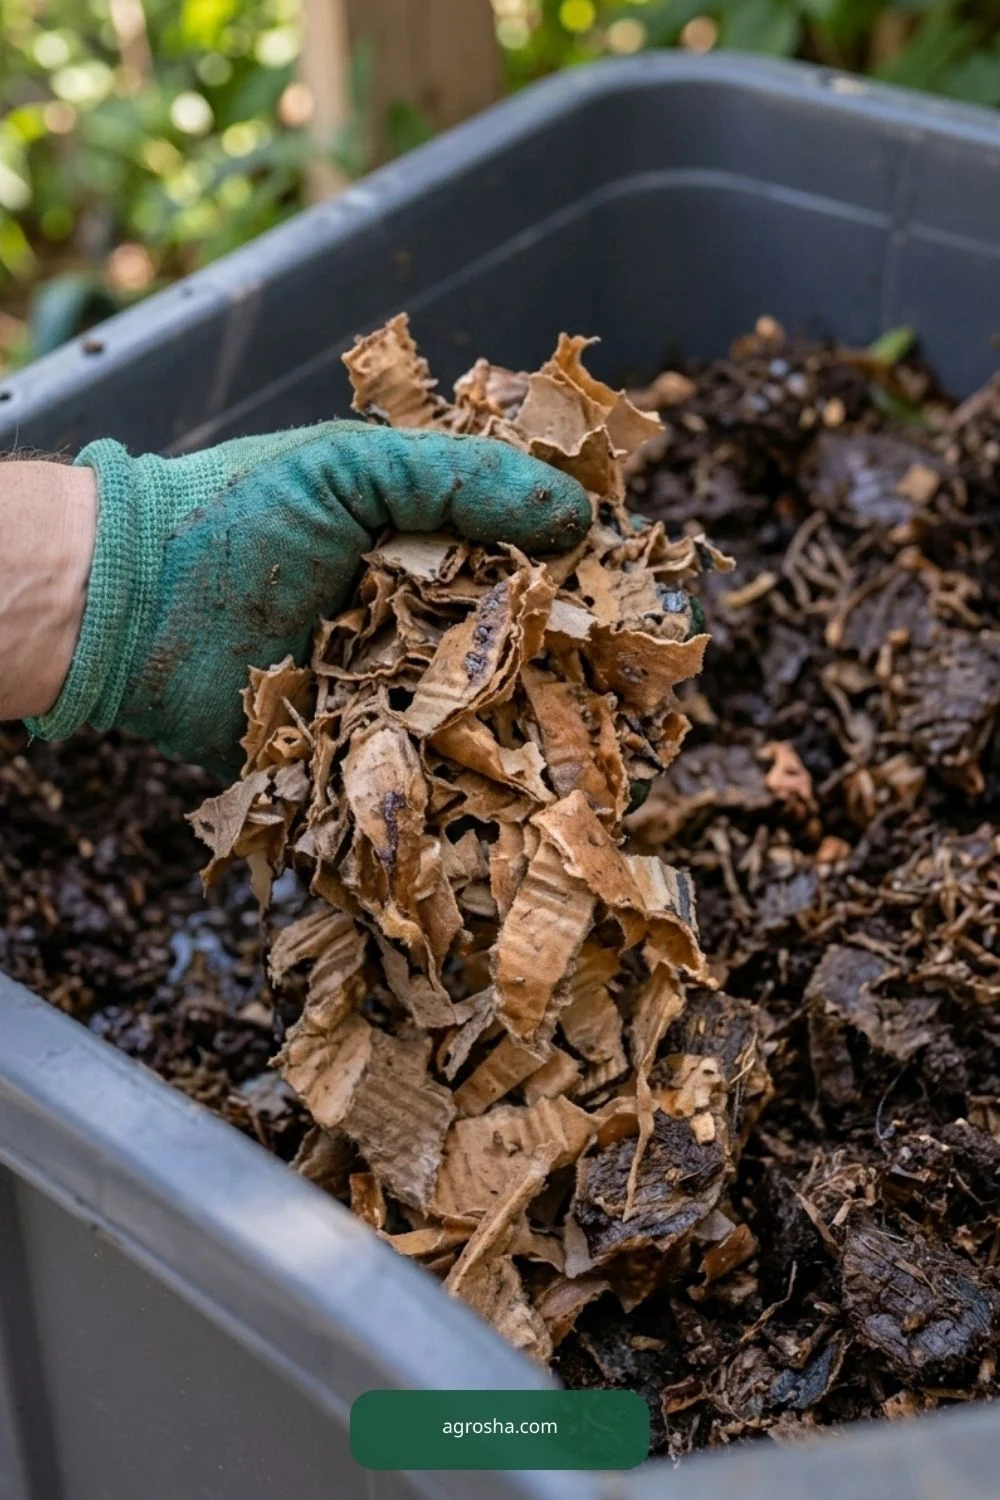
Wet shredded cardboard or paper and squeeze out free water so it feels like a wrung-out sponge rather than a puddle. Spread it loosely to leave breathing room. A dry bin can kill worms; a waterlogged bin can do the same.
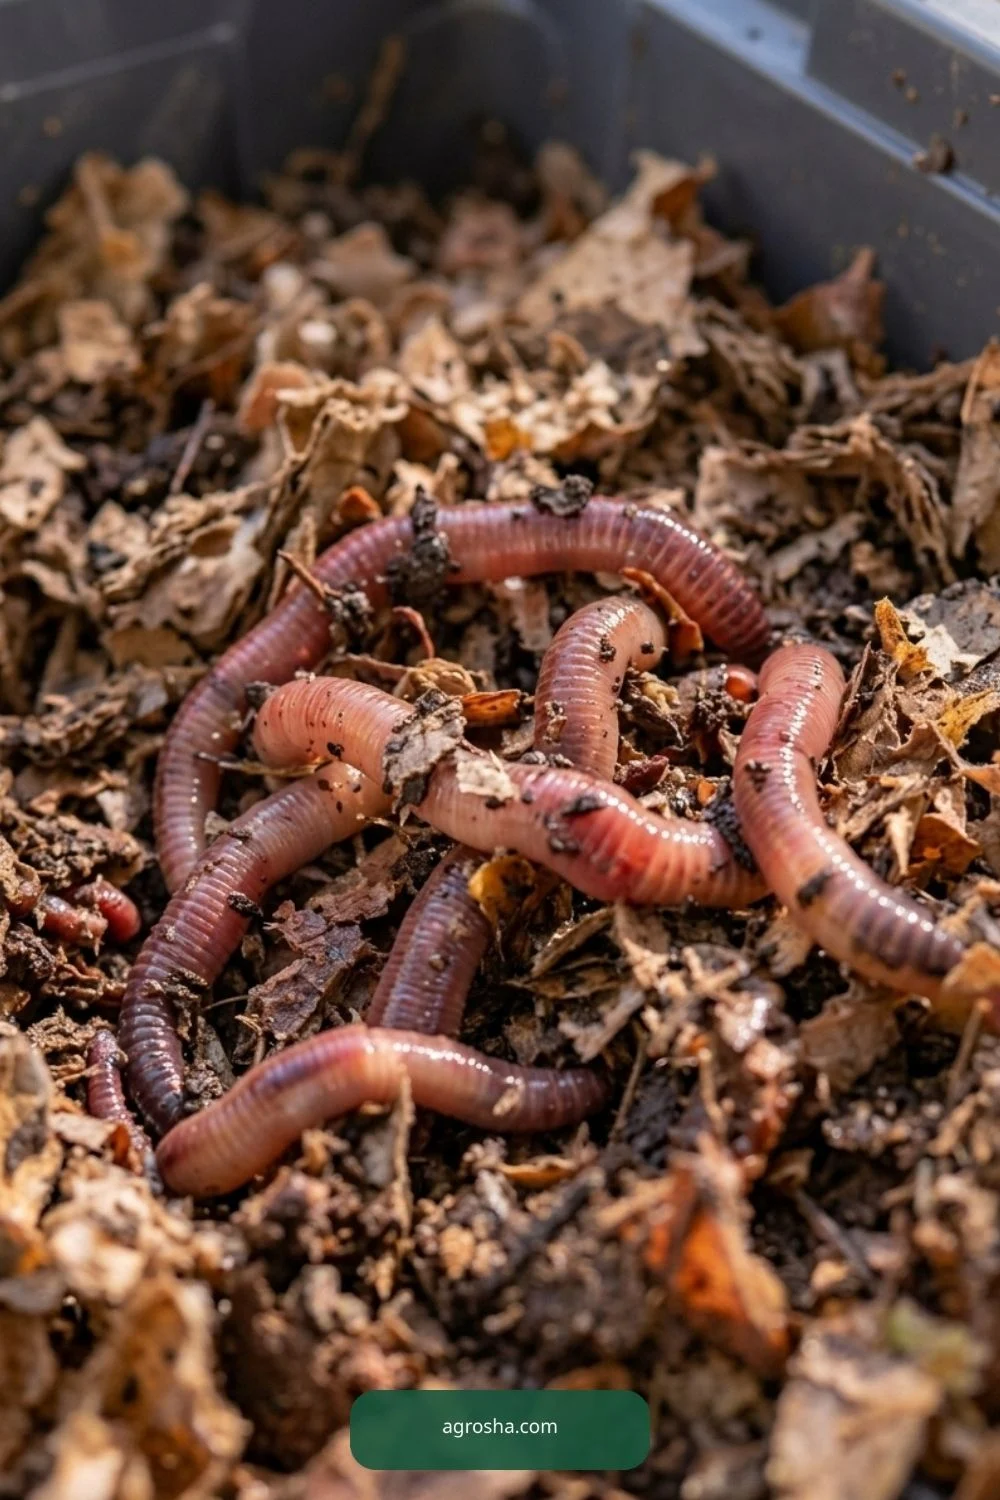
5. Introduce the correct composting worms
Obtain red wigglers from a trustworthy worm supplier rather than digging ordinary soil earthworms from the yard. Start with modest numbers and food volumes for your chosen container. Place them on the bedding and let them settle away from bright light.
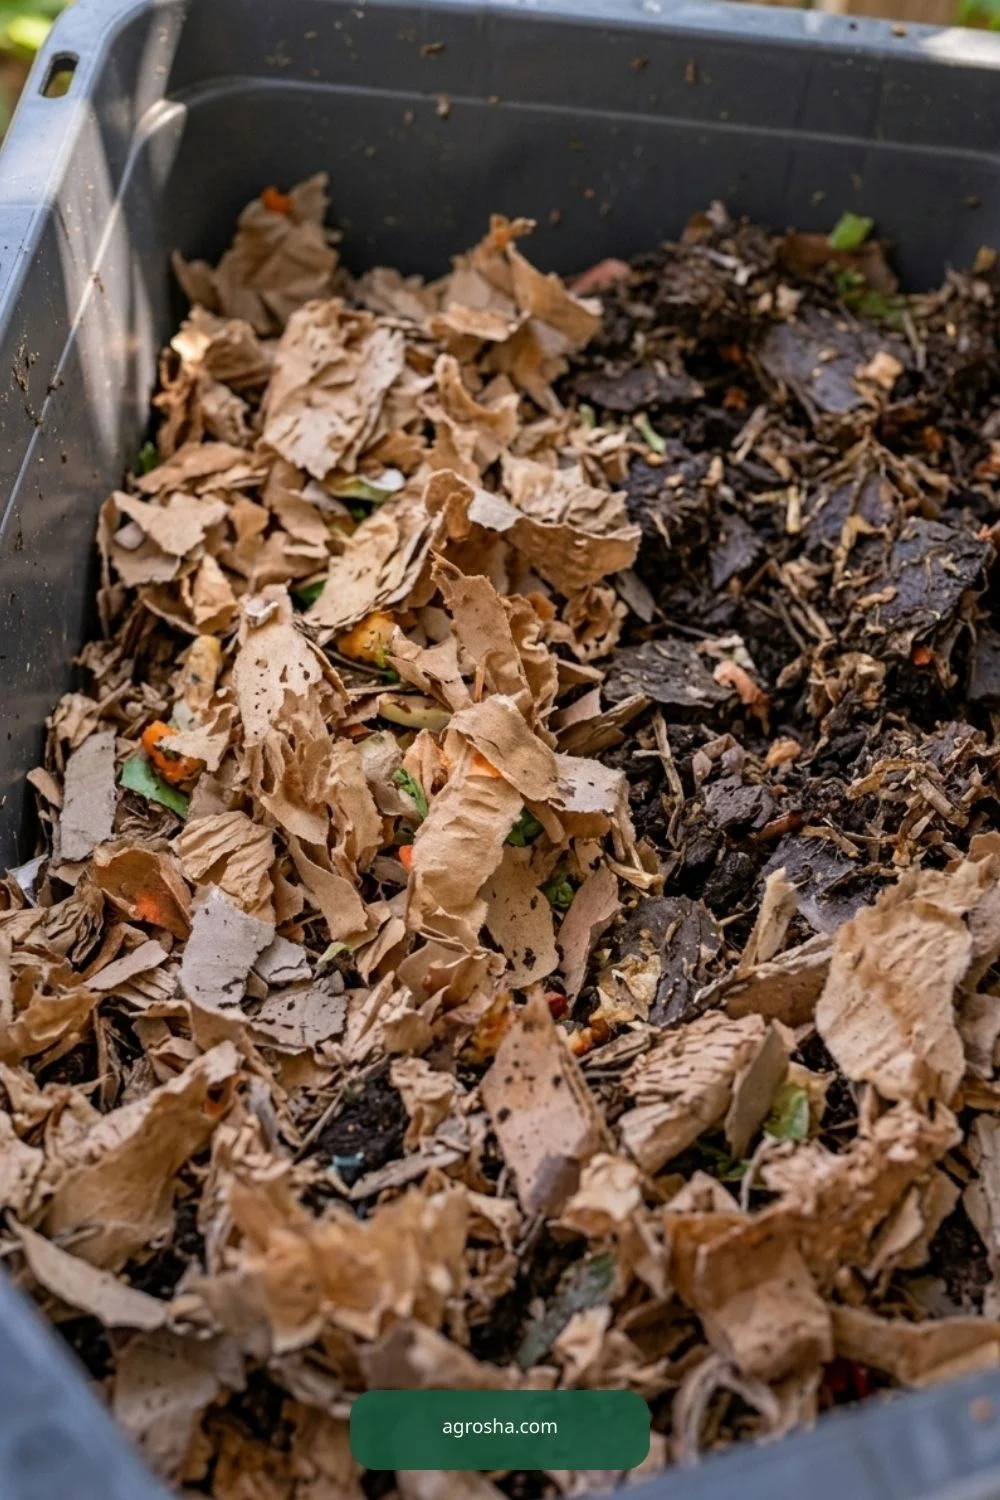
6. Feed small amounts of appropriate scraps
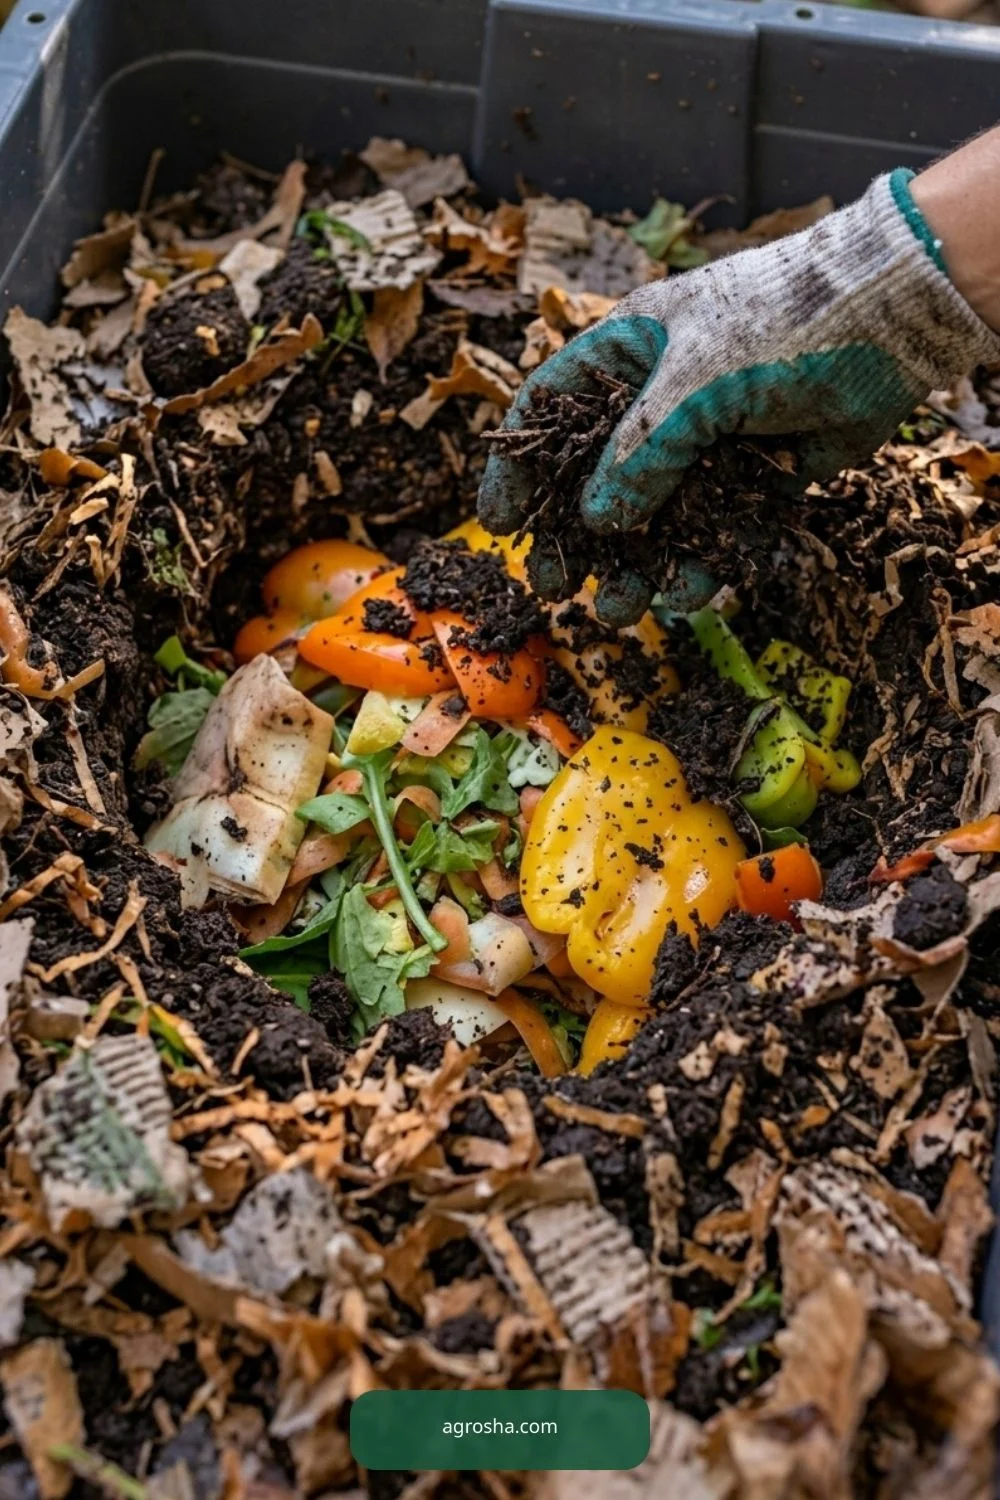
Add cut fruit and vegetable scraps in modest portions, buried beneath bedding to discourage flies. Avoid meat, dairy, oily leftovers and large quantities of citrus or other acidic materials. Wait until old feed has started breaking down before increasing the amount.
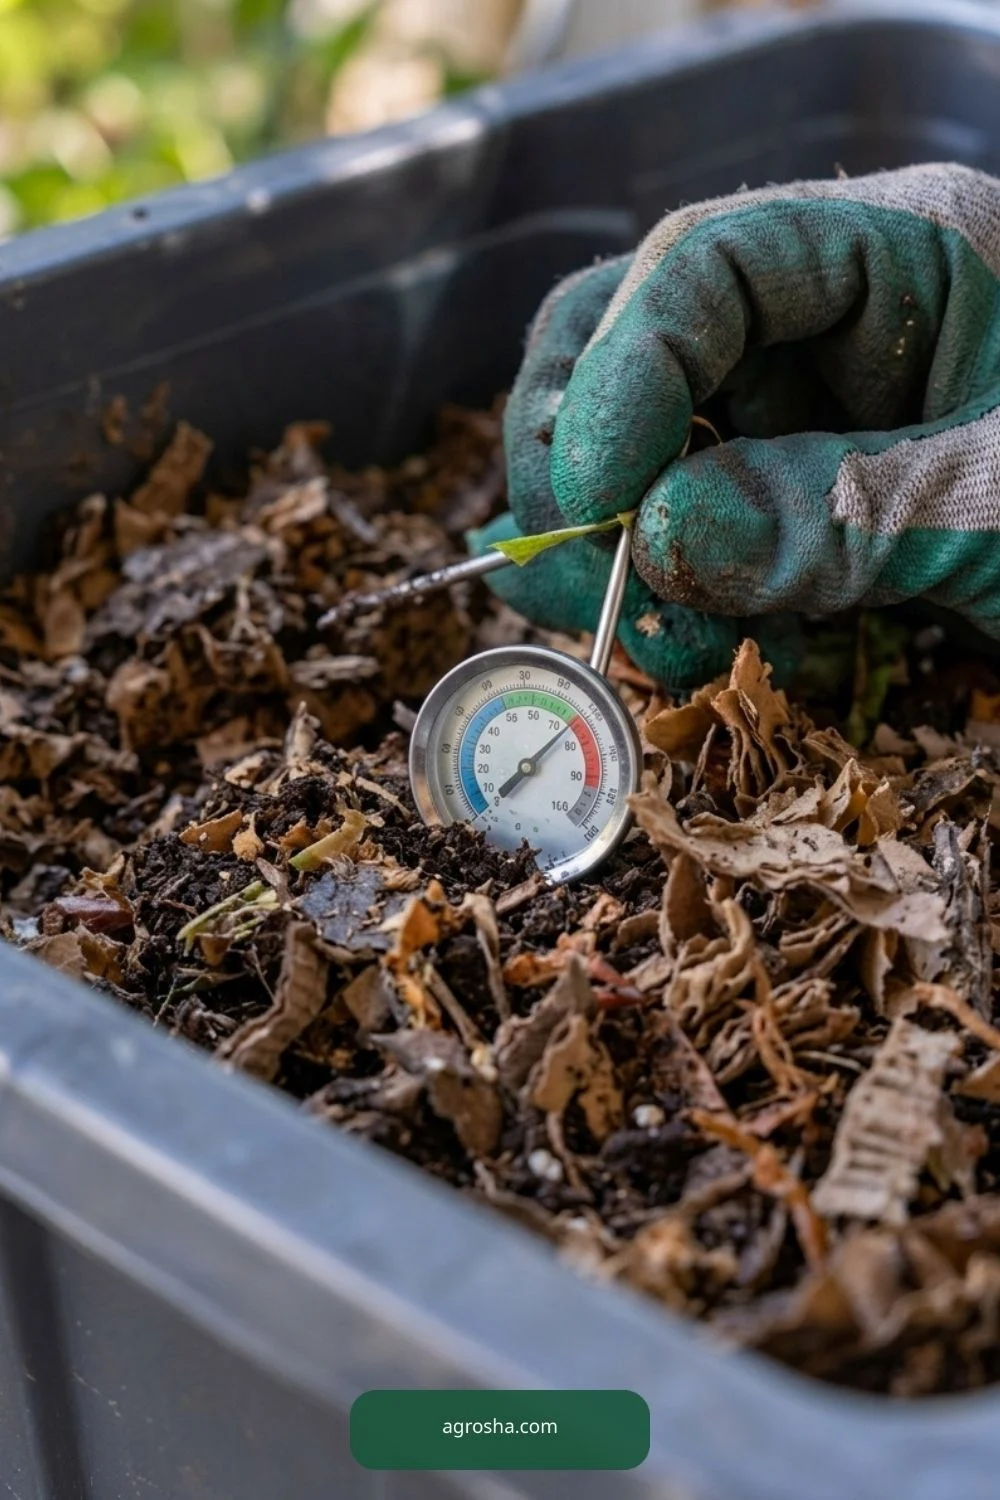
7. Watch water, air and temperature
Check the system often for a sour odor, condensation, pests, dry corners, overheating and escaping worms. Shade helps, but it cannot guarantee a safe temperature during extreme weather. Move the entire bin to a suitable protected area when necessary; do not rely on decorative insulation alone.
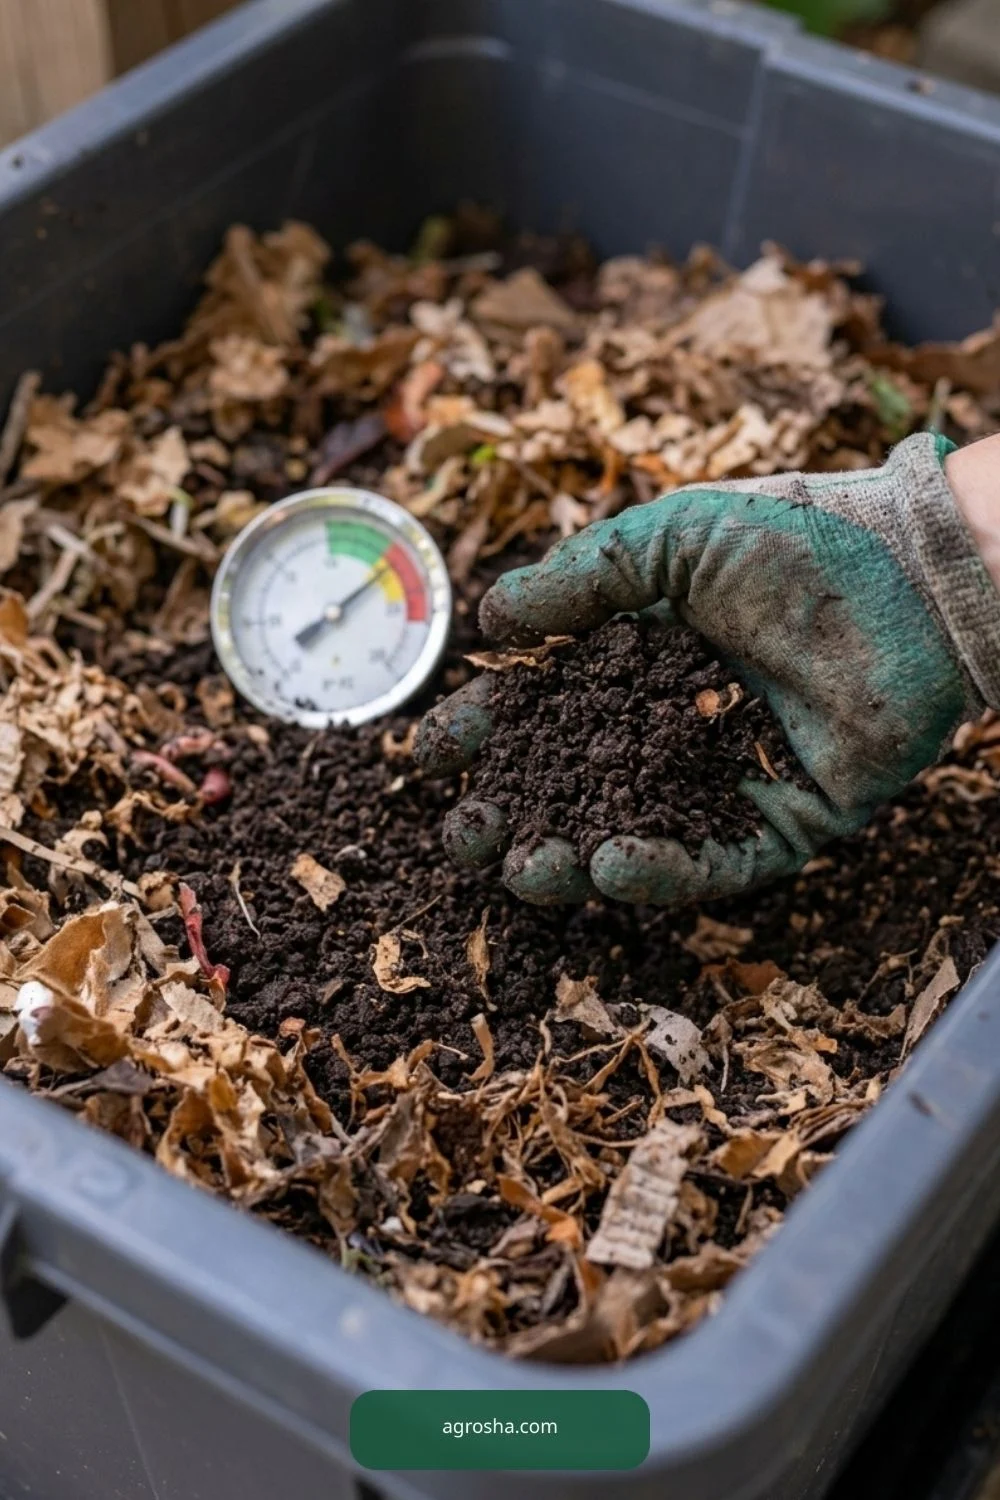
8. Harvest castings without taking the whole habitat
After the contents mature, move fresh bedding and food to one side and give worms time to migrate, then remove finished material in small amounts. Leave sufficient worms and bedding in the active area. Use finished vermicompost responsibly and avoid claiming every runoff liquid is safe ‘worm tea’.
Which Version Makes Sense for Your Garden?
Choose the version that solves the actual garden problem rather than copying the most elaborate photograph. The alternatives below differ in accessibility, maintenance, and the degree of support needed.
| Option | Good for | Watch out for |
|---|---|---|
| Opaque tote under shade | Beginner controlled worm habitat | Needs regular temperature/moisture checks |
| Stacked tray system | Separating feeding and castings | More complex; drainage and airflow still essential |
| In-ground worm tower | Supplemental organic feeding in raised bed | Not the same as a controlled red-wiggler bin |
Practical Mistakes to Avoid
Most preventable problems begin when the project looks finished but is awkward or unsafe to use. Check these issues before calling the build done.
- Keeping a dark plastic bin in direct summer sunlight
- Assuming every local earthworm is a composting red wiggler
- Calling raw bin drainage liquid finished fertilizer
- Feeding too much food before worms establish
- Leaving wet bedding with no air movement
- Using old tires or unknown chemical containers just for visual novelty
- Claiming year-round outdoor survival in any U.S. climate
Ongoing Care and Seasonal Maintenance
A diy worm composting station outdoors is not a one-time photo project. Recheck connections, material wear, growing conditions and access after heavy weather. Remove or repair loose components promptly, and adapt to local climate rather than relying on a fixed calendar. If you do not know whether your material or setup is safe, pause and confirm with the manufacturer or local extension office.
Practical Visual Guide: Additional Build and Use Details
These added views explain red wiggler habitat, moist oxygenated bedding, safe temperatures, small feed portions and leachate caution; each is tied to a separate garden task, material decision or construction step.
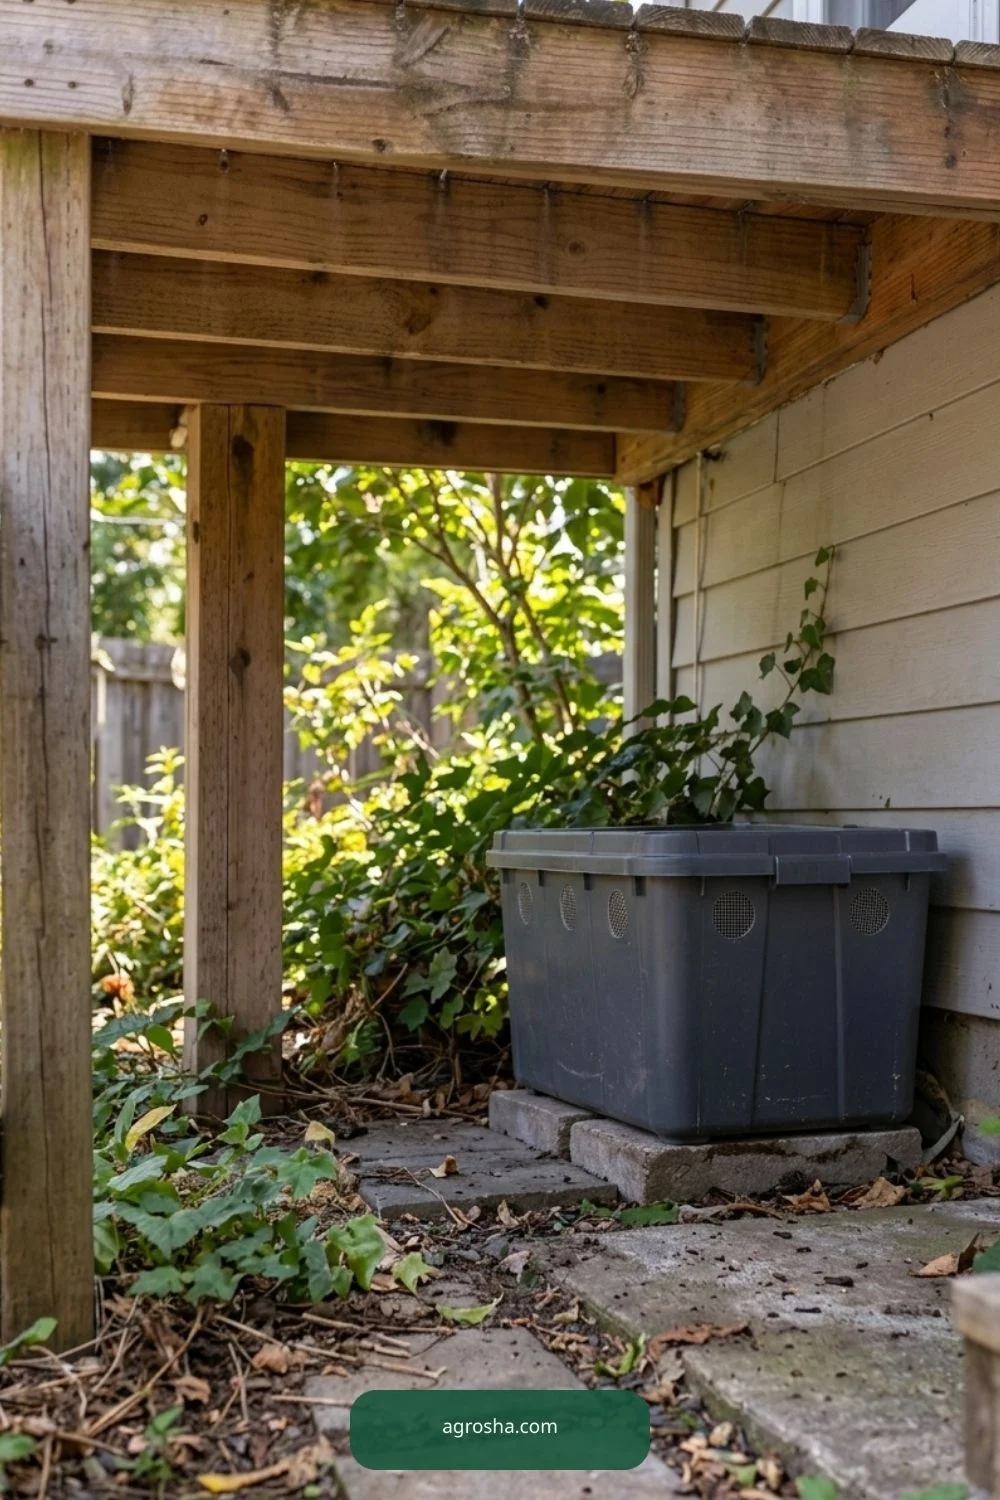
Deep shaded location
The deep shaded location matters for a practical shaded outdoor worm station. For deep shaded location, check usable scale and accessible connections in this worm station, not decorative objects. Treat this as a practical decision rather than a decoration. Measure the space, identify what the plant or gardener must reach, and inspect the joint or covering after ordinary weather. A simple accessible solution is easier to repair than a complicated arrangement that hides the working parts.
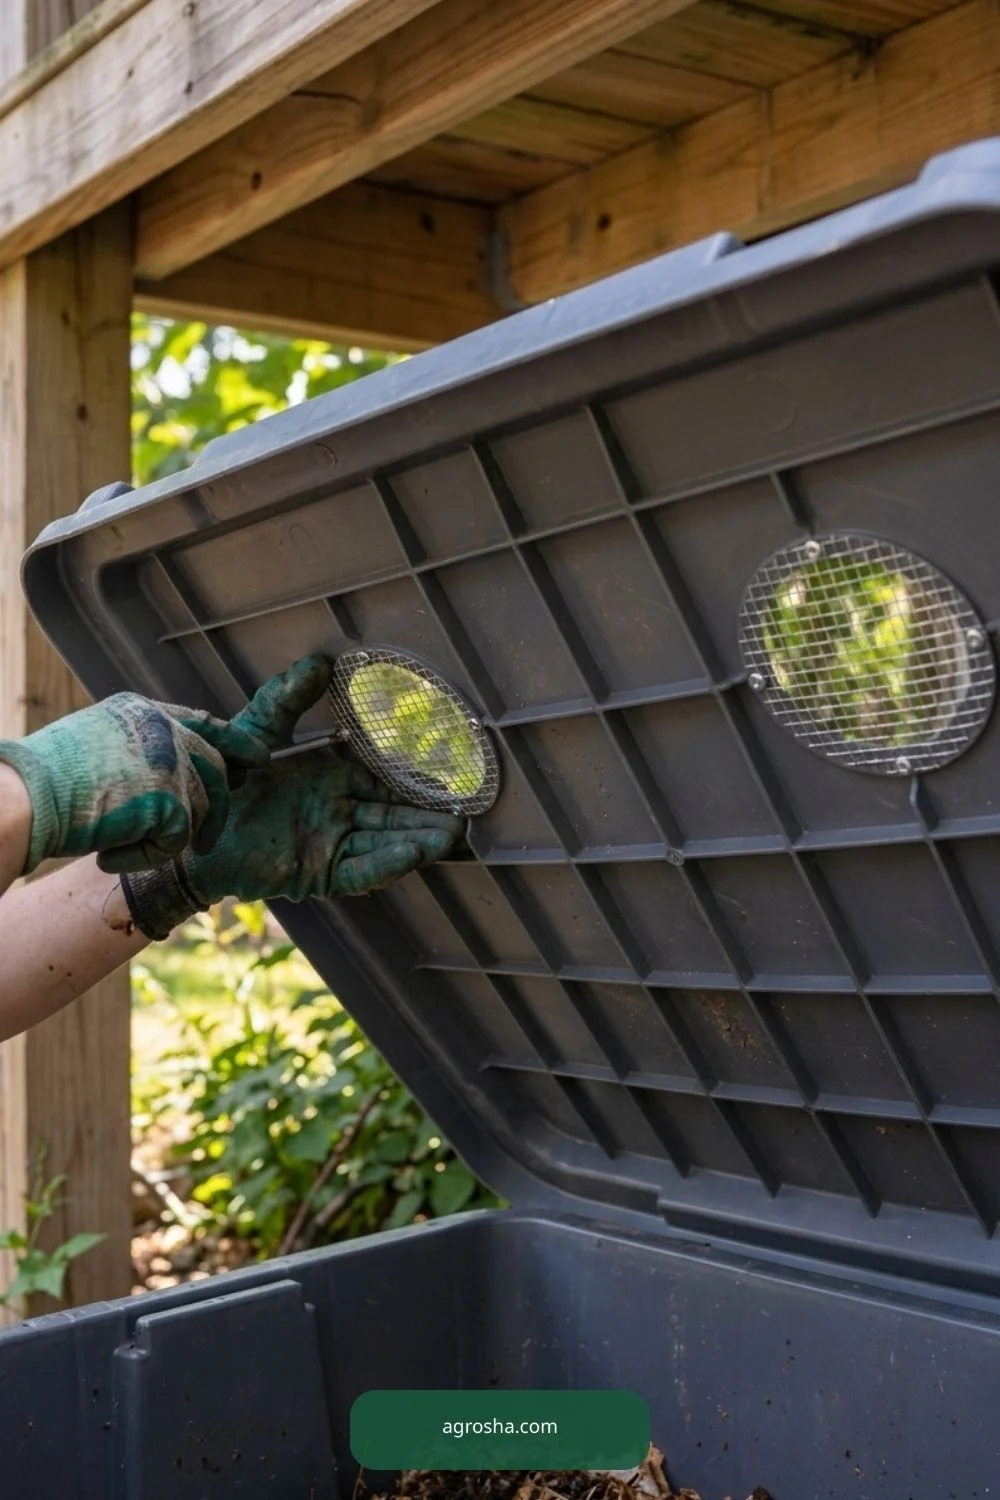
Ventilation under lid
The ventilation under lid matters for a practical shaded outdoor worm station. For ventilation under lid, check usable scale and accessible connections in this worm station, not decorative objects. This view is useful because it reveals where material meets the real garden. Before copying it, consider wet soil, sunlight, seasonal growth and how the component can be removed without damage. Check clearances again when the crop becomes larger or the container fills.
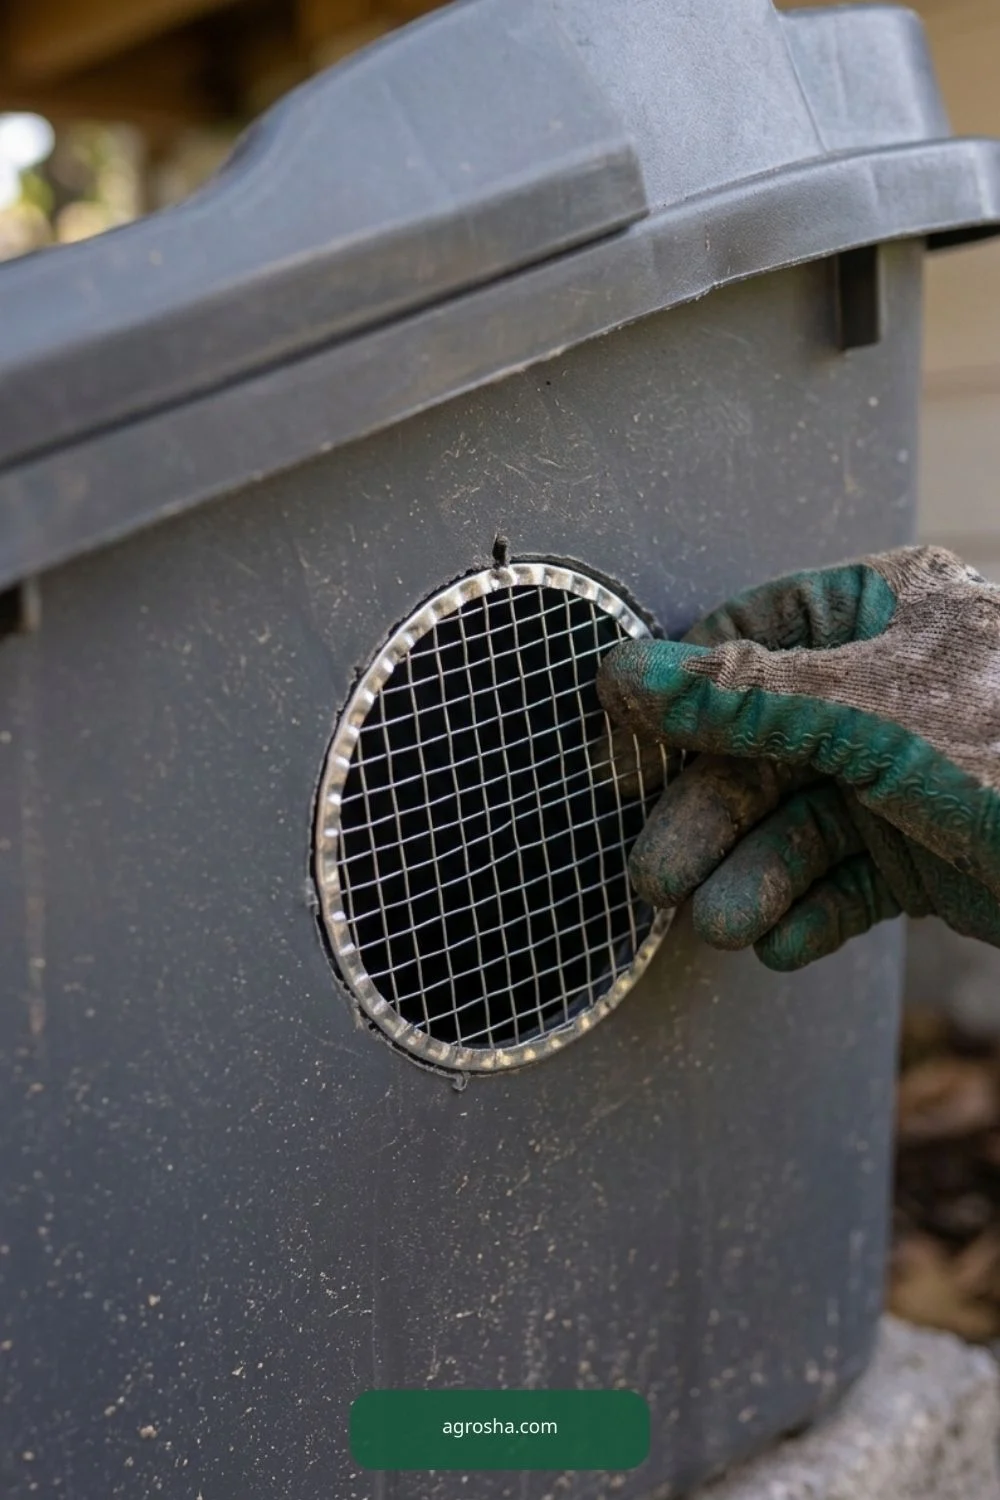
Screen upper air holes
The screen upper air holes matters for a practical shaded outdoor worm station. For screen upper air holes, check usable scale and accessible connections in this worm station, not decorative objects. Small differences in spacing and support can matter more than a beautiful finish. Use suitable materials and confirm the actual site conditions rather than guessing dimensions from a photograph. Leave enough room for watering, inspection and safe hand access throughout the season.
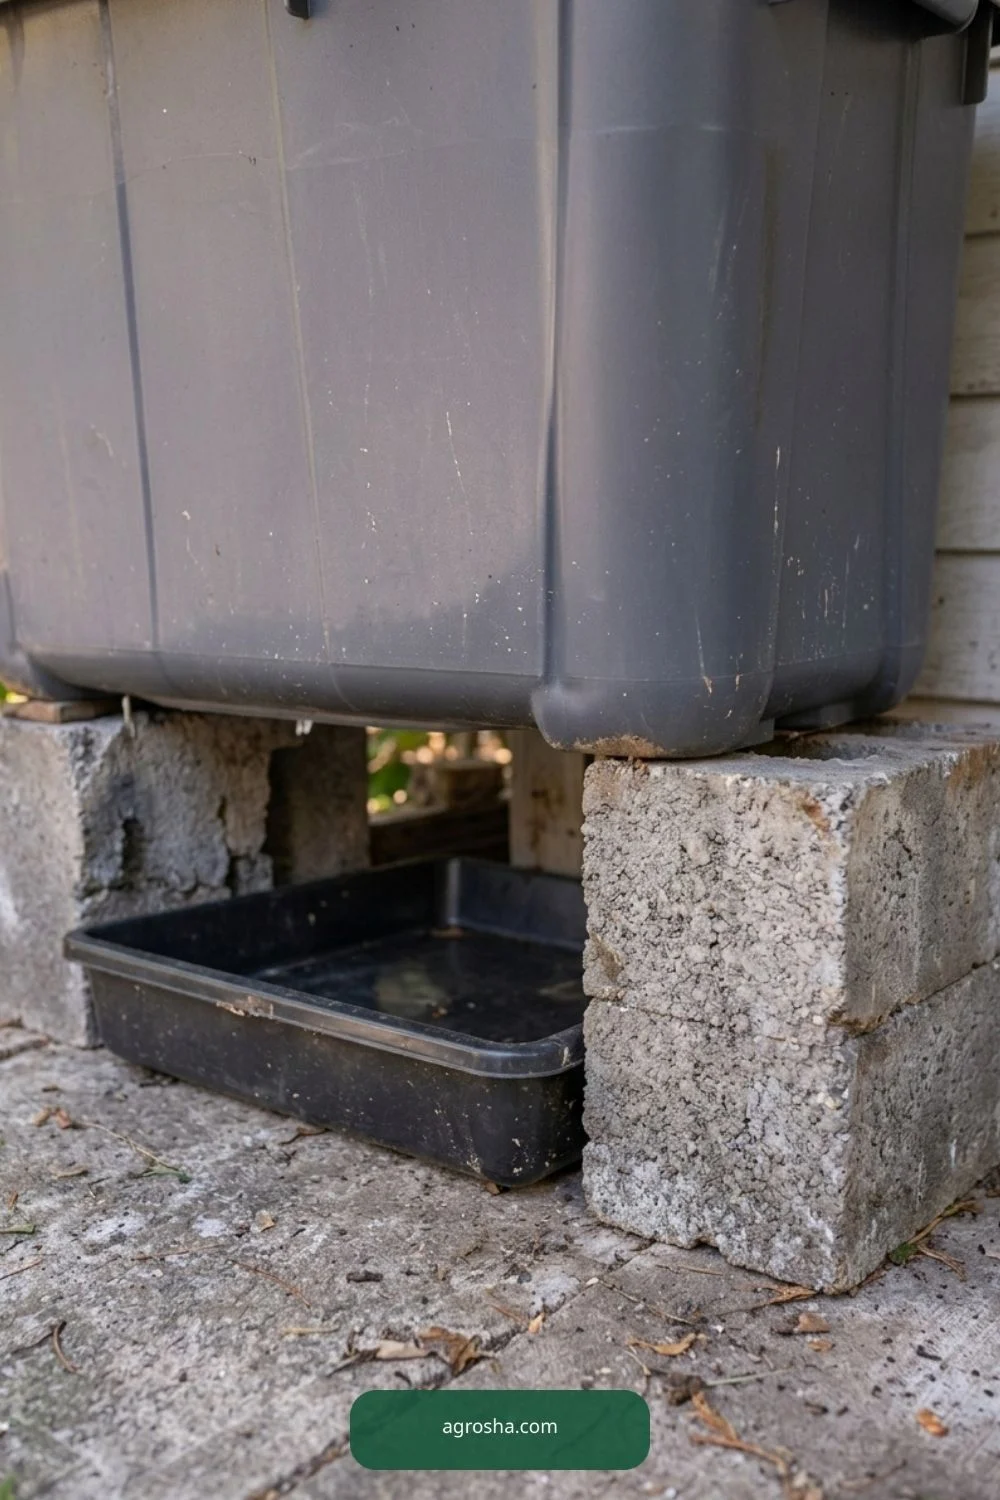
Raise bin over tray
The raise bin over tray matters for a practical shaded outdoor worm station. For raise bin over tray, check usable scale and accessible connections in this worm station, not decorative objects. Choose this detail only where it solves a genuine issue in the yard. A compact home project should remain stable when handled and uncomplicated to clean, harvest or repair. Notice any sharp edge, loose connection or blocked route before putting the structure into regular use.
Opaque storage container
The opaque storage container matters for a practical shaded outdoor worm station. For opaque storage container, check usable scale and accessible connections in this worm station, not decorative objects. The purpose is to make the next practical task easier. Check how the gardener approaches the area with a hose, gloves, pot or harvest basket. If a decorative feature blocks that task, simplify the build rather than moving useful plants to match a styled picture.

Damp shredded bedding
The damp shredded bedding matters for a practical shaded outdoor worm station. For damp shredded bedding, check usable scale and accessible connections in this worm station, not decorative objects. An outdoor component needs maintenance after the first weekend. Look for moisture, movement, worn ties and changed plant weight as conditions shift. The correct adjustment depends on the crop and environment; no single arrangement automatically fits every U.S. garden.
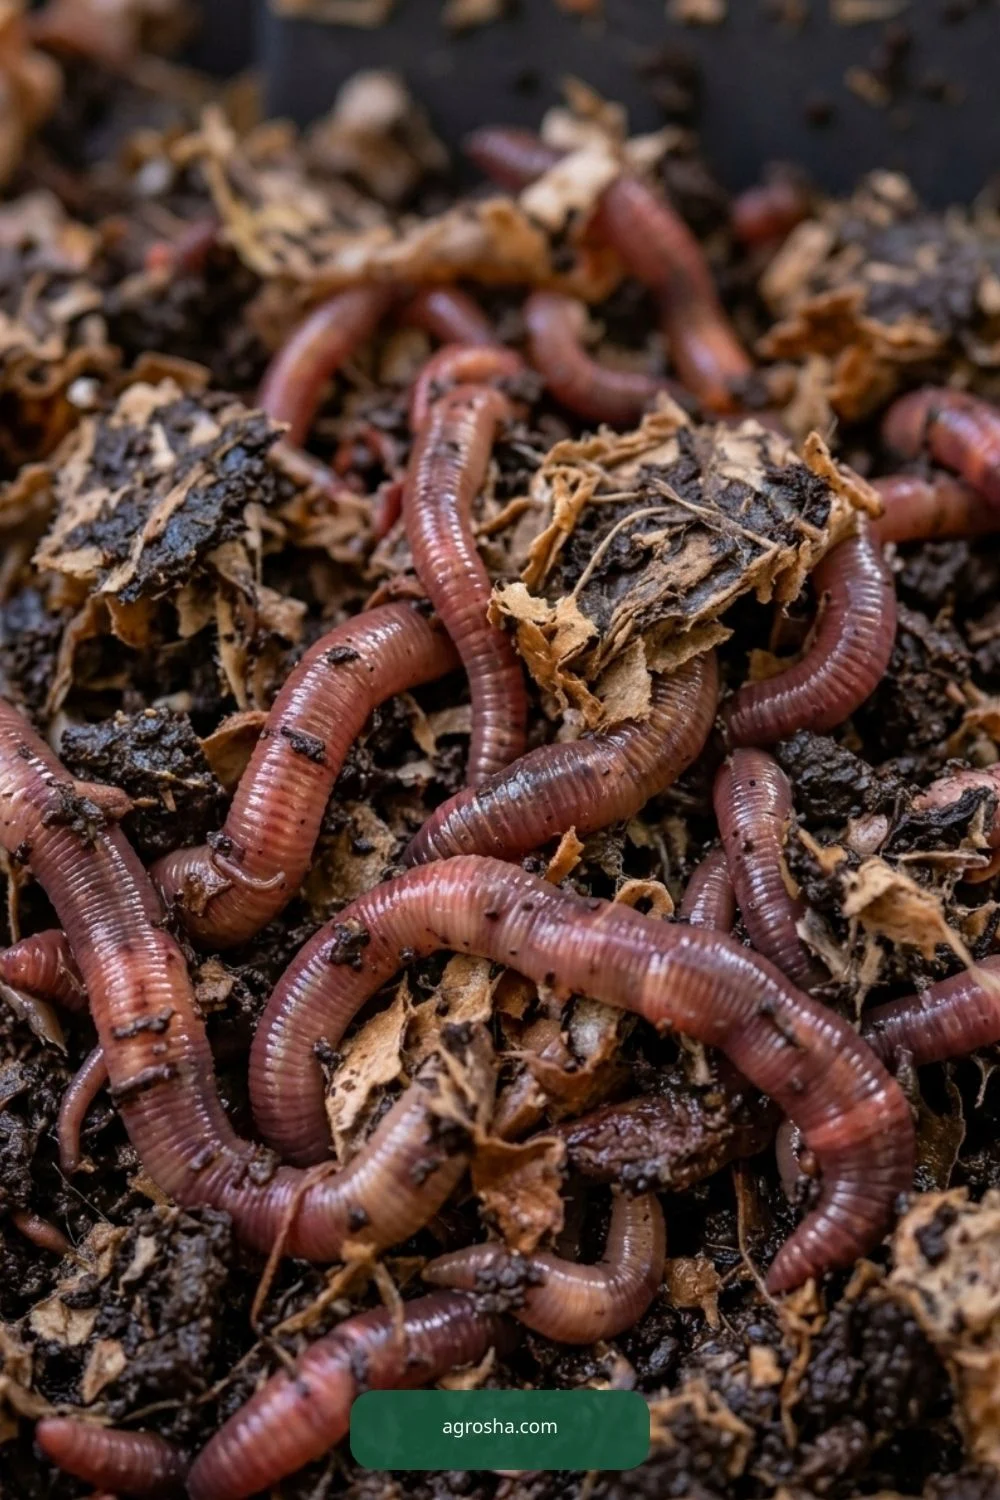
Composting red wigglers
The composting red wigglers matters for a practical shaded outdoor worm station. For composting red wigglers, check usable scale and accessible connections in this worm station, not decorative objects. Treat this as a practical decision rather than a decoration. Measure the space, identify what the plant or gardener must reach, and inspect the joint or covering after ordinary weather. A simple accessible solution is easier to repair than a complicated arrangement that hides the working parts.
Small buried feeding pocket
The small buried feeding pocket matters for a practical shaded outdoor worm station. For small buried feeding pocket, check usable scale and accessible connections in this worm station, not decorative objects. This view is useful because it reveals where material meets the real garden. Before copying it, consider wet soil, sunlight, seasonal growth and how the component can be removed without damage. Check clearances again when the crop becomes larger or the container fills.
Suitable food scraps
The suitable food scraps matters for a practical shaded outdoor worm station. For suitable food scraps, check usable scale and accessible connections in this worm station, not decorative objects. Small differences in spacing and support can matter more than a beautiful finish. Use suitable materials and confirm the actual site conditions rather than guessing dimensions from a photograph. Leave enough room for watering, inspection and safe hand access throughout the season.

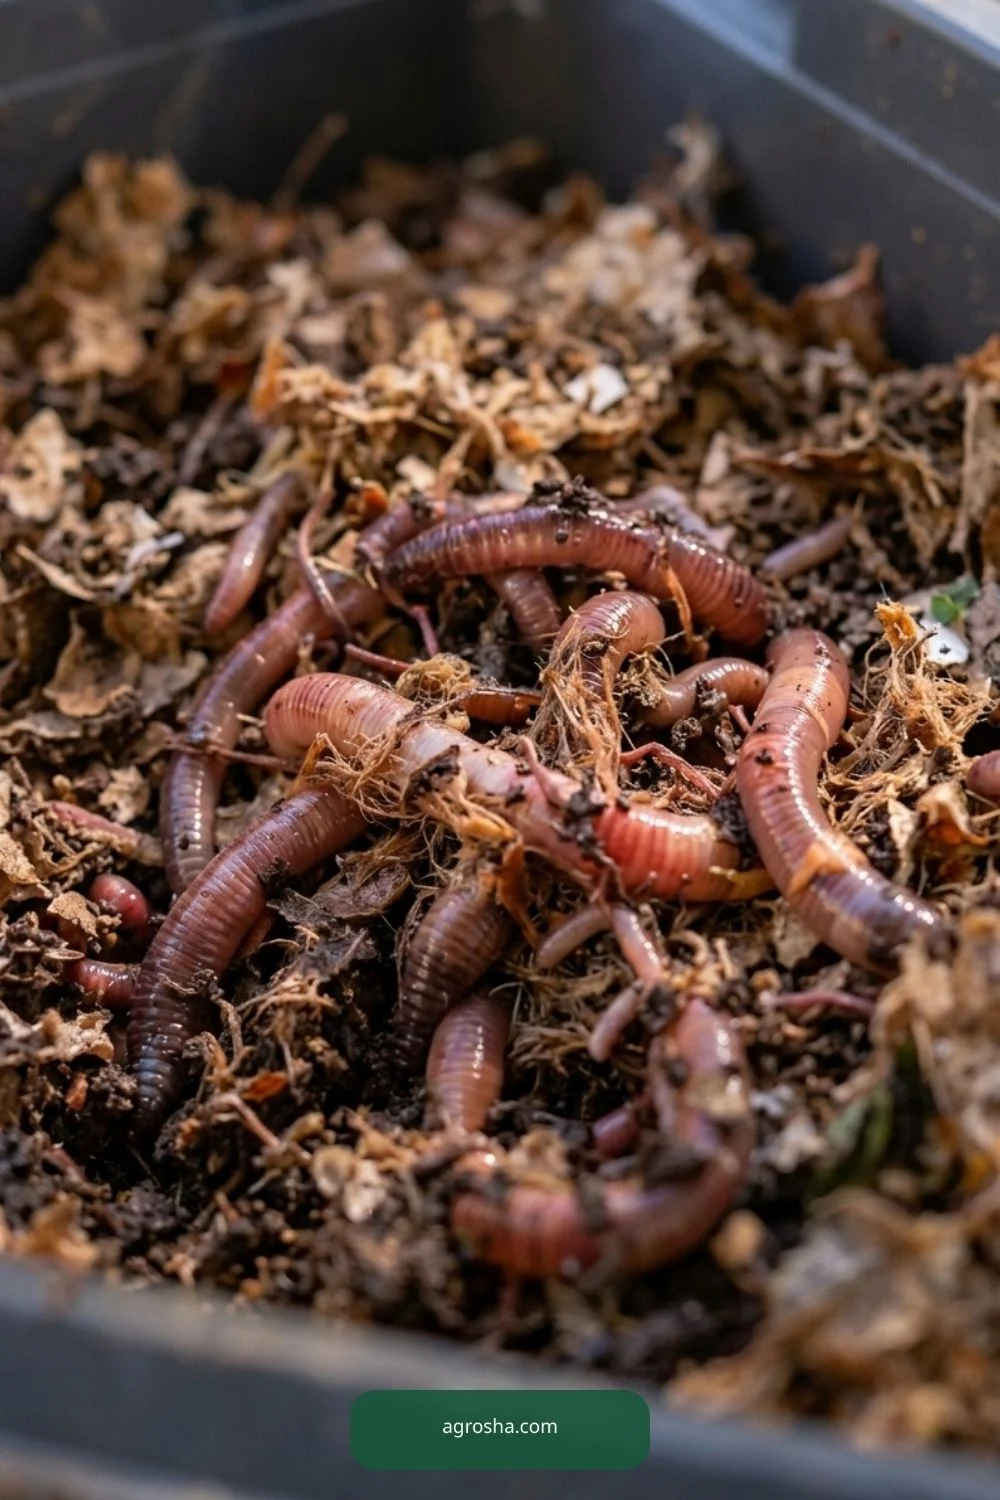
Observe settling worms
The observe settling worms matters for a practical shaded outdoor worm station. For observe settling worms, check usable scale and accessible connections in this worm station, not decorative objects. Choose this detail only where it solves a genuine issue in the yard. A compact home project should remain stable when handled and uncomplicated to clean, harvest or repair. Notice any sharp edge, loose connection or blocked route before putting the structure into regular use.
Bedding thermometer
The bedding thermometer matters for a practical shaded outdoor worm station. A bedding thermometer view must explain working scale, plant clearance, and exposed fittings in this worm station. The purpose is to make the next practical task easier. Check how the gardener approaches the area with a hose, gloves, pot or harvest basket. If a decorative feature blocks that task, simplify the build rather than moving useful plants to match a styled picture.

Winter relocation plan
The winter relocation plan matters for a practical shaded outdoor worm station. For winter relocation plan, check usable scale and accessible connections in this worm station, not decorative objects. An outdoor component needs maintenance after the first weekend. Look for moisture, movement, worn ties and changed plant weight as conditions shift. The correct adjustment depends on the crop and environment; no single arrangement automatically fits every U.S. garden.
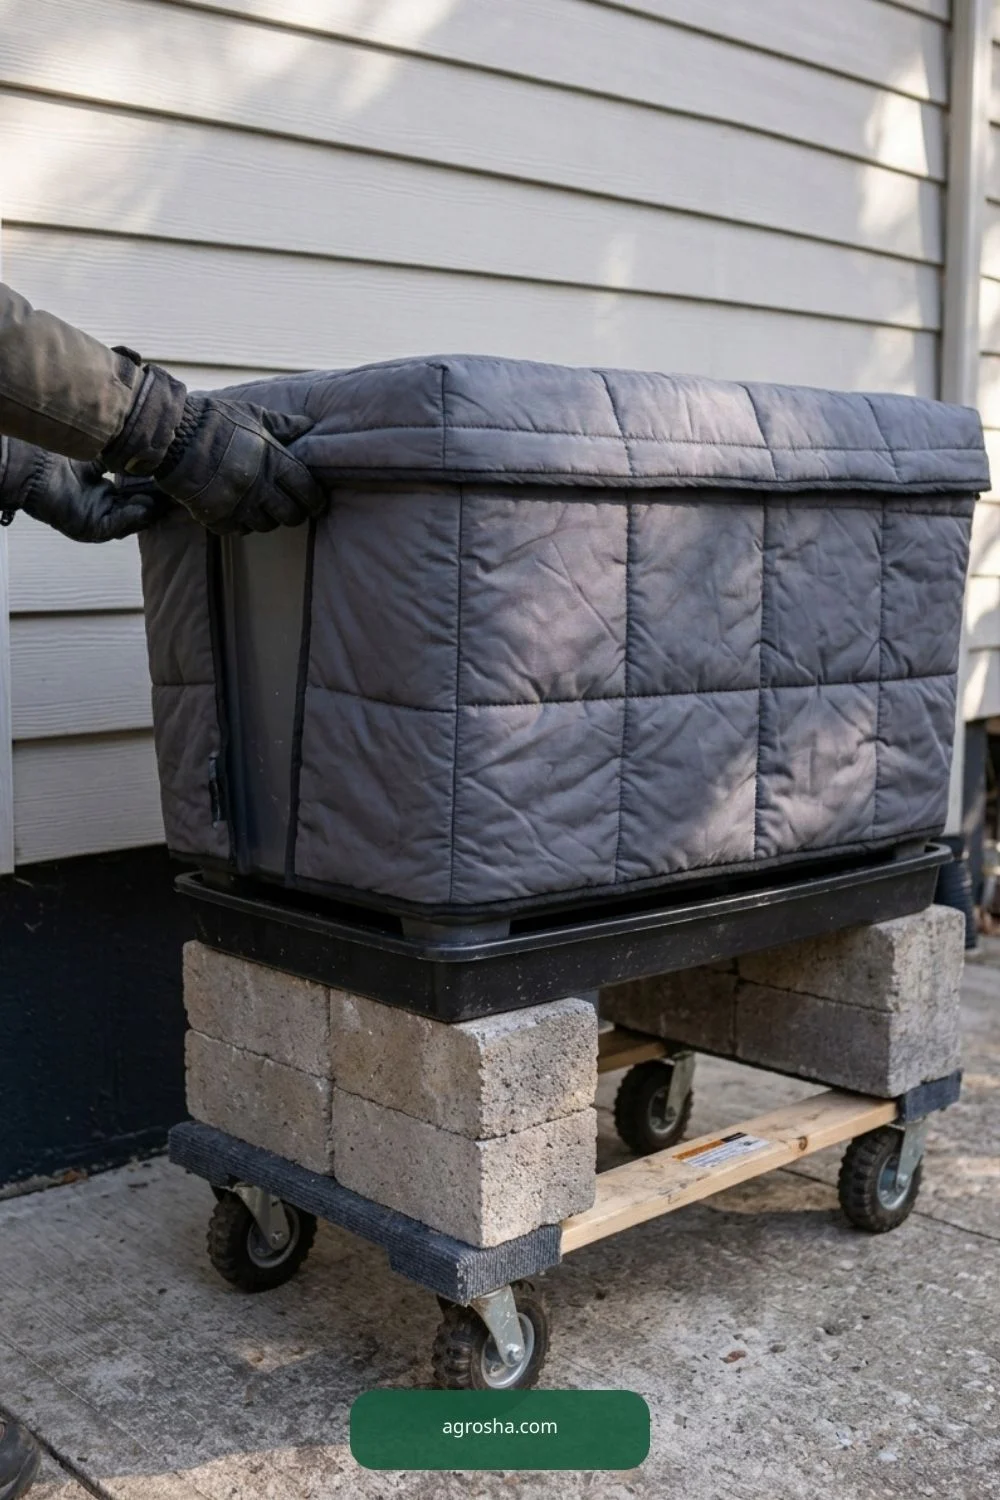
Avoid heated tire stacks
The avoid heated tire stacks matters for a practical shaded outdoor worm station. For avoid heated tire stacks, check usable scale and accessible connections in this worm station, not decorative objects. Treat this as a practical decision rather than a decoration. Measure the space, identify what the plant or gardener must reach, and inspect the joint or covering after ordinary weather. A simple accessible solution is easier to repair than a complicated arrangement that hides the working parts.
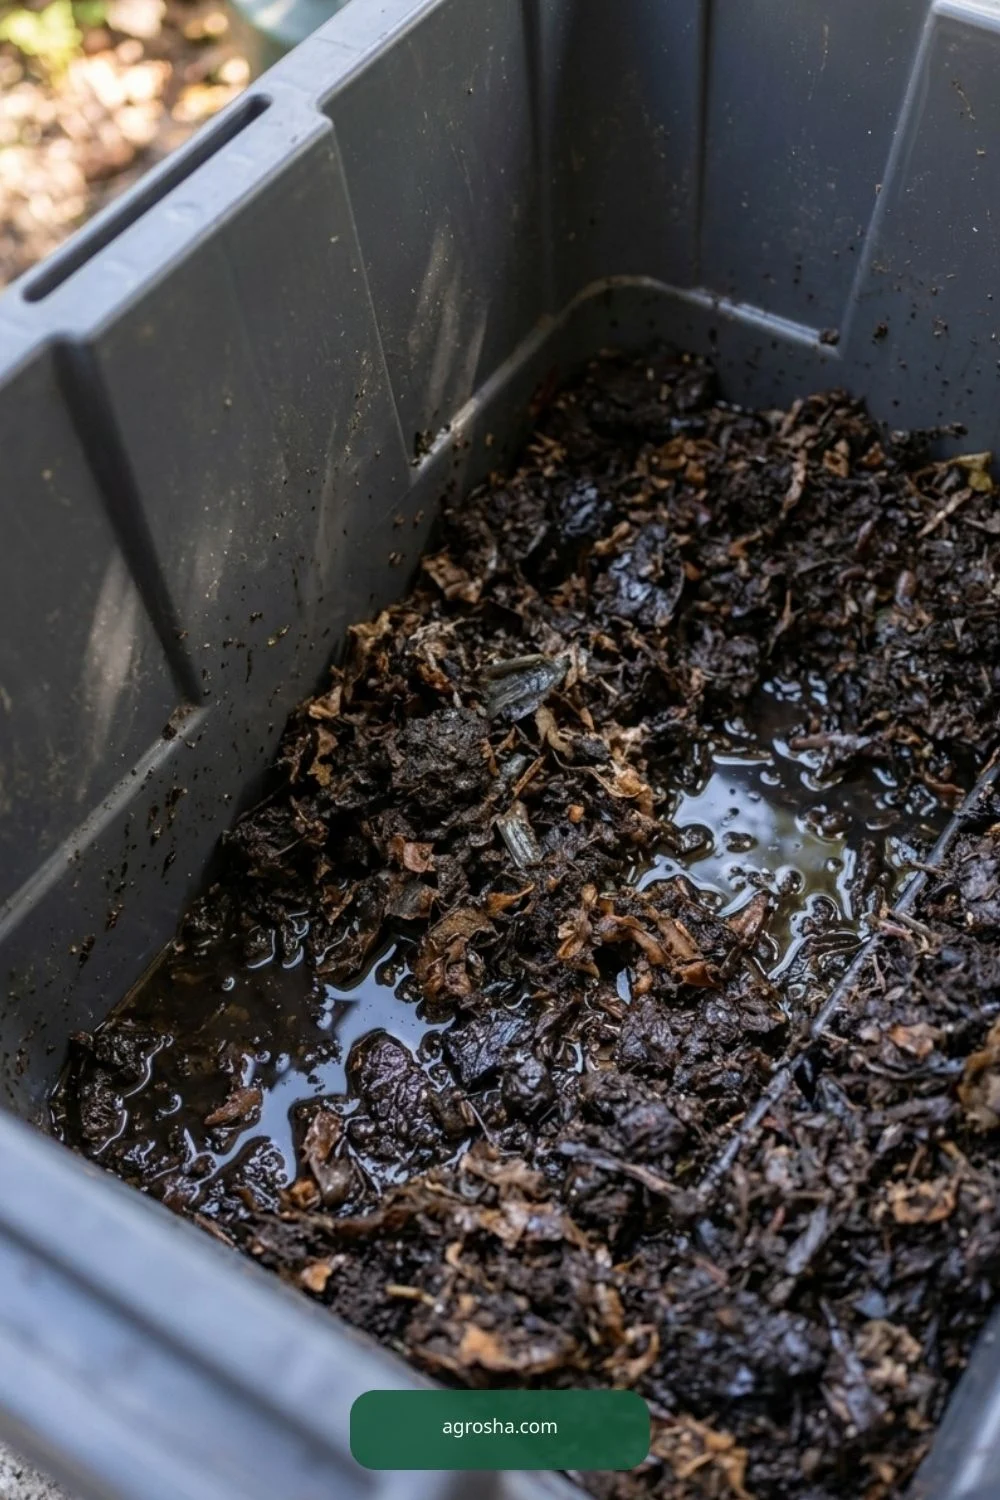
Waterlogged bottom layer
The waterlogged bottom layer matters for a practical shaded outdoor worm station. For waterlogged bottom layer, check usable scale and accessible connections in this worm station, not decorative objects. This view is useful because it reveals where material meets the real garden. Before copying it, consider wet soil, sunlight, seasonal growth and how the component can be removed without damage. Check clearances again when the crop becomes larger or the container fills.

Dry and wet bedding
The dry and wet bedding matters for a practical shaded outdoor worm station. For dry and wet bedding, check usable scale and accessible connections in this worm station, not decorative objects. Small differences in spacing and support can matter more than a beautiful finish. Use suitable materials and confirm the actual site conditions rather than guessing dimensions from a photograph. Leave enough room for watering, inspection and safe hand access throughout the season.

Respond to sour odors
The respond to sour odors matters for a practical shaded outdoor worm station. For respond to sour odors, check usable scale and accessible connections in this worm station, not decorative objects. Choose this detail only where it solves a genuine issue in the yard. A compact home project should remain stable when handled and uncomplicated to clean, harvest or repair. Notice any sharp edge, loose connection or blocked route before putting the structure into regular use.

Exclude scavengers
The exclude scavengers matters for a practical shaded outdoor worm station. A exclude scavengers view must explain working scale, plant clearance, and exposed fittings in this worm station. The purpose is to make the next practical task easier. Check how the gardener approaches the area with a hose, gloves, pot or harvest basket. If a decorative feature blocks that task, simplify the build rather than moving useful plants to match a styled picture.

Separate finished castings
The separate finished castings matters for a practical shaded outdoor worm station. For separate finished castings, check usable scale and accessible connections in this worm station, not decorative objects. An outdoor component needs maintenance after the first weekend. Look for moisture, movement, worn ties and changed plant weight as conditions shift. The correct adjustment depends on the crop and environment; no single arrangement automatically fits every U.S. garden.
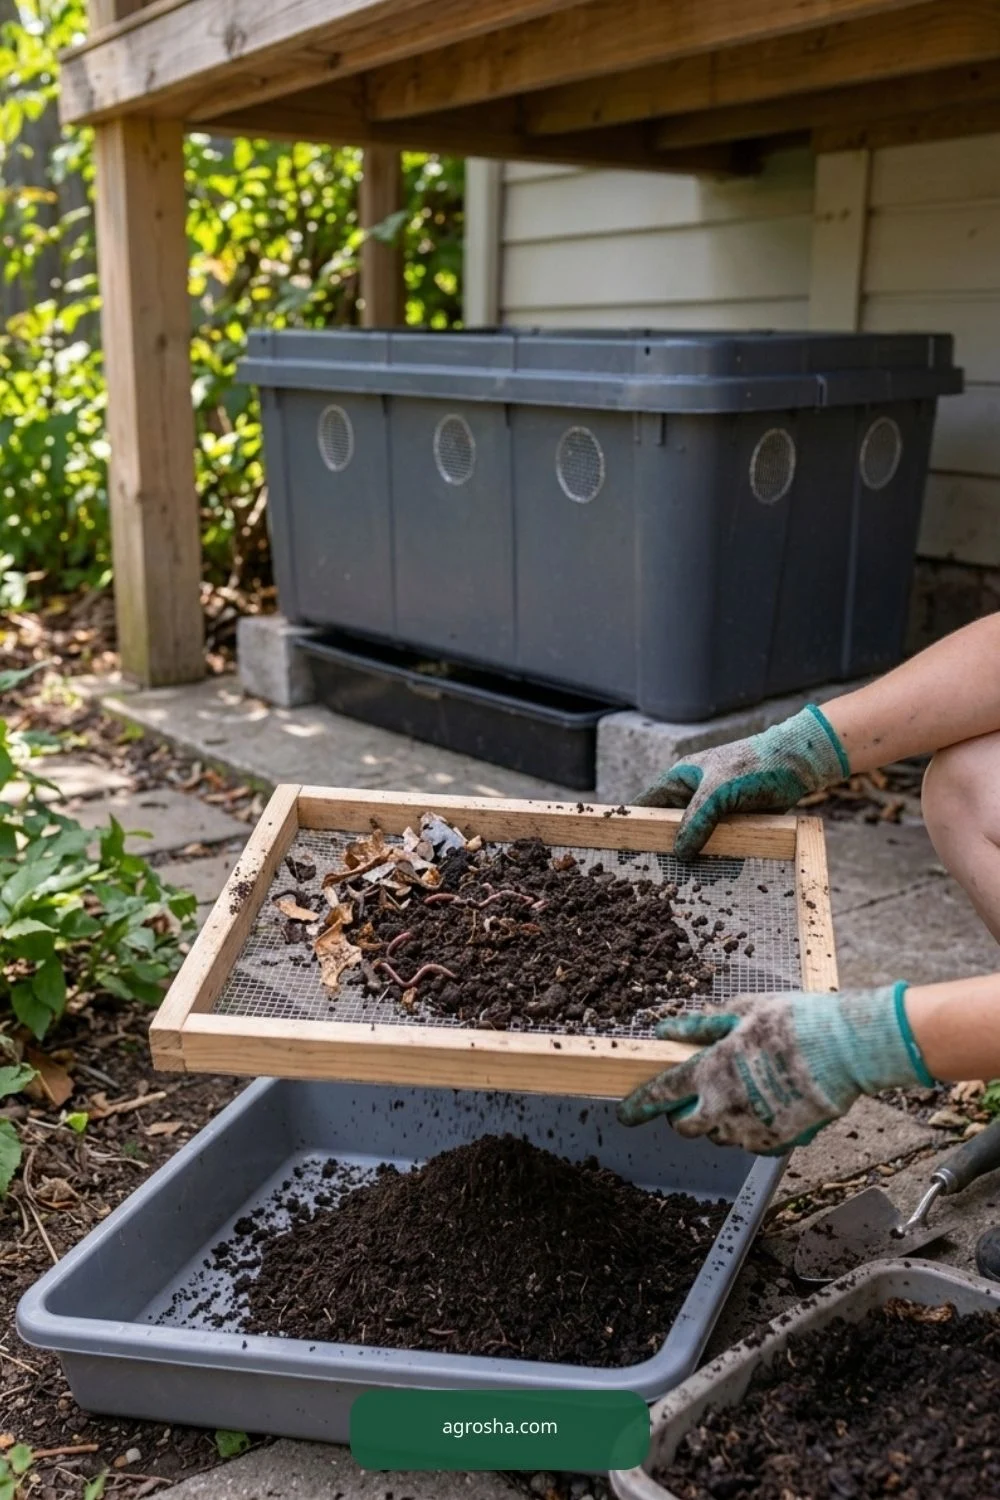
Leachate safety
The leachate safety matters for a practical shaded outdoor worm station. A leachate safety view must explain working scale, plant clearance, and exposed fittings in this worm station. Treat this as a practical decision rather than a decoration. Measure the space, identify what the plant or gardener must reach, and inspect the joint or covering after ordinary weather. A simple accessible solution is easier to repair than a complicated arrangement that hides the working parts.
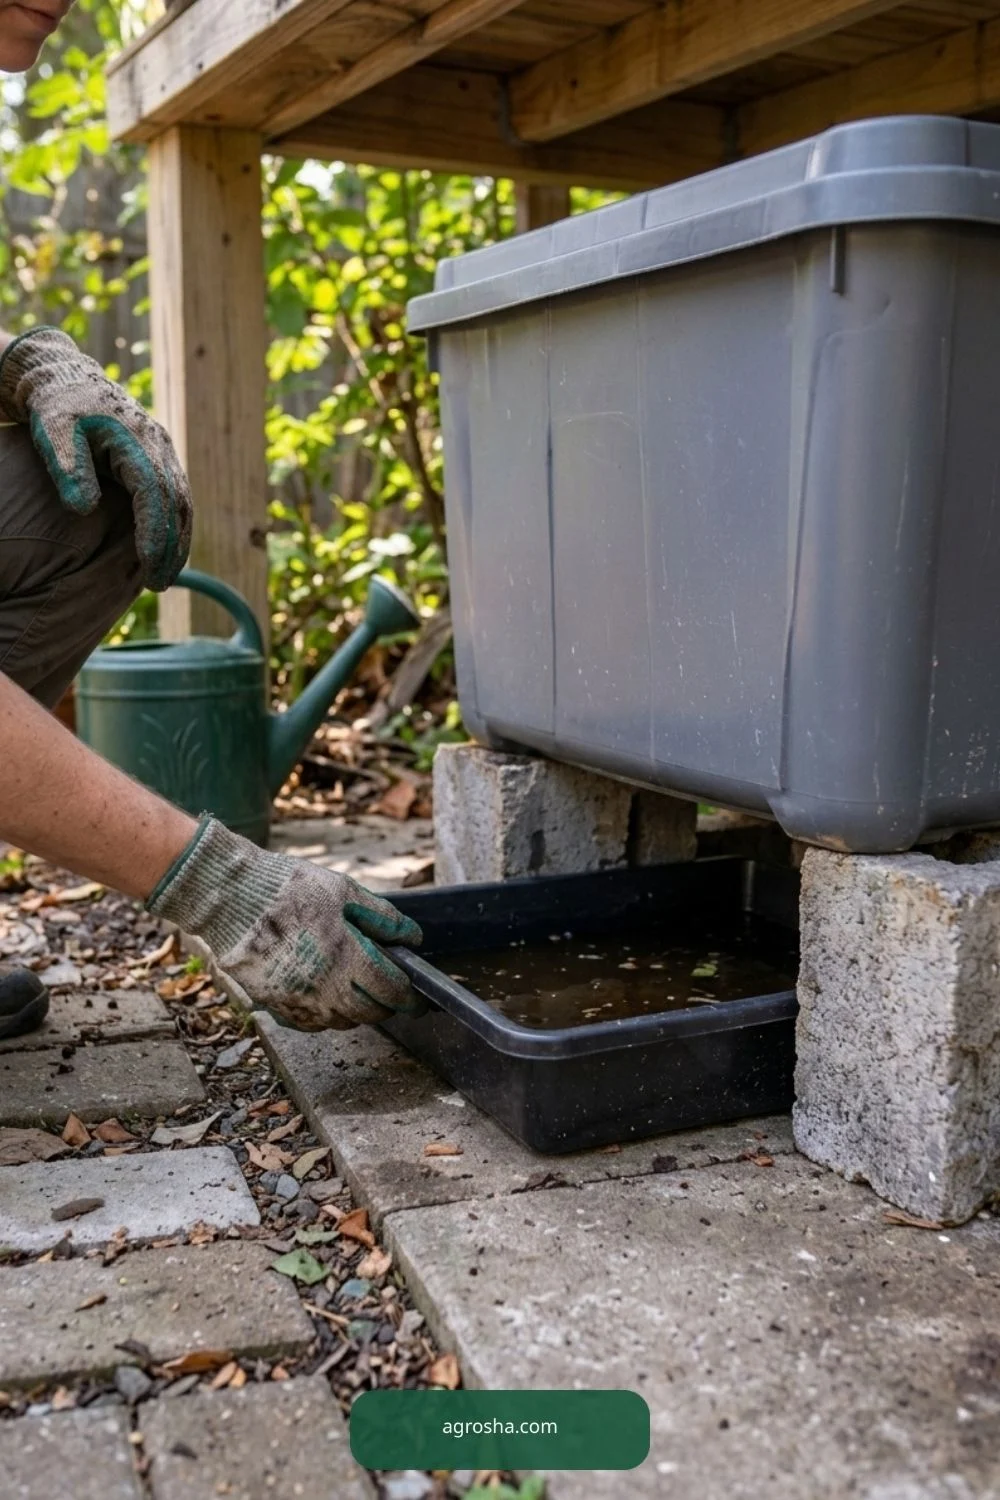
Clean station parts
The clean station parts matters for a practical shaded outdoor worm station. For clean station parts, check usable scale and accessible connections in this worm station, not decorative objects. This view is useful because it reveals where material meets the real garden. Before copying it, consider wet soil, sunlight, seasonal growth and how the component can be removed without damage. Check clearances again when the crop becomes larger or the container fills.
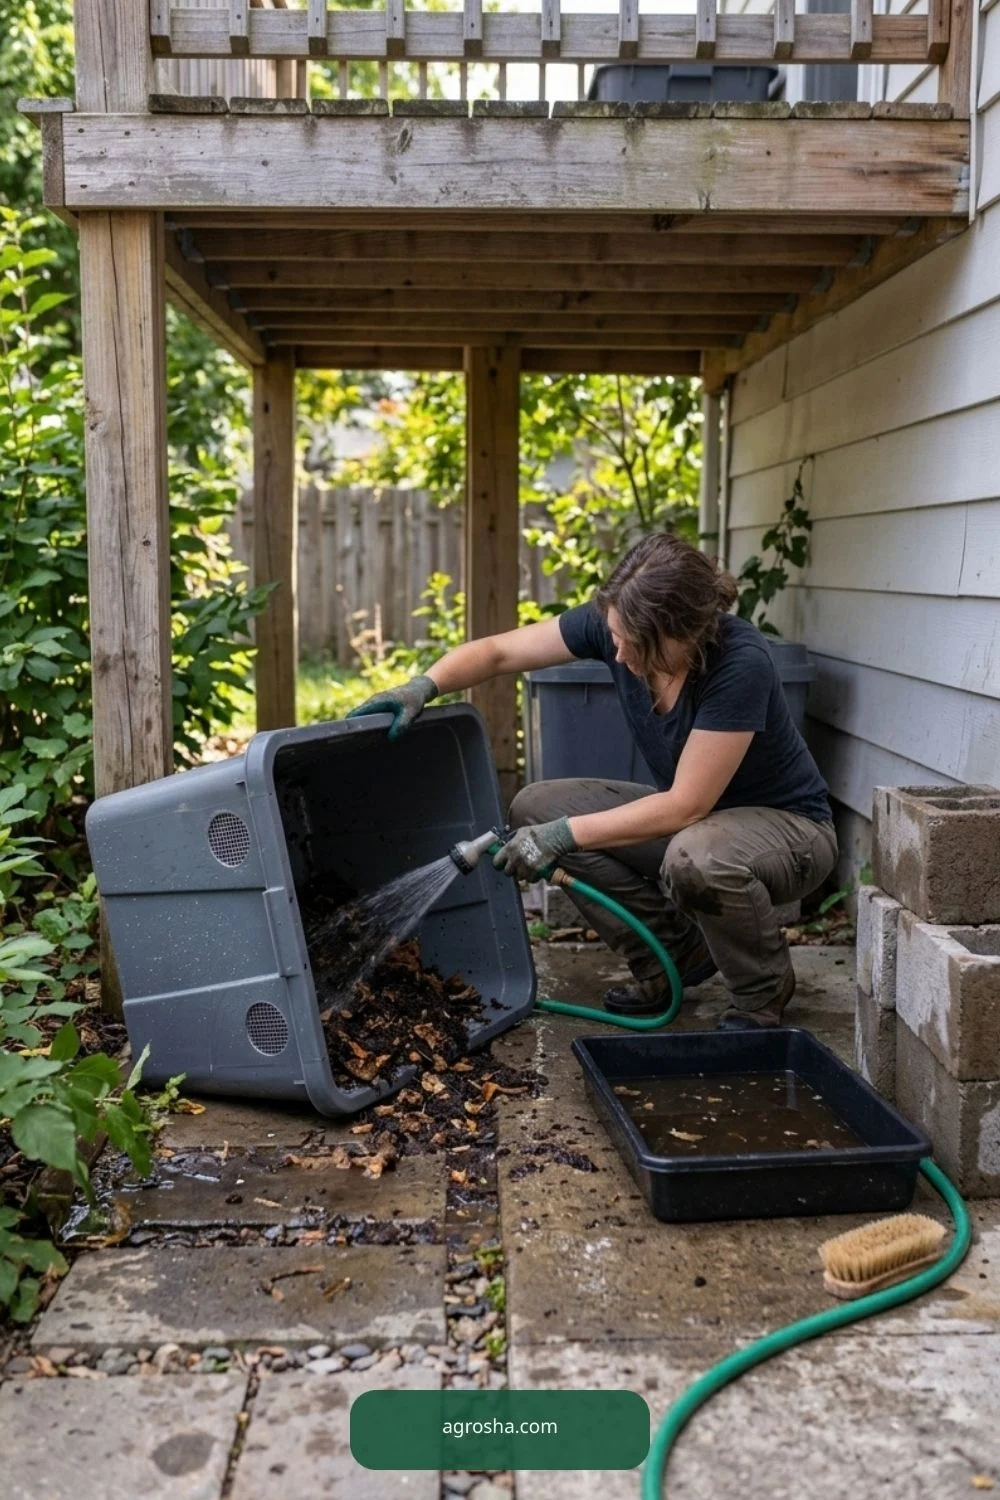
Make the simplest version first and test how it works in your own garden. Confirm which materials are appropriate, how the main parts join together, and what must remain accessible during routine care. If a connection becomes difficult to inspect, it can also become difficult to repair before something fails. The shaded outdoor worm station should also account for red wiggler habitat, moist oxygenated bedding, safe temperatures, small feed portions and leachate caution.
Look beyond the finished appearance to the way weather changes the project. Heavy rain, reflected summer heat, strong wind and a rapidly growing plant can alter a comfortable layout. Monitor the actual site rather than assuming a photographed arrangement will work without changes in a different climate. The shaded outdoor worm station should also account for red wiggler habitat, moist oxygenated bedding, safe temperatures, small feed portions and leachate caution.
Consider the people using the yard. Clear access makes it easier to water, feed, turn compost, harvest or replace a broken piece without stepping over an obstacle. If a proposed addition reduces safe access, leave it out until its necessity is clear. The shaded outdoor worm station should also account for red wiggler habitat, moist oxygenated bedding, safe temperatures, small feed portions and leachate caution.
Frequently Asked Questions
Can a worm bin stay outside all winter?
Only where temperatures remain suitable or reliable protection is available. In many climates it should be moved to a temperature-controlled protected space.
Do ordinary garden earthworms work?
Do not assume so. Red wigglers are the common composting species used in bins; native soil earthworms have different needs.
Why are worms trying to escape?
Check for overheating, waterlogging, drying, acidity, poor air or unsuitable new conditions.
Is the dark liquid that drains out worm tea?
No. Leachate is not the same as intentionally prepared vermicompost tea and should not be advertised as a guaranteed safe plant fertilizer.
What should the bedding feel like?
Moist and airy like a wrung-out sponge, without free standing water or bone-dry patches.
Reliable Guidance and Further Reading
For additional technical context, consult NC State Extension and University of Illinois Extension’s vermicomposting Q&A. Use local extension advice for climate and conditions rather than expecting a single design to fit every region.
Final Thoughts
Check bedding moisture and temperature regularly, especially in hot and cold weather. A useful worm station protects the worms from heat, standing water and freezing conditions while remaining easy to feed and harvest.