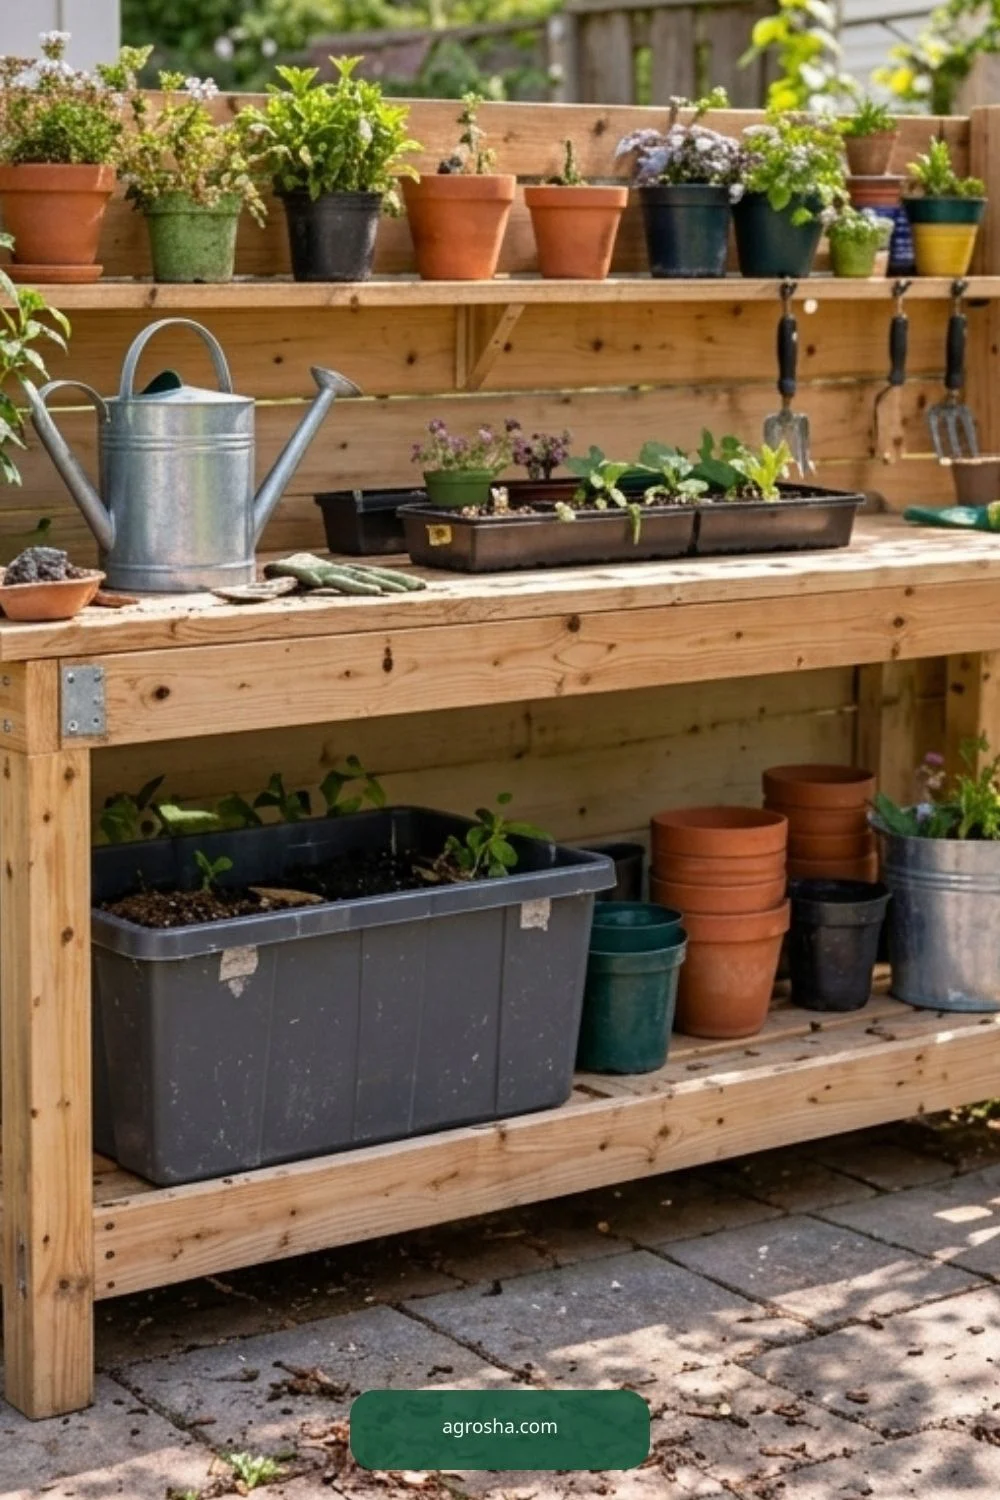
A DIY potting bench with storage should make real jobs easier: filling pots, mixing media, keeping hand tools close and cleaning up before dinner. It does not need to be a fancy outdoor kitchen. The strongest design for a small yard is a stable worktop with an open lower shelf, limited overhead storage, and surfaces that drain or dry rather than stay wet.
Quick Answer
Plan a comfortable working height, make a square braced frame, attach a sturdy easy-clean top, and add a lower shelf with room for pots and a soil container. Keep heavier supplies low, provide safe wall or cross bracing where required, and use outdoor-appropriate hardware. Place the bench on firm level ground with enough room to move.
If your potting bench serves containers near an entry, our front yard garden ideas provide practical layouts that keep walking space clear.
Before You Build: Check Your Site
A sound diy potting bench with storage starts with the garden you actually have. Choose the location for access, sunlight or shade, weather, and the way this project will be used. Think about maintenance and how you will remove or repair components when the season changes.
- Measure comfortable standing height for the person using the bench.
- Know the footprint and doorway width before cutting lumber.
- Think about splash, drainage, sun exposure and whether the bench stays outdoors.
- Use a stable work surface; do not make a top-heavy rack with bags of soil above head height.
Materials and Tools
The following is a practical starting list rather than a guaranteed one-size-fits-all kit. Choose dimensions and fastening methods only after measuring the actual site and checking product instructions.
- Sound exterior-appropriate lumber or reused sound boards of known condition
- Outdoor screws, suitable brackets and optional cross braces
- Worktop boards or a serviceable outdoor-rated panel
- Tape measure, square, clamps, drill/driver and safe saw
- Lower shelf boards or slats, a few simple hooks
- Optional covered storage tote, scoop and small brush

Step-by-Step: Build a Practical Version
Work on a stable surface, wear suitable protection, and stop if an attachment or material seems unsafe. The steps describe a representative small-yard build, not an engineered specification.
1. Measure the working space
Mark the bench footprint with tape and stand where you will pot plants. Test how far you can reach without leaning into a fence. Leave enough clearance for a person to pass behind you if the bench faces a walkway.
2. Choose safe usable lumber
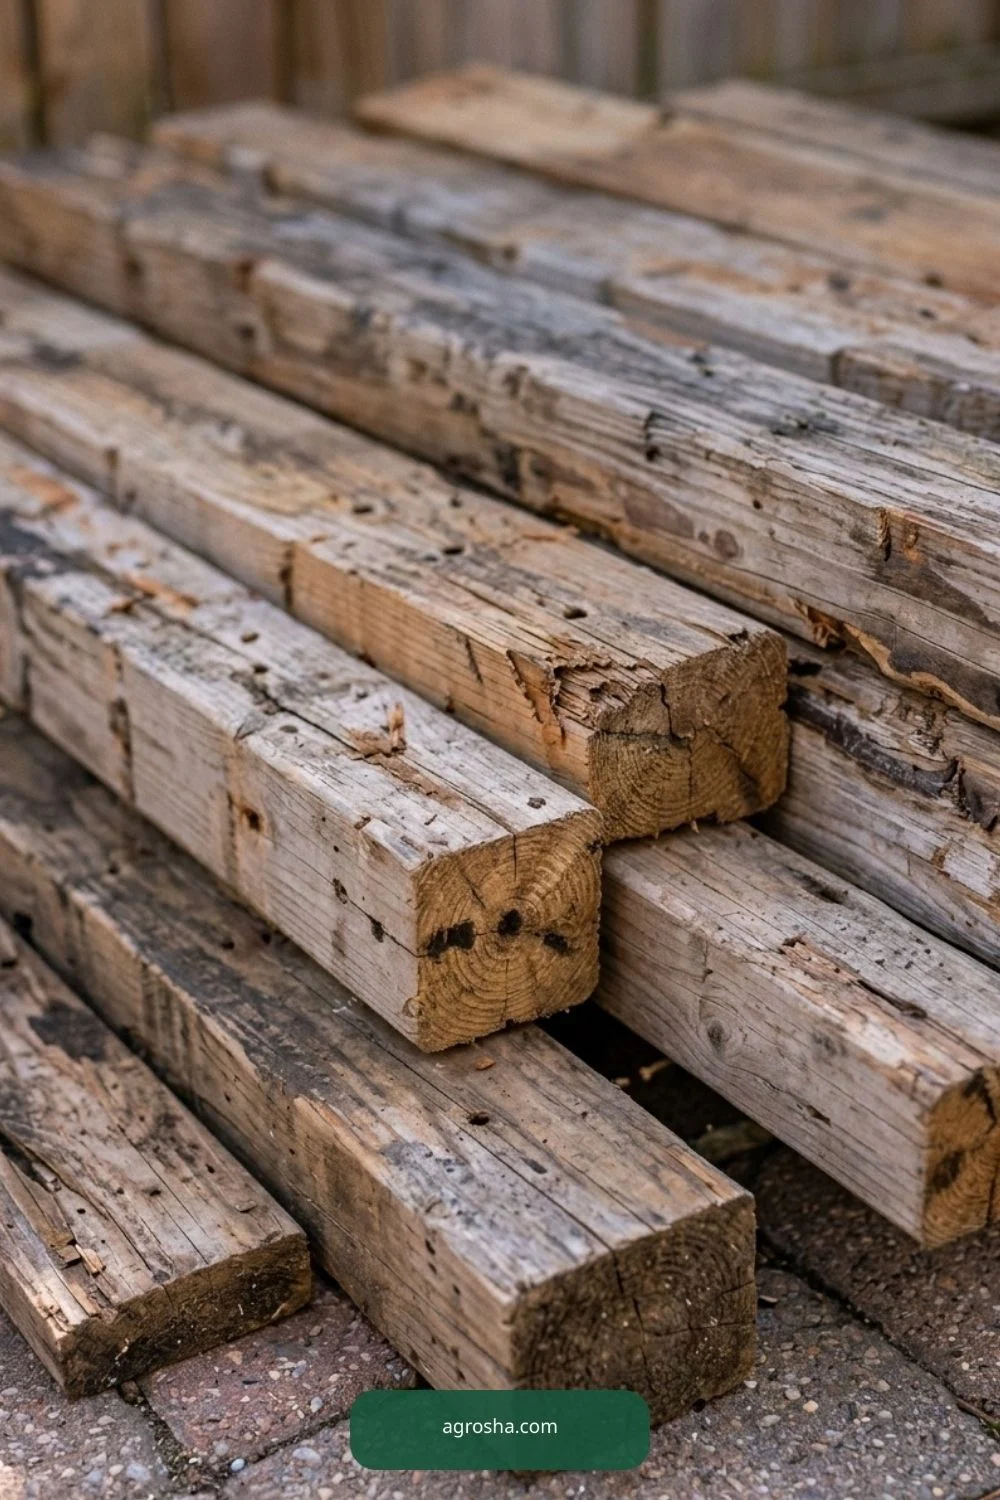
Inspect every reused board for splinters, rot, cracks and unknown finishes. Use material appropriate for outdoor exposure and treat cut ends where recommended. A bench used for edible seedlings should not incorporate visibly contaminated boards.
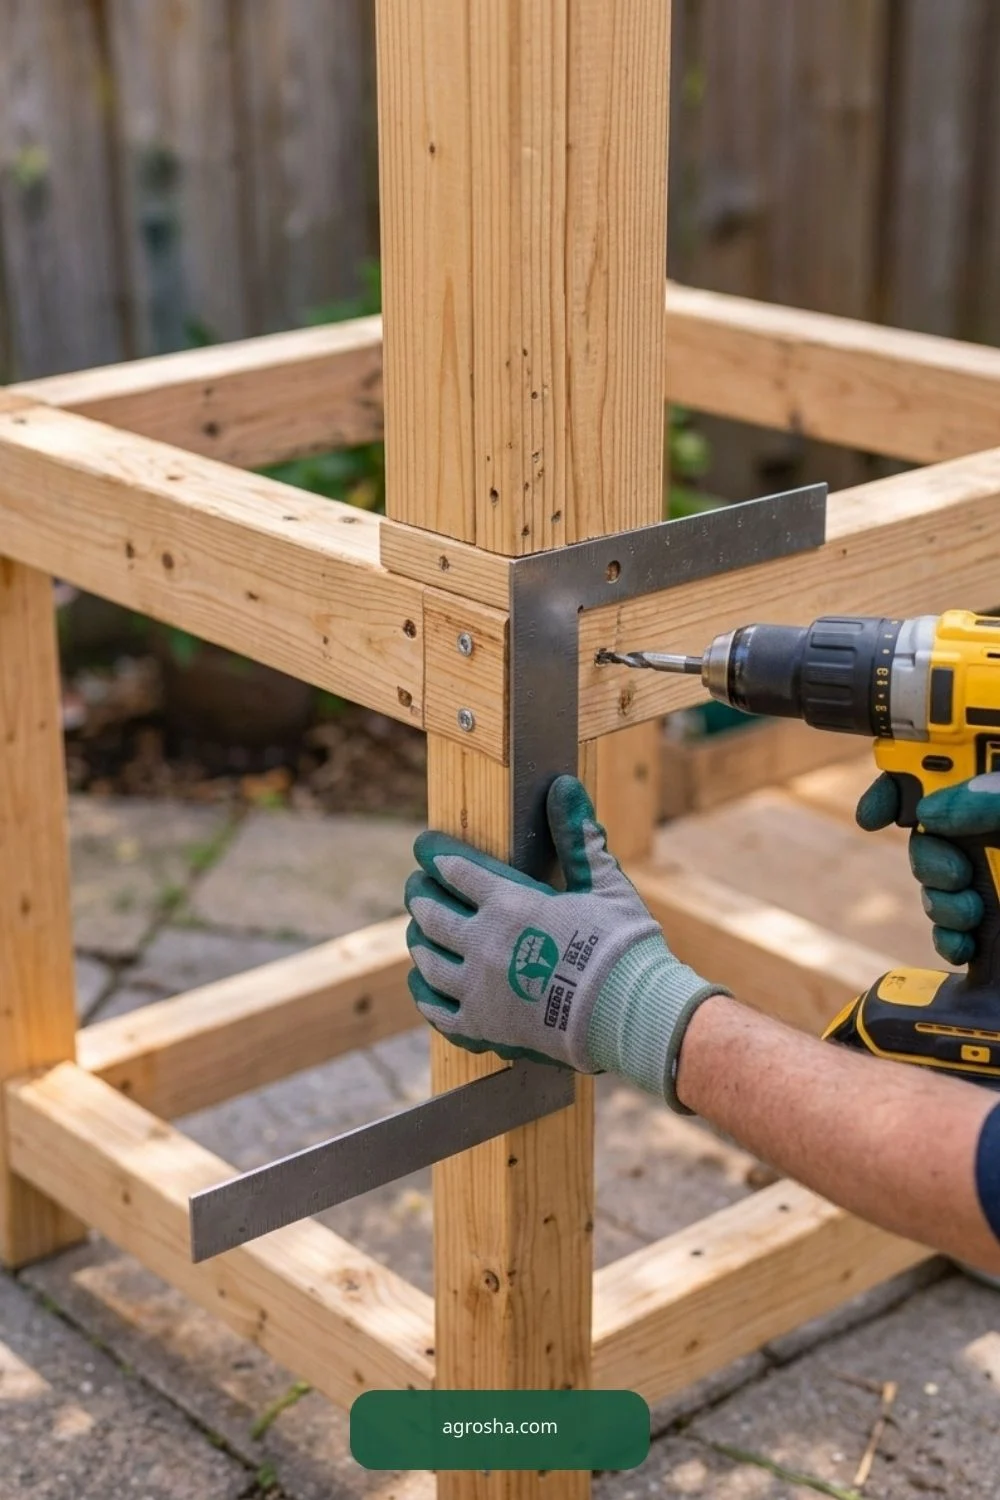
3. Cut the legs and rails accurately
Make matching legs and square front/back rails, following a simple measured drawing. Clamp wood before cutting and wear eye protection. Small errors in leg lengths become a rocking worktop later, so check the parts together.
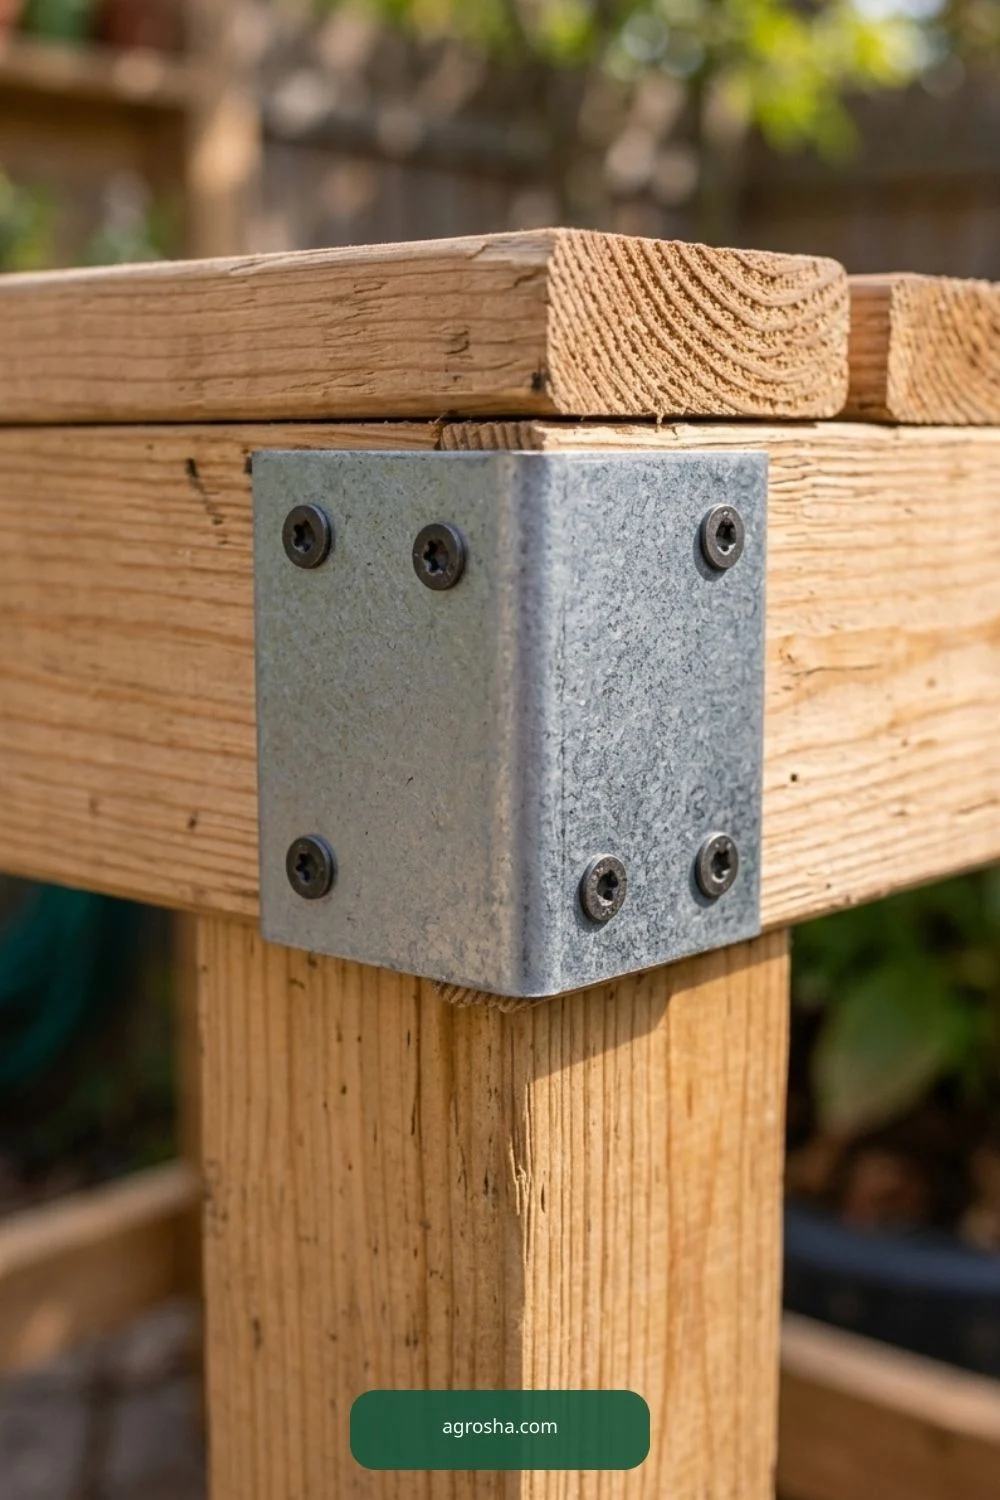
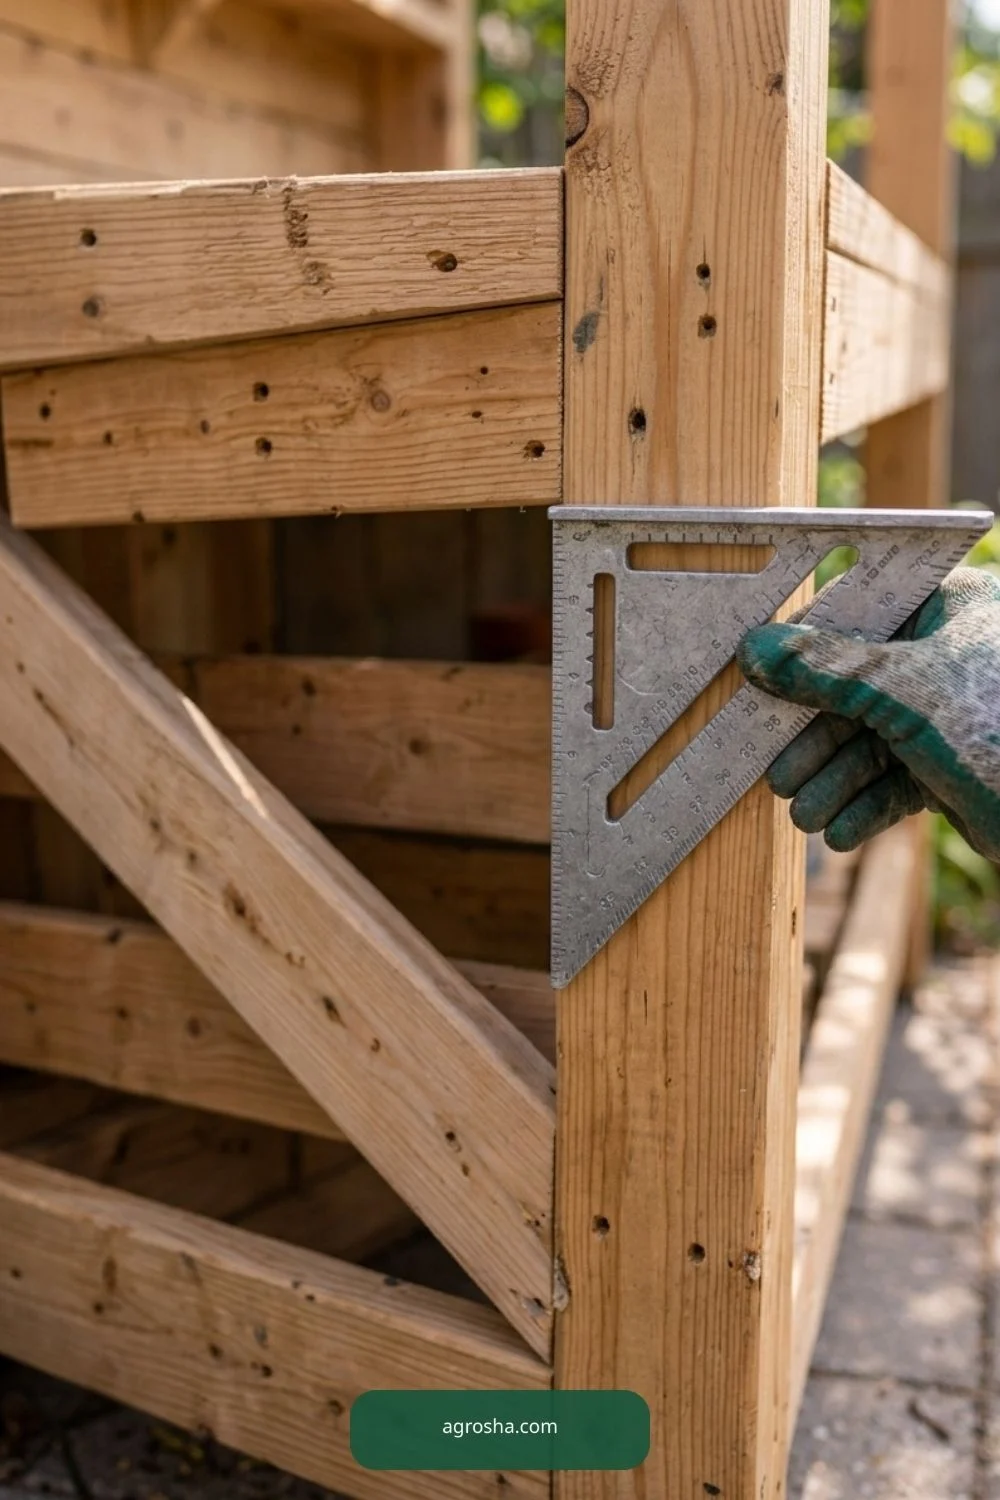
4. Build a square stable base
Join legs and rails using suitable screws or brackets into sound wood. Check diagonals for squareness before tightening all connections. Set the frame on a flat surface and brace it if it twists when pushed.

5. Attach a practical work surface
Install a top with enough area for one pot, a soil scoop and a tray without spilling over the edge. Avoid wide gaps that swallow small seeds; allow an appropriate way to clean water and soil from the surface.
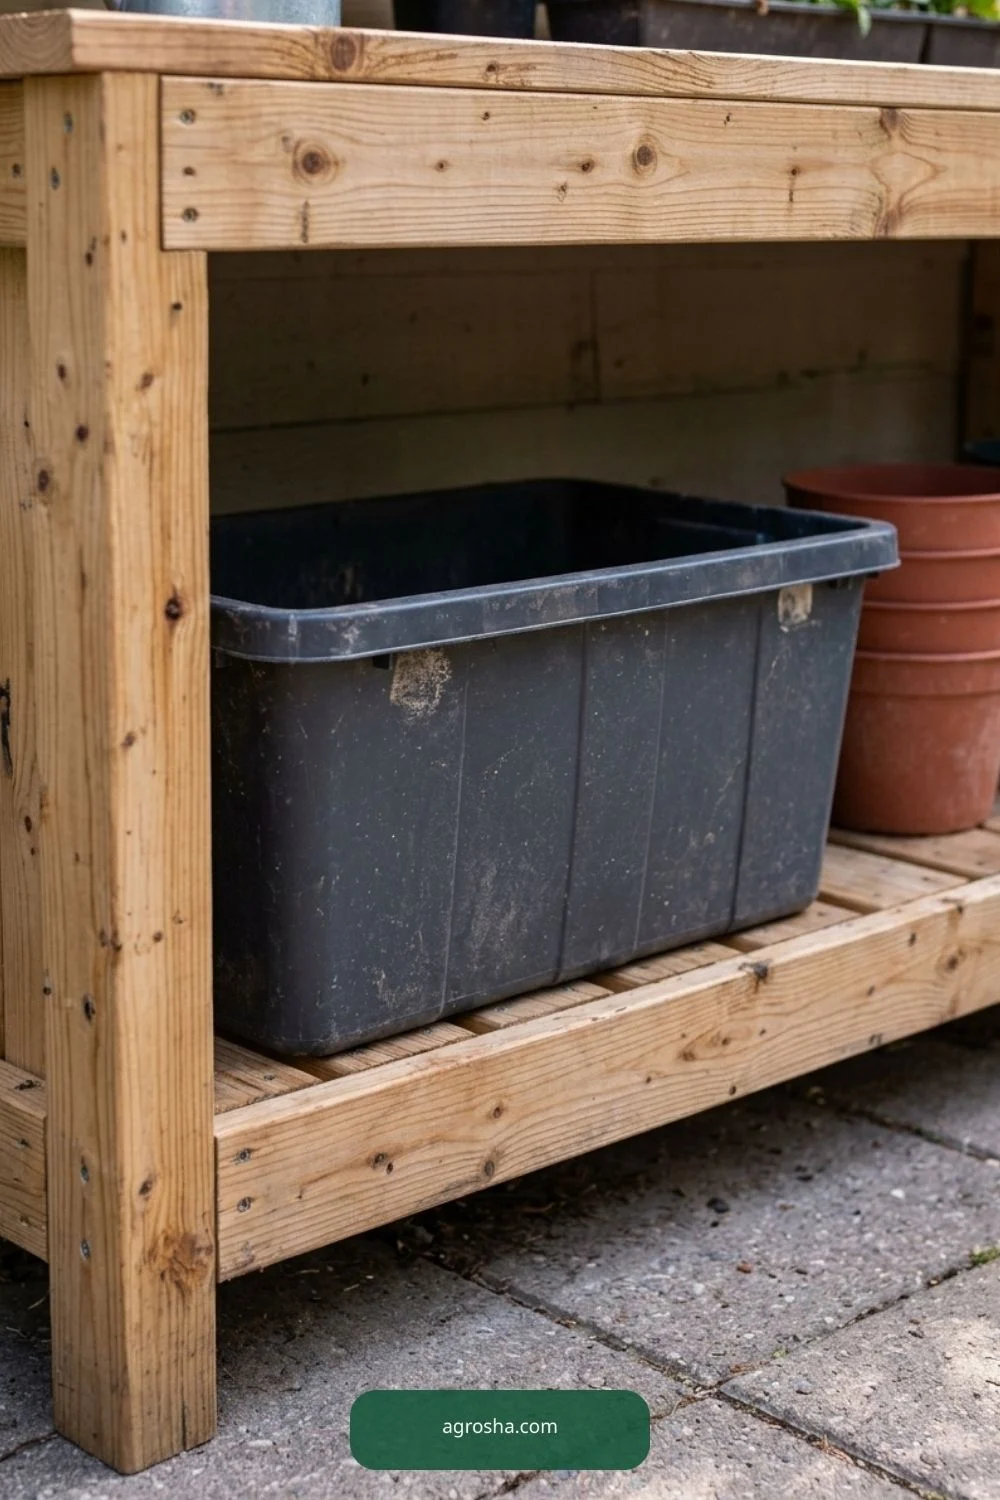
6. Add the lower shelf
Position the shelf to hold heavier bags or bins close to the ground, with the floor clearance needed for drainage and sweeping. Fasten it securely to the frame rather than just setting loose planks on rails. Keep enough open space to pull containers out.
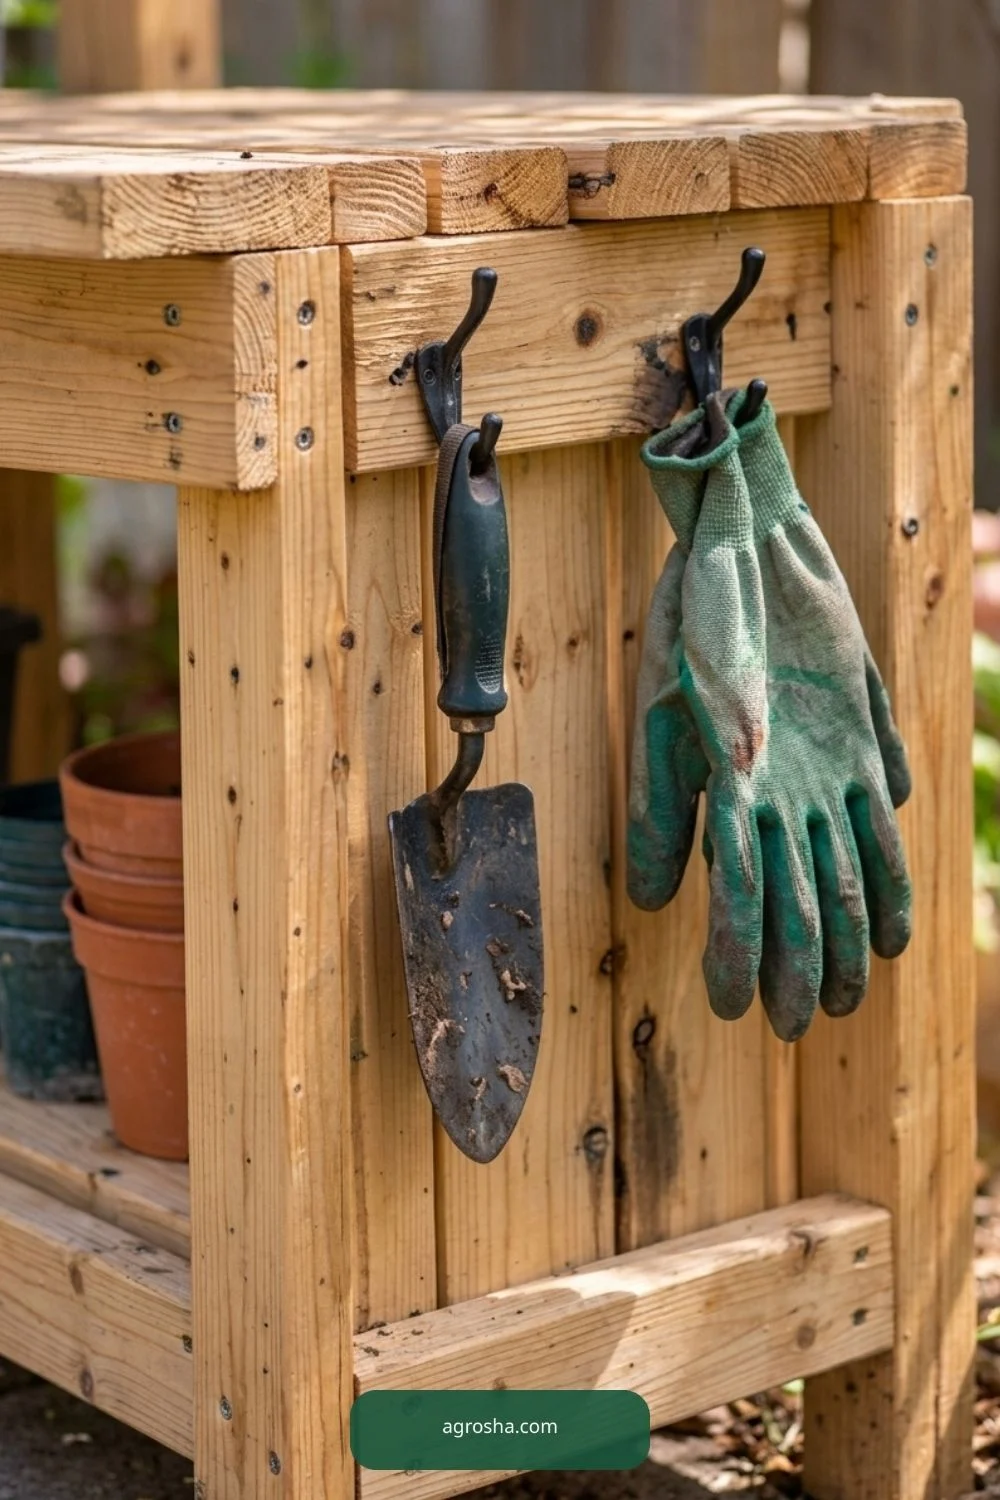
7. Mount simple storage where it helps
Add a small side hook for gloves or a trowel and only limited lightweight overhead storage. Store chemicals or sharp tools according to their own safety guidance, not loosely over food seedlings. Keep frequently used items within easy reach.

8. Set the bench in place and check stability
Place the finished bench on a level durable surface, correct rocking and verify no hooks or screws project into walkways. Test realistic worktop loads before potting. Brush soil off after use and let damp surfaces dry.
Which Version Makes Sense for Your Garden?
Choose the version that solves the actual garden problem rather than copying the most elaborate photograph. The alternatives below differ in accessibility, maintenance, and the degree of support needed.
| Option | Good for | Watch out for |
|---|---|---|
| Simple open shelf bench | Small yards and easy cleanup | Tools remain visible |
| Bench with covered tote storage | Keep small supplies dry | Needs vented or removable containers |
| Fold-down wall station | Tight patio and occasional use | Wall fastening must be approved and engineered |
Practical Mistakes to Avoid
Most preventable problems begin when the project looks finished but is awkward or unsafe to use. Check these issues before calling the build done.
- Building to a stylish picture instead of the gardener’s reach
- Ignoring uneven ground that makes the frame rock
- Putting heavy soil bags on a high shelf
- Using a worktop that cannot be cleaned or drained
- Packing too many hooks over a narrow potting area
- Leaving splintered boards and protruding screws
Ongoing Care and Seasonal Maintenance
A diy potting bench with storage is not a one-time photo project. Recheck connections, material wear, growing conditions and access after heavy weather. Remove or repair loose components promptly, and adapt to local climate rather than relying on a fixed calendar. If you do not know whether your material or setup is safe, pause and confirm with the manufacturer or local extension office.
Practical Visual Guide: Additional Build and Use Details
These added views explain real working height, stable frame, low center of mass, safe storage, and weatherproof maintenance; each is tied to a separate garden task, material decision or construction step.
Test comfortable worktop height
The test comfortable worktop height matters for a practical compact potting bench. For test comfortable worktop height, check usable scale and accessible connections in this potting bench, not decorative objects. Treat this as a practical decision rather than a decoration. Measure the space, identify what the plant or gardener must reach, and inspect the joint or covering after ordinary weather. A simple accessible solution is easier to repair than a complicated arrangement that hides the working parts.
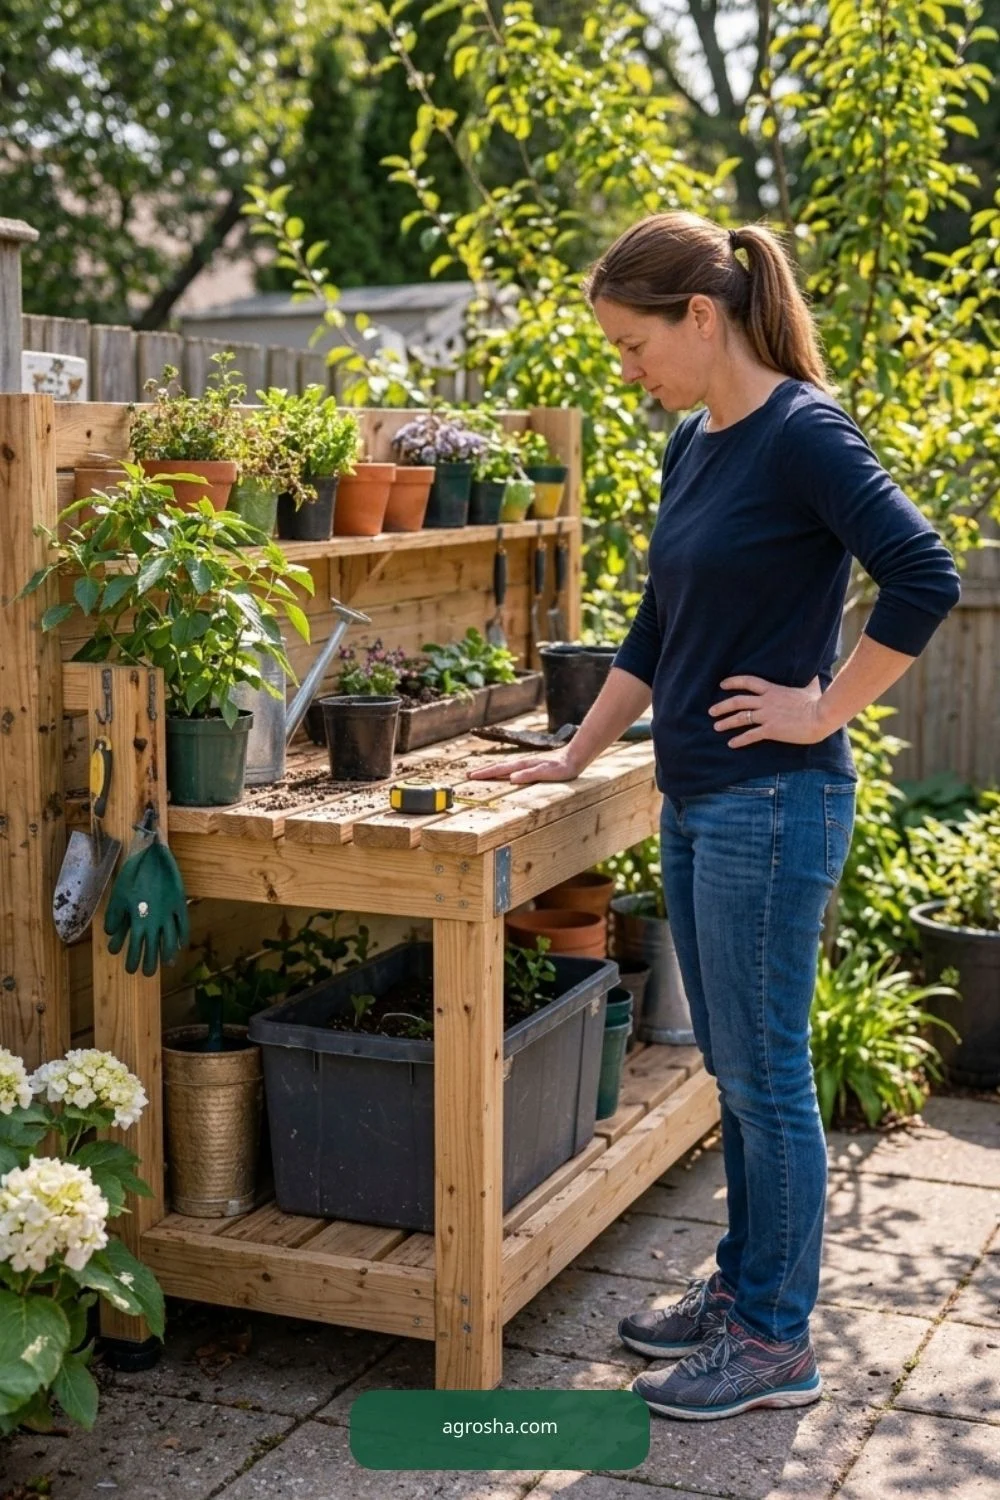
Useful flat potting surface
The useful flat potting surface matters for a practical compact potting bench. For useful flat potting surface, check usable scale and accessible connections in this potting bench, not decorative objects. This view is useful because it reveals where material meets the real garden. Before copying it, consider wet soil, sunlight, seasonal growth and how the component can be removed without damage. Check clearances again when the crop becomes larger or the container fills.

Slatted versus solid top
The slatted versus solid top matters for a practical compact potting bench. For slatted versus solid top, check usable scale and accessible connections in this potting bench, not decorative objects. Small differences in spacing and support can matter more than a beautiful finish. Use suitable materials and confirm the actual site conditions rather than guessing dimensions from a photograph. Leave enough room for watering, inspection and safe hand access throughout the season.
Square the legs
The square the legs matters for a practical compact potting bench. For square the legs, check usable scale and accessible connections in this potting bench, not decorative objects. Choose this detail only where it solves a genuine issue in the yard. A compact home project should remain stable when handled and uncomplicated to clean, harvest or repair. Notice any sharp edge, loose connection or blocked route before putting the structure into regular use.
Back bracing
The back bracing matters for a practical compact potting bench. A back bracing view must explain working scale, plant clearance, and exposed fittings in this potting bench. The purpose is to make the next practical task easier. Check how the gardener approaches the area with a hose, gloves, pot or harvest basket. If a decorative feature blocks that task, simplify the build rather than moving useful plants to match a styled picture.

Low heavy storage shelf
The low heavy storage shelf matters for a practical compact potting bench. For low heavy storage shelf, check usable scale and accessible connections in this potting bench, not decorative objects. An outdoor component needs maintenance after the first weekend. Look for moisture, movement, worn ties and changed plant weight as conditions shift. The correct adjustment depends on the crop and environment; no single arrangement automatically fits every U.S. garden.
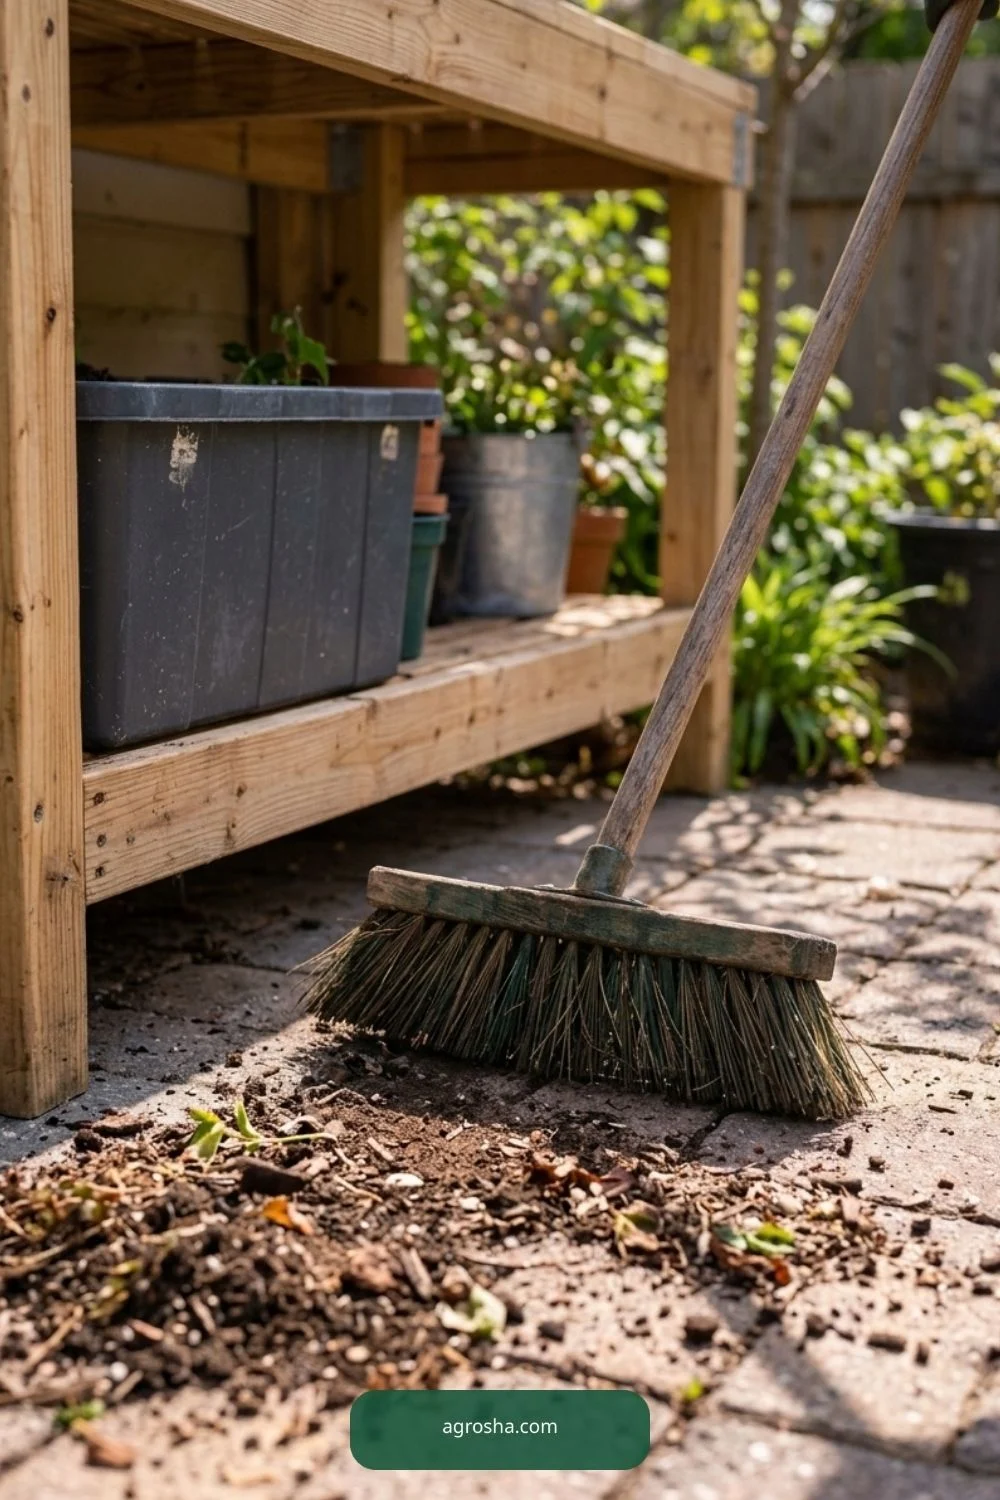
Safe tool hook placement
The safe tool hook placement matters for a practical compact potting bench. For safe tool hook placement, check usable scale and accessible connections in this potting bench, not decorative objects. Treat this as a practical decision rather than a decoration. Measure the space, identify what the plant or gardener must reach, and inspect the joint or covering after ordinary weather. A simple accessible solution is easier to repair than a complicated arrangement that hides the working parts.

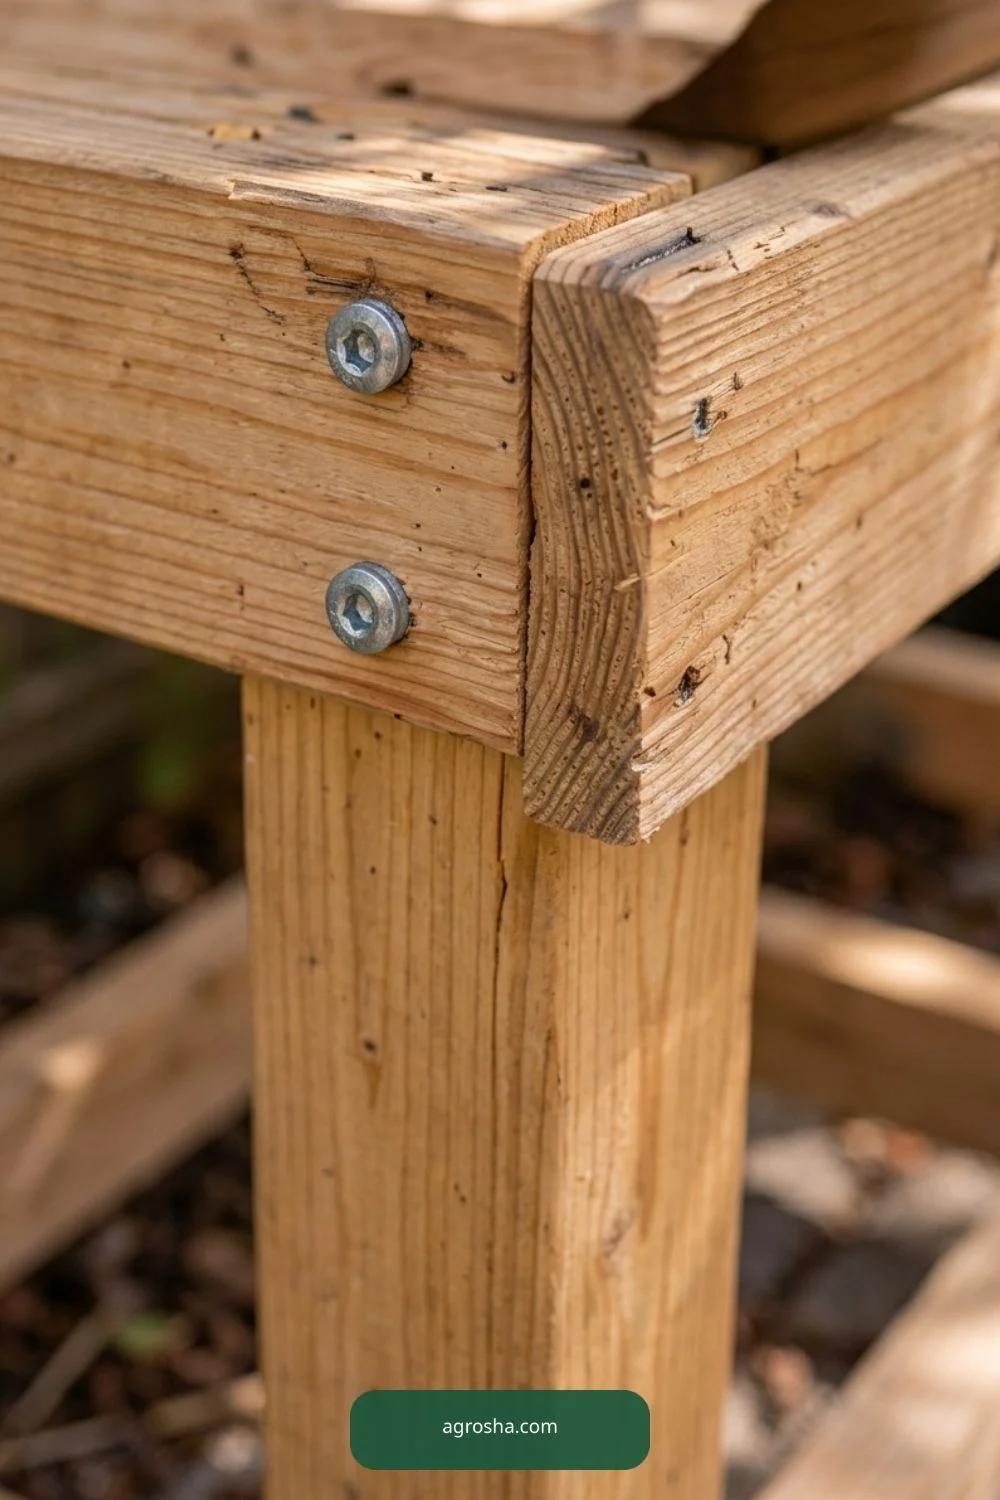
Exterior fasteners
The exterior fasteners matters for a practical compact potting bench. A exterior fasteners view must explain working scale, plant clearance, and exposed fittings in this potting bench. This view is useful because it reveals where material meets the real garden. Before copying it, consider wet soil, sunlight, seasonal growth and how the component can be removed without damage. Check clearances again when the crop becomes larger or the container fills.
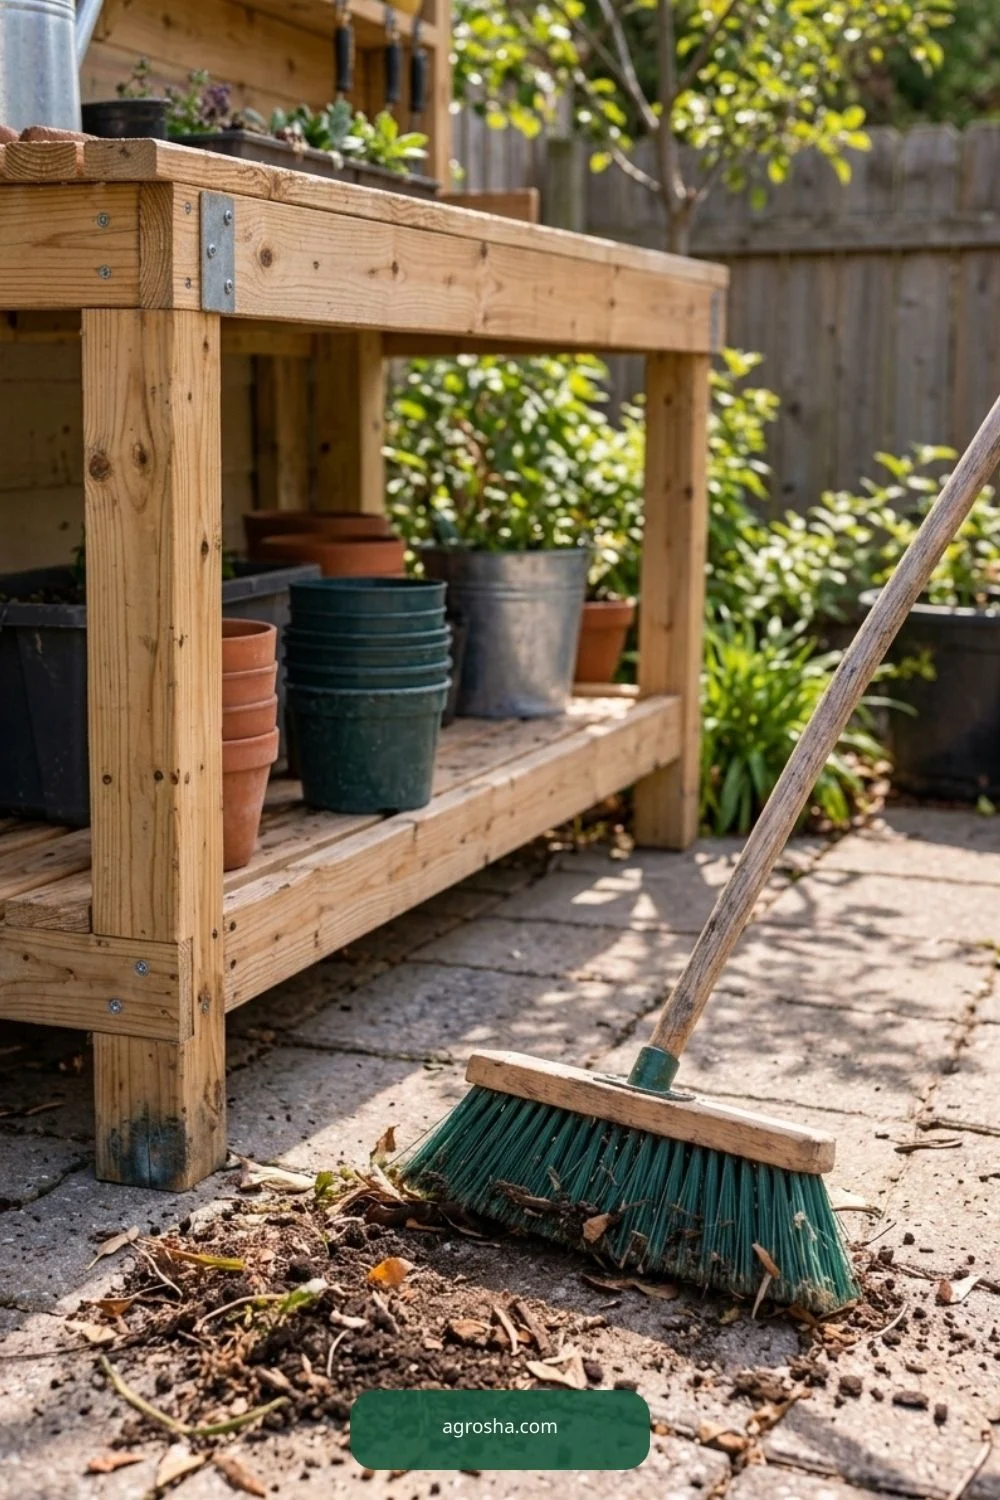
Sweeping clearance
The sweeping clearance matters for a practical compact potting bench. A sweeping clearance view must explain working scale, plant clearance, and exposed fittings in this potting bench. Small differences in spacing and support can matter more than a beautiful finish. Use suitable materials and confirm the actual site conditions rather than guessing dimensions from a photograph. Leave enough room for watering, inspection and safe hand access throughout the season.
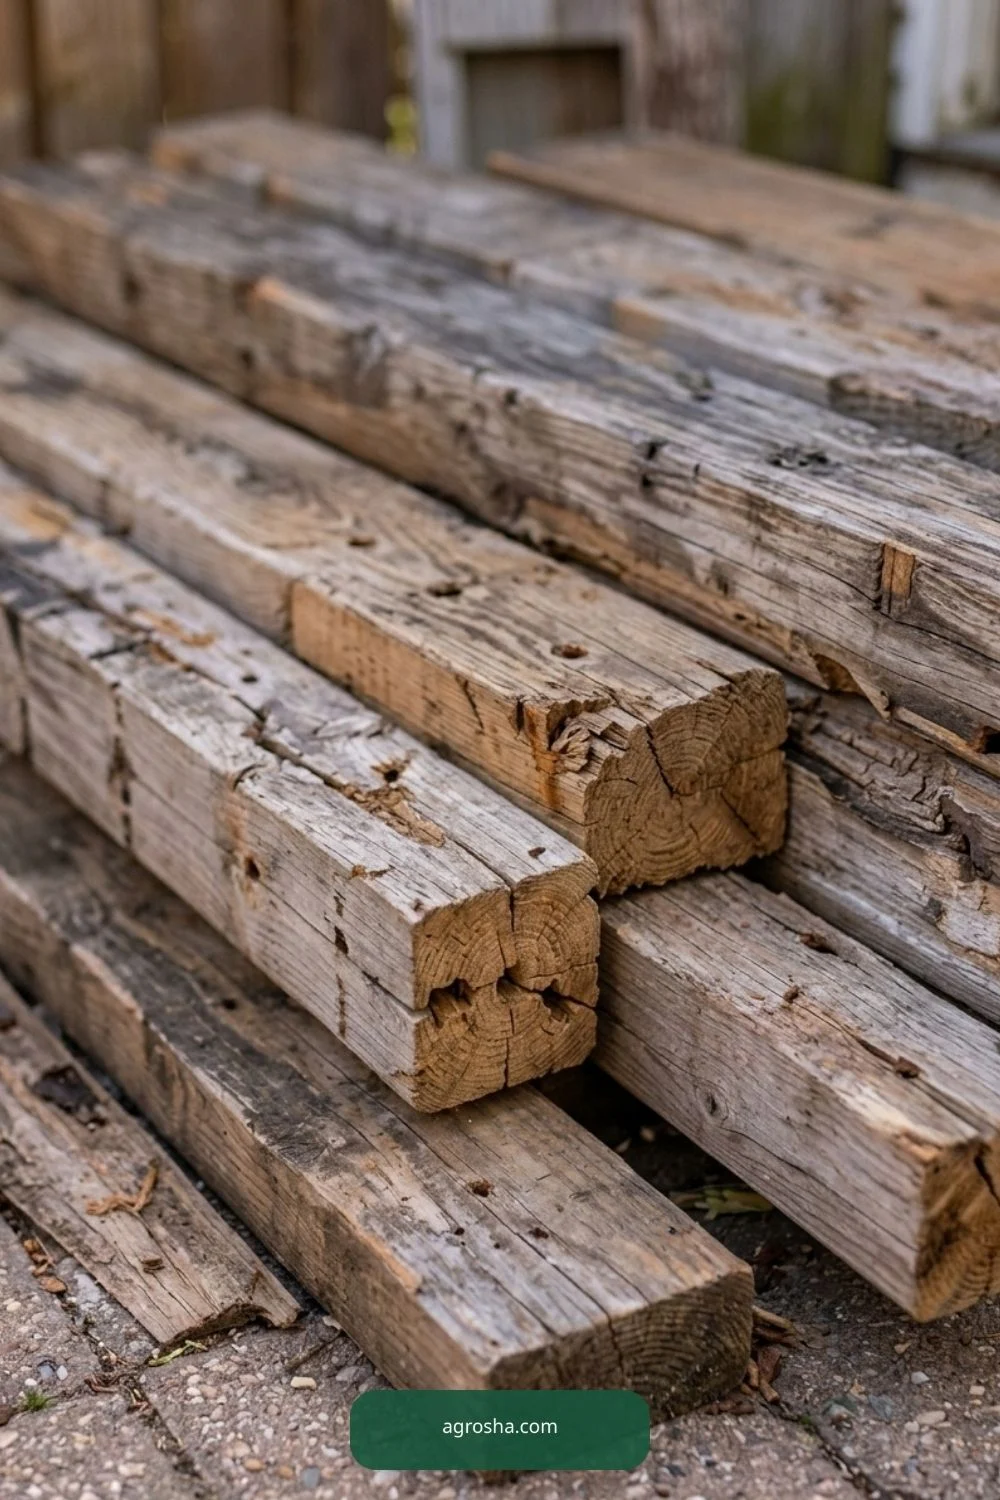
Reused lumber history
The reused lumber history matters for a practical compact potting bench. For reused lumber history, check usable scale and accessible connections in this potting bench, not decorative objects. Choose this detail only where it solves a genuine issue in the yard. A compact home project should remain stable when handled and uncomplicated to clean, harvest or repair. Notice any sharp edge, loose connection or blocked route before putting the structure into regular use.

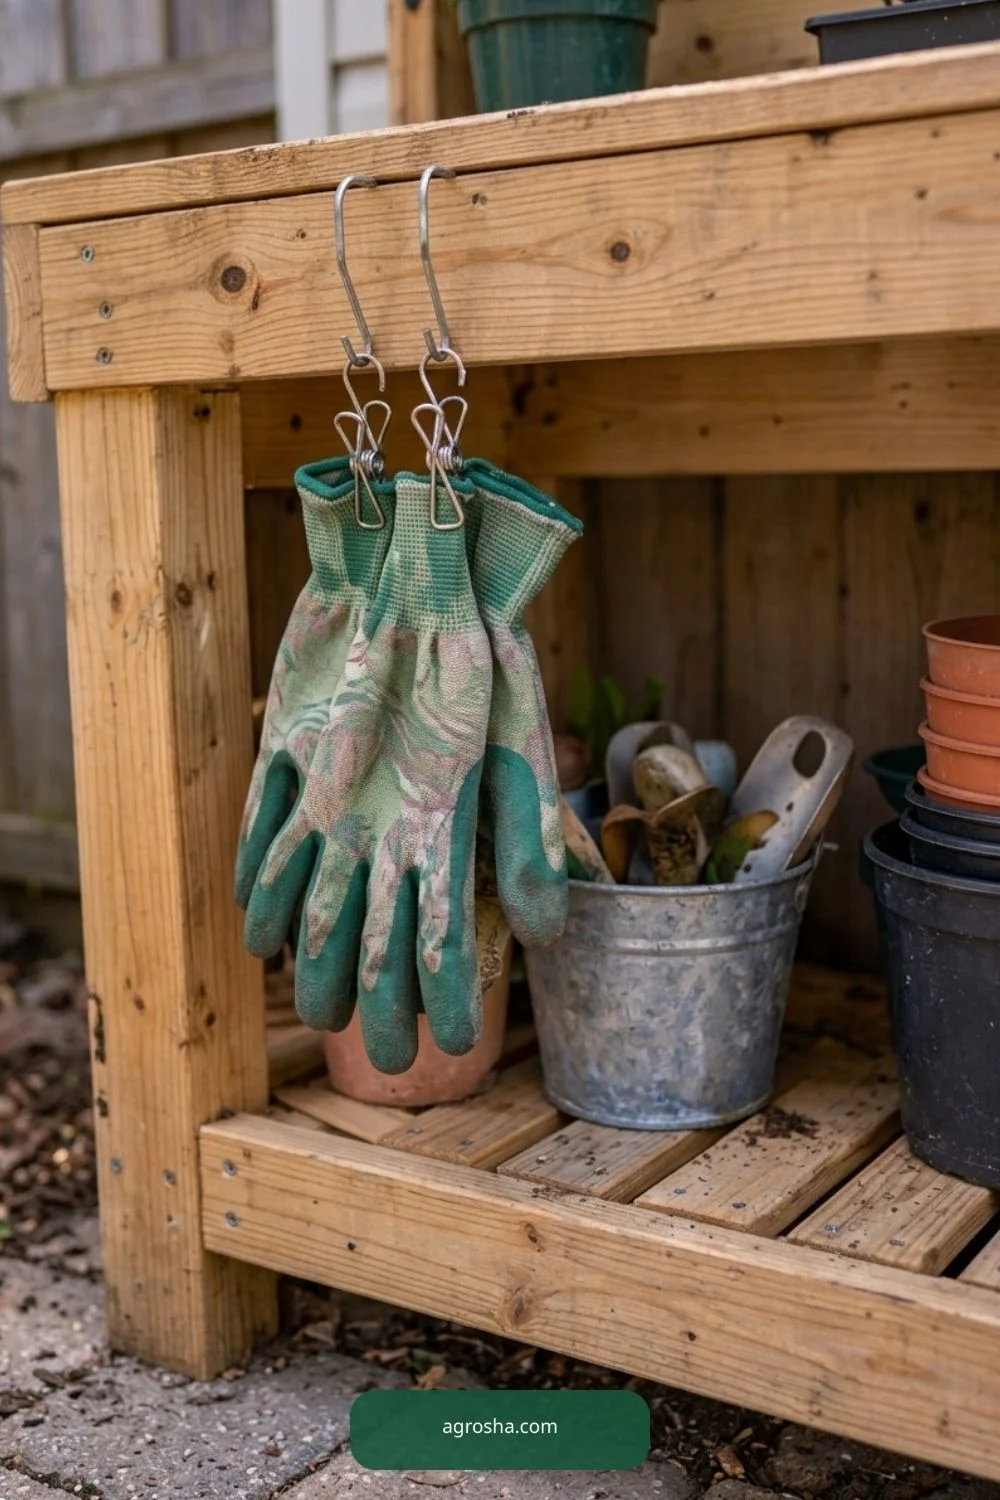
Dry glove storage
The dry glove storage matters for a practical compact potting bench. For dry glove storage, check usable scale and accessible connections in this potting bench, not decorative objects. The purpose is to make the next practical task easier. Check how the gardener approaches the area with a hose, gloves, pot or harvest basket. If a decorative feature blocks that task, simplify the build rather than moving useful plants to match a styled picture.
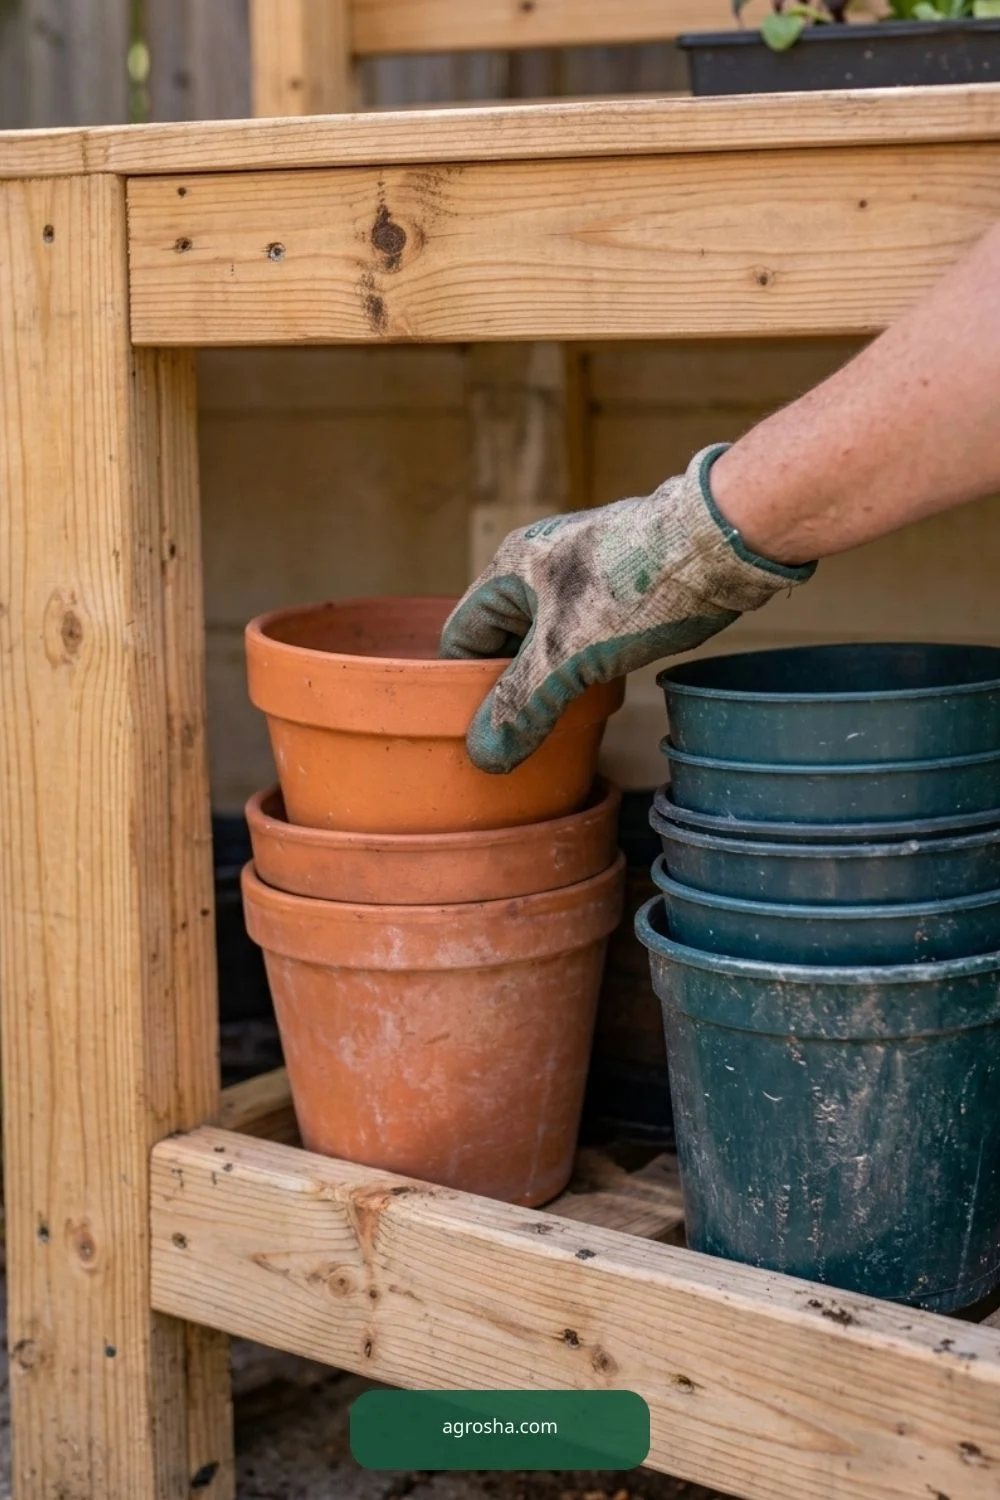
Stacked pot reach
The stacked pot reach matters for a practical compact potting bench. For stacked pot reach, check usable scale and accessible connections in this potting bench, not decorative objects. An outdoor component needs maintenance after the first weekend. Look for moisture, movement, worn ties and changed plant weight as conditions shift. The correct adjustment depends on the crop and environment; no single arrangement automatically fits every U.S. garden.
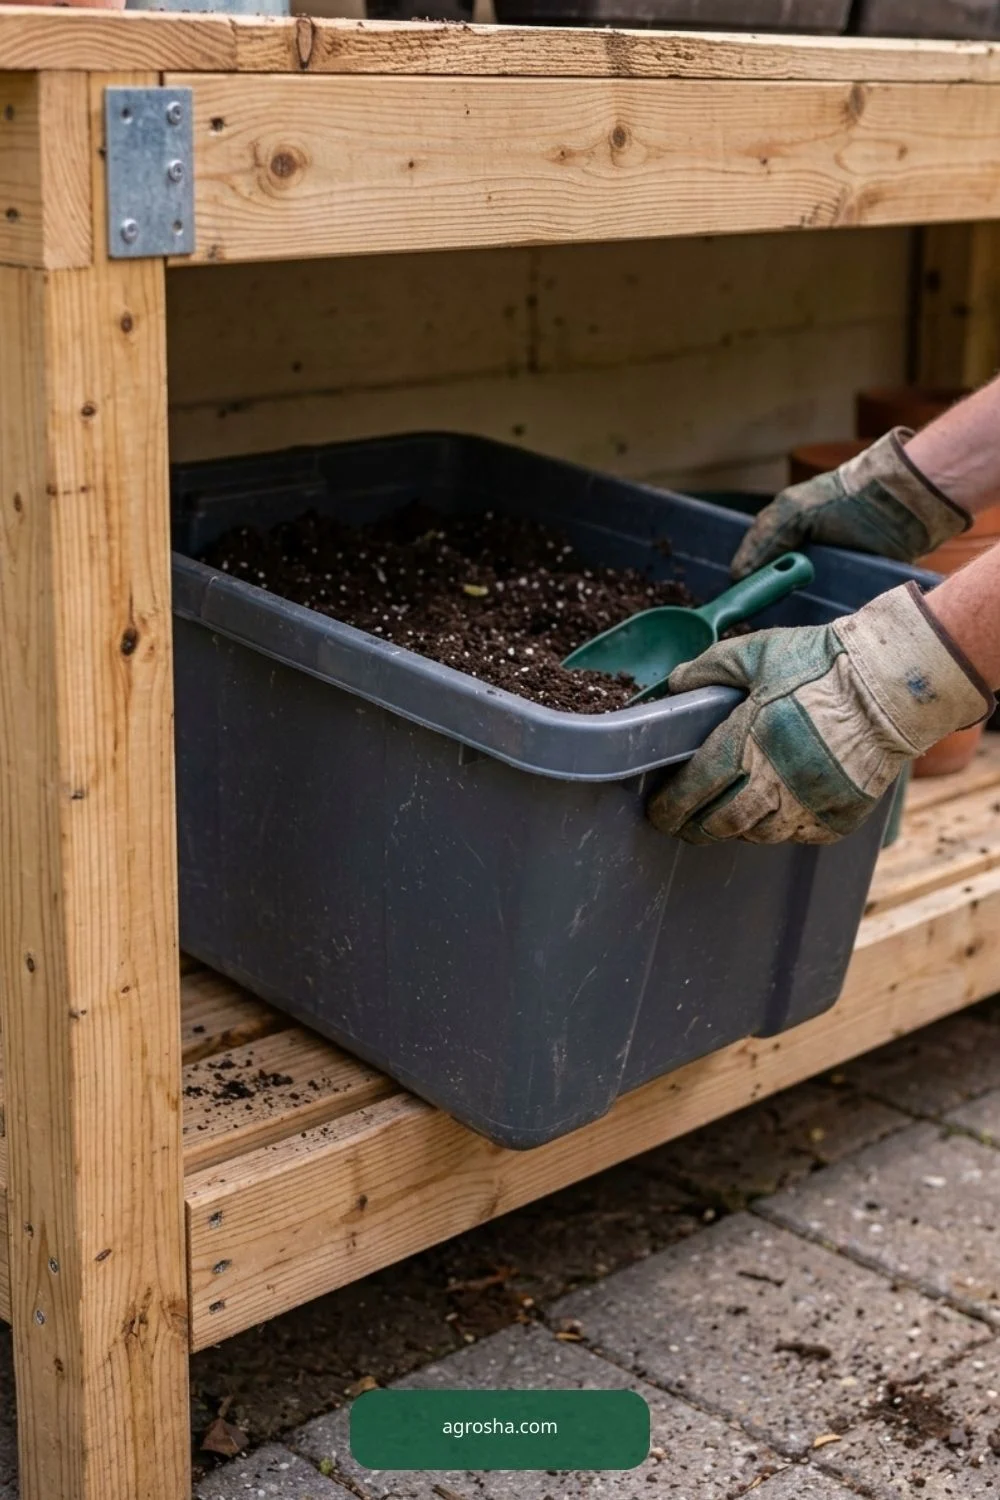
Removable mixing tub
The removable mixing tub matters for a practical compact potting bench. For removable mixing tub, check usable scale and accessible connections in this potting bench, not decorative objects. Treat this as a practical decision rather than a decoration. Measure the space, identify what the plant or gardener must reach, and inspect the joint or covering after ordinary weather. A simple accessible solution is easier to repair than a complicated arrangement that hides the working parts.
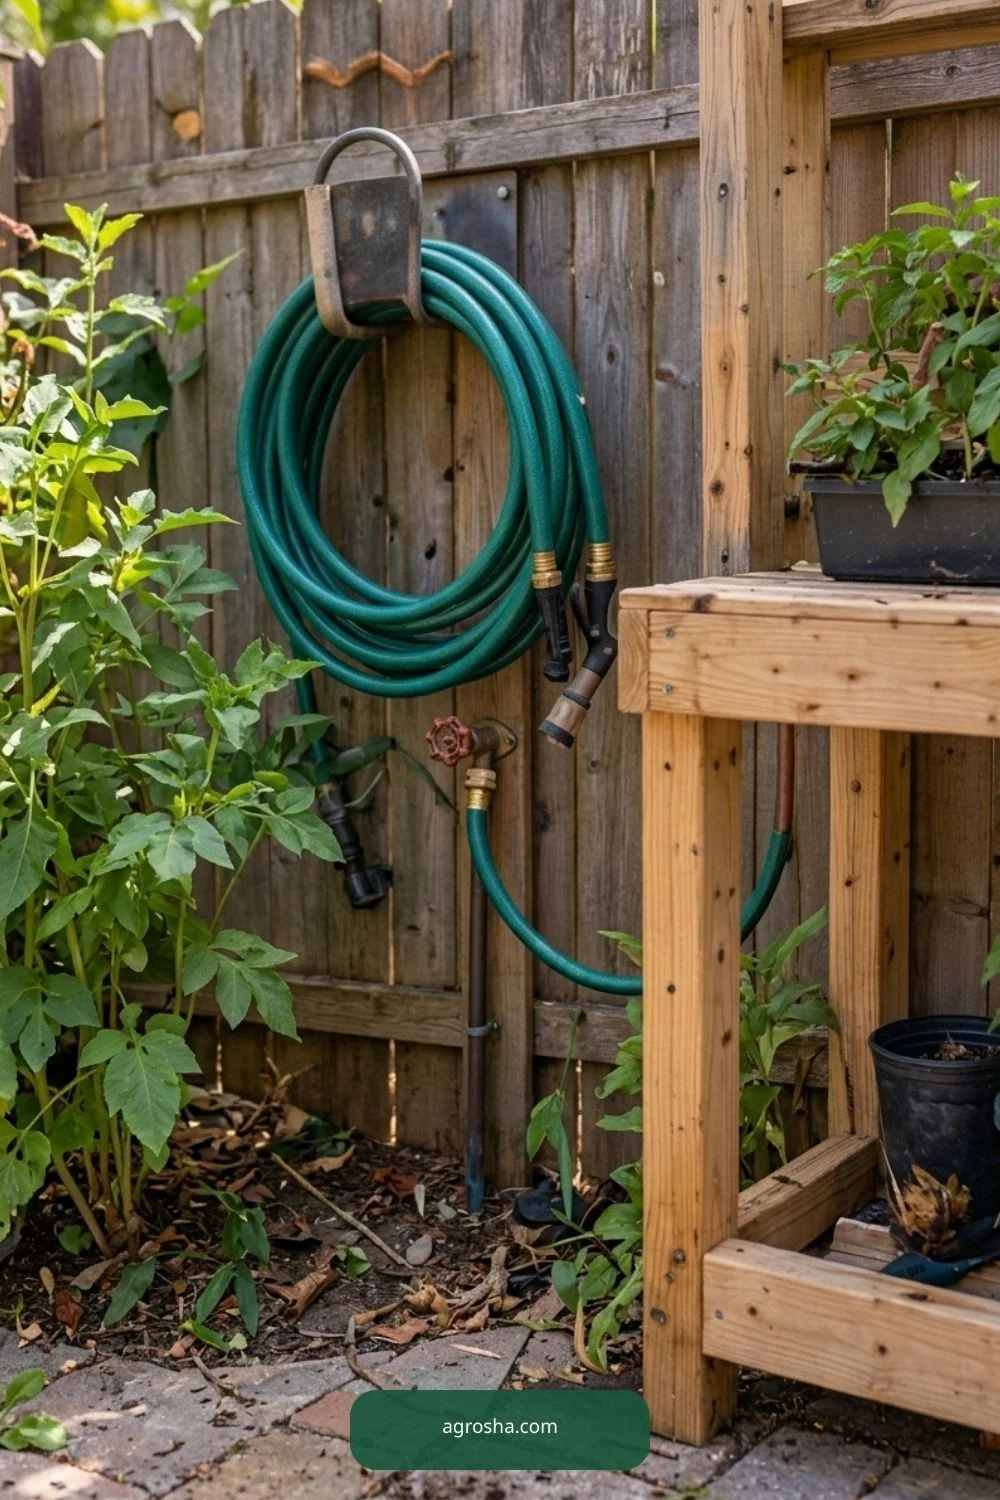
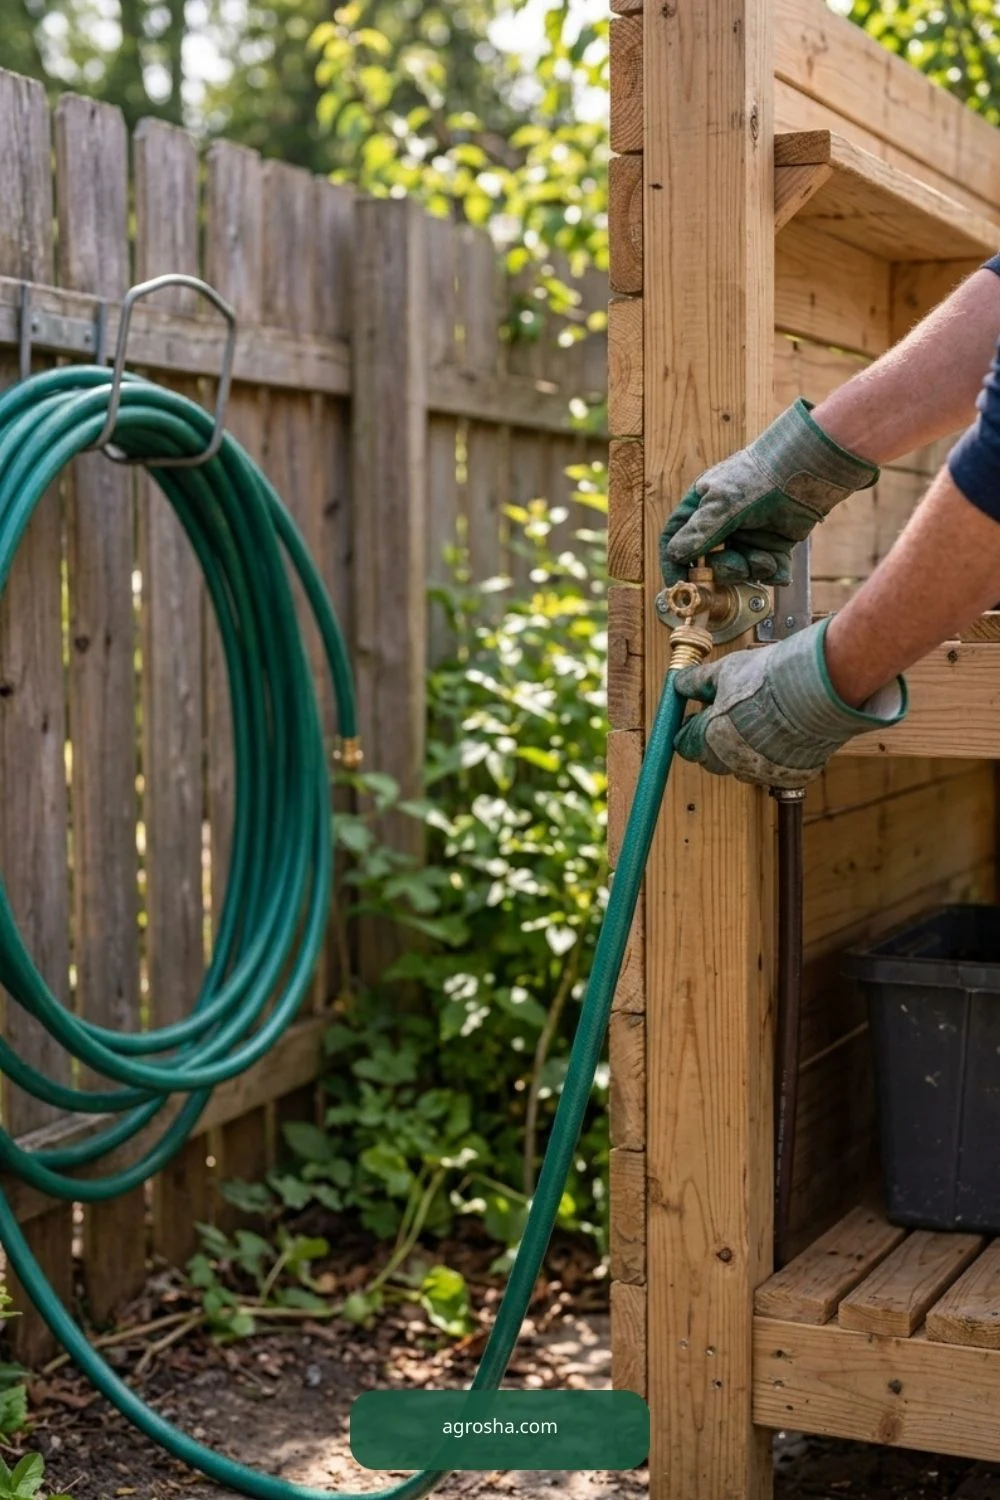
Outdoor hose access
The outdoor hose access matters for a practical compact potting bench. For outdoor hose access, check usable scale and accessible connections in this potting bench, not decorative objects. This view is useful because it reveals where material meets the real garden. Before copying it, consider wet soil, sunlight, seasonal growth and how the component can be removed without damage. Check clearances again when the crop becomes larger or the container fills.
Level the feet
The level the feet matters for a practical compact potting bench. For level the feet, check usable scale and accessible connections in this potting bench, not decorative objects. Small differences in spacing and support can matter more than a beautiful finish. Use suitable materials and confirm the actual site conditions rather than guessing dimensions from a photograph. Leave enough room for watering, inspection and safe hand access throughout the season.

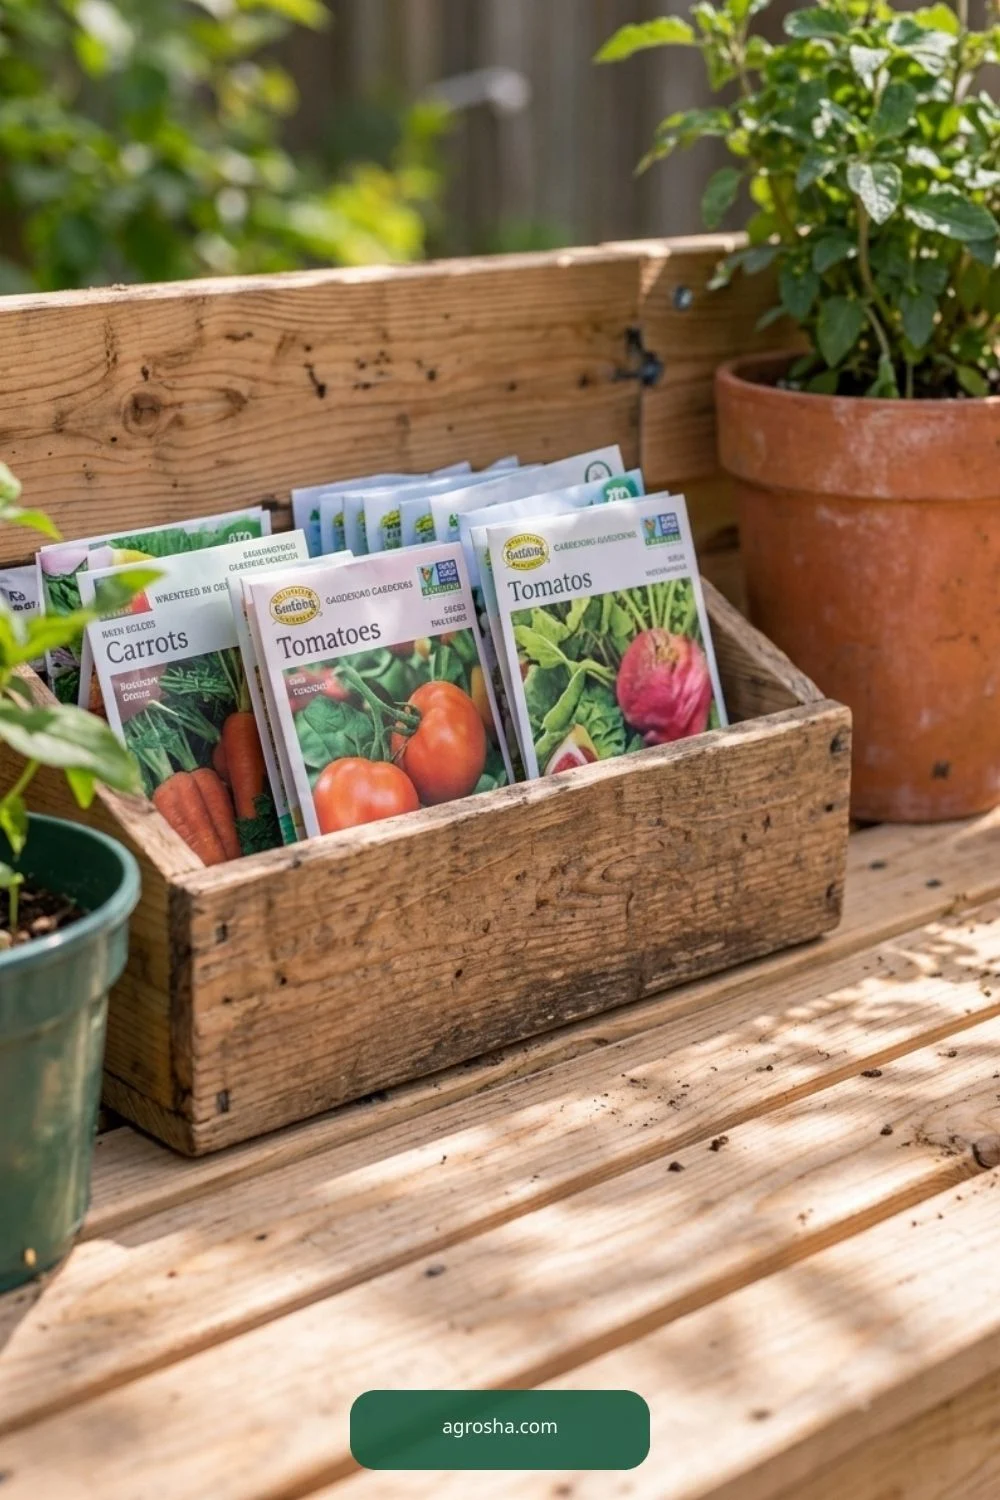
Seed packet storage
The seed packet storage matters for a practical compact potting bench. For seed packet storage, check usable scale and accessible connections in this potting bench, not decorative objects. Choose this detail only where it solves a genuine issue in the yard. A compact home project should remain stable when handled and uncomplicated to clean, harvest or repair. Notice any sharp edge, loose connection or blocked route before putting the structure into regular use.
Easy-clean brush
The easy-clean brush matters for a practical compact potting bench. A easy-clean brush view must explain working scale, plant clearance, and exposed fittings in this potting bench. The purpose is to make the next practical task easier. Check how the gardener approaches the area with a hose, gloves, pot or harvest basket. If a decorative feature blocks that task, simplify the build rather than moving useful plants to match a styled picture.

Seasonal joint inspection
The seasonal joint inspection matters for a practical compact potting bench. For seasonal joint inspection, check usable scale and accessible connections in this potting bench, not decorative objects. An outdoor component needs maintenance after the first weekend. Look for moisture, movement, worn ties and changed plant weight as conditions shift. The correct adjustment depends on the crop and environment; no single arrangement automatically fits every U.S. garden.

Make the simplest version first and test how it works in your own garden. Confirm which materials are appropriate, how the main parts join together, and what must remain accessible during routine care. If a connection becomes difficult to inspect, it can also become difficult to repair before something fails. The compact potting bench should also account for real working height, stable frame, low center of mass, safe storage, and weatherproof maintenance.
Look beyond the finished appearance to the way weather changes the project. Heavy rain, reflected summer heat, strong wind and a rapidly growing plant can alter a comfortable layout. Monitor the actual site rather than assuming a photographed arrangement will work without changes in a different climate. The compact potting bench should also account for real working height, stable frame, low center of mass, safe storage, and weatherproof maintenance.
Consider the people using the yard. Clear access makes it easier to water, feed, turn compost, harvest or replace a broken piece without stepping over an obstacle. If a proposed addition reduces safe access, leave it out until its necessity is clear. The compact potting bench should also account for real working height, stable frame, low center of mass, safe storage, and weatherproof maintenance.
Do not guess material safety from appearance. Reused materials may have unknown residues, weather damage, loose fasteners or coatings. Check their history where possible, remove sharp edges, and choose replacement parts suited to outdoor exposure and the actual weight they must handle. The compact potting bench should also account for real working height, stable frame, low center of mass, safe storage, and weatherproof maintenance.
Use photos as practical explanations, not structural certification. A picture can show visible placement, plant condition and construction stages, but cannot prove a hidden connection is properly rated or a foundation suits the local wind. Follow relevant manufacturer guidance and seek local expertise for structural uncertainty. The compact potting bench should also account for real working height, stable frame, low center of mass, safe storage, and weatherproof maintenance.
Think about how the project finishes the season. An easy-to-remove support or accessible container can be cleaned and reused, while an overcomplicated permanent structure may become an obstacle. Inspect stored parts before using them again with new seedlings or tools. The compact potting bench should also account for real working height, stable frame, low center of mass, safe storage, and weatherproof maintenance.
Choose details that help the plants and garden tasks rather than filling a picture with extra decoration. Natural wear and irregularity are ordinary, but rotting supports, blocked openings or material rubbing against foliage are reasons to intervene. The result should be believable and manageable. The compact potting bench should also account for real working height, stable frame, low center of mass, safe storage, and weatherproof maintenance.
Frequently Asked Questions
What height should a potting bench be?
Choose a height comfortable for the specific person and main tasks. Measure against a real table rather than relying on a universal number.
Can I make it from pallets?
Possibly if the wood is sound and its use history is trustworthy; reject stained or damaged boards.
Does it need a sink?
No. A removable washing tub or separate water station is often enough for a simple outdoor bench.
Where should heavy items go?
Store heavy soil and containers low in the frame to reduce tipping risk.
How do I keep wood from rotting?
Use outdoor-appropriate material, avoid standing water, inspect the finish and dry the bench after use.
Reliable Guidance and Further Reading
For a practical comparison of worktop framing, storage and outdoor materials, see This Old House’s potting bench build guide. Adapt its construction details to your own tools, ground conditions and safe working height.
Final Thoughts
Before storing heavy supplies, confirm the bench is stable on its actual surface. Keep the worktop cleanable and tools within reach; a comfortable working height makes this project useful day after day.