Backyard upgrade planner projects are easier to manage when they happen in the right order. The biggest mistake is buying plants, furniture, lights, and decor before fixing drainage, access, grade changes, or the main patio layout. That creates rework and makes the budget disappear into temporary solutions.
This Florida-focused planner turns common backyard makeover ideas into a practical sequence. Start with problems, then build the hardscape and main zones, then add planting, privacy, comfort, lighting, and finishing details. You do not need to complete every idea—use the ones that solve real needs in your yard.
Florida summer rain, strong sun, humidity, fast plant growth, and hurricane-season cleanup can change project priorities. Drainage, shade, wind exposure, and easy access for maintenance should be checked before decorative upgrades, especially around patios, slopes, fences, and large planting zones.
30 Backyard Upgrades in a Practical Order
Phase 1: Fix Problems Before Adding Decor
1. Map Drainage After a Heavy Rain
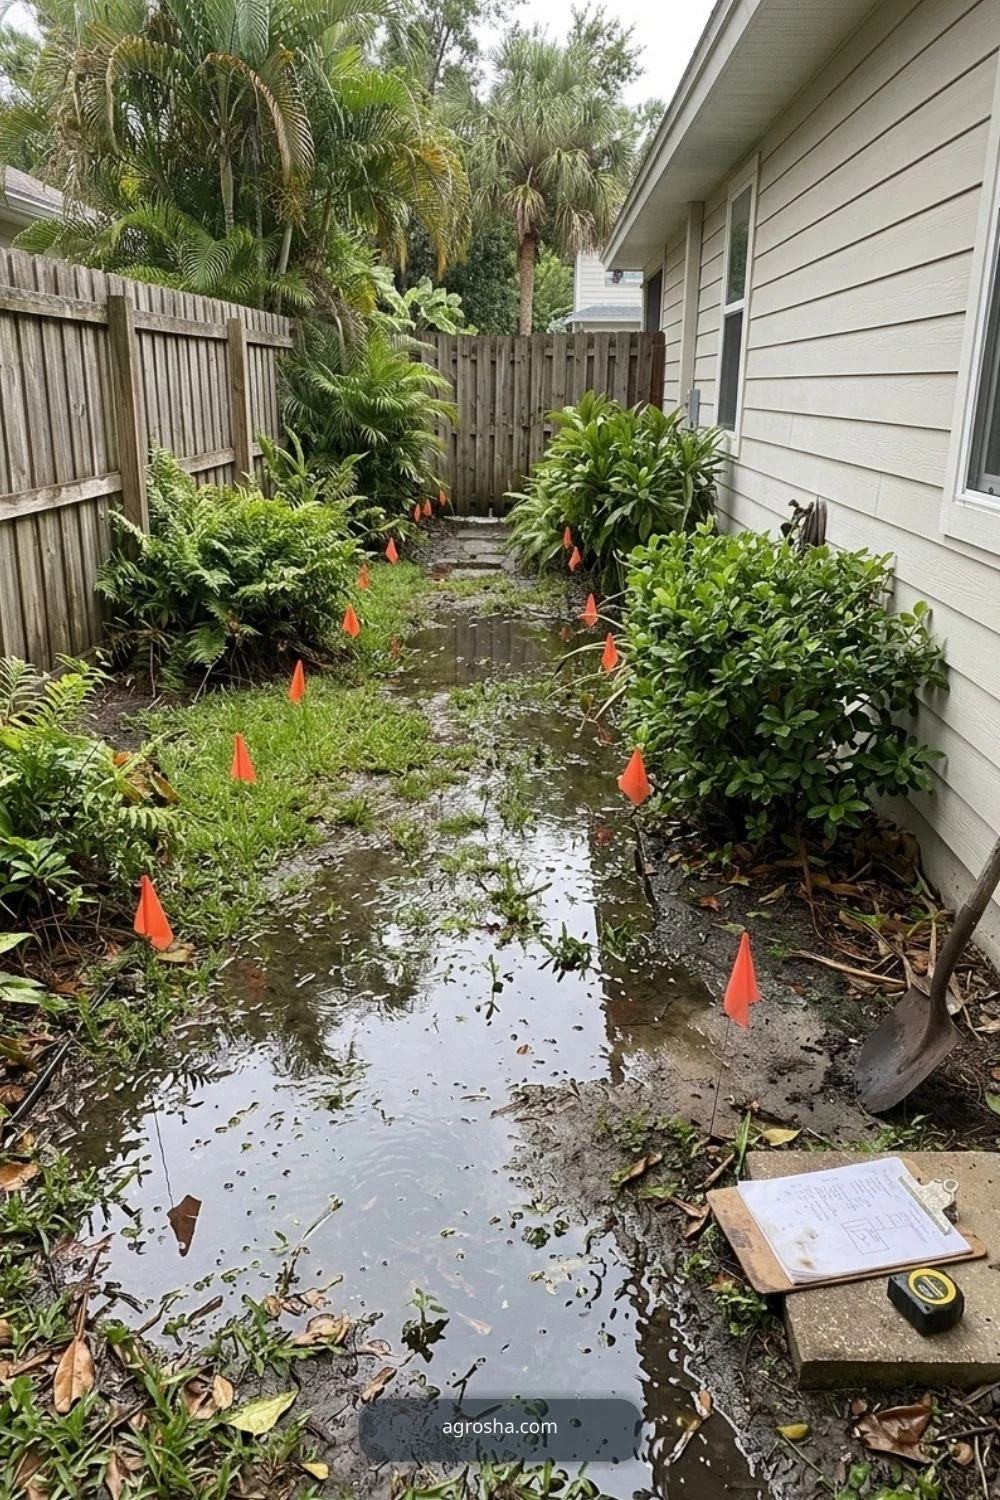
Before buying plants or furniture, watch where water collects and where runoff travels. Mark low spots, downspout discharge, and soggy lawn. Drainage fixes should happen before new beds or patios so later work does not have to be removed.
2. Repair the Main Walking Route

Fix broken steps, muddy shortcuts, and unstable paths early. A clear route from the house to the yard makes every later project easier. Our garden pathway ideas can help with route, width, and material choices.
3. Remove Dead, Hazardous, or Constantly Failing Plants
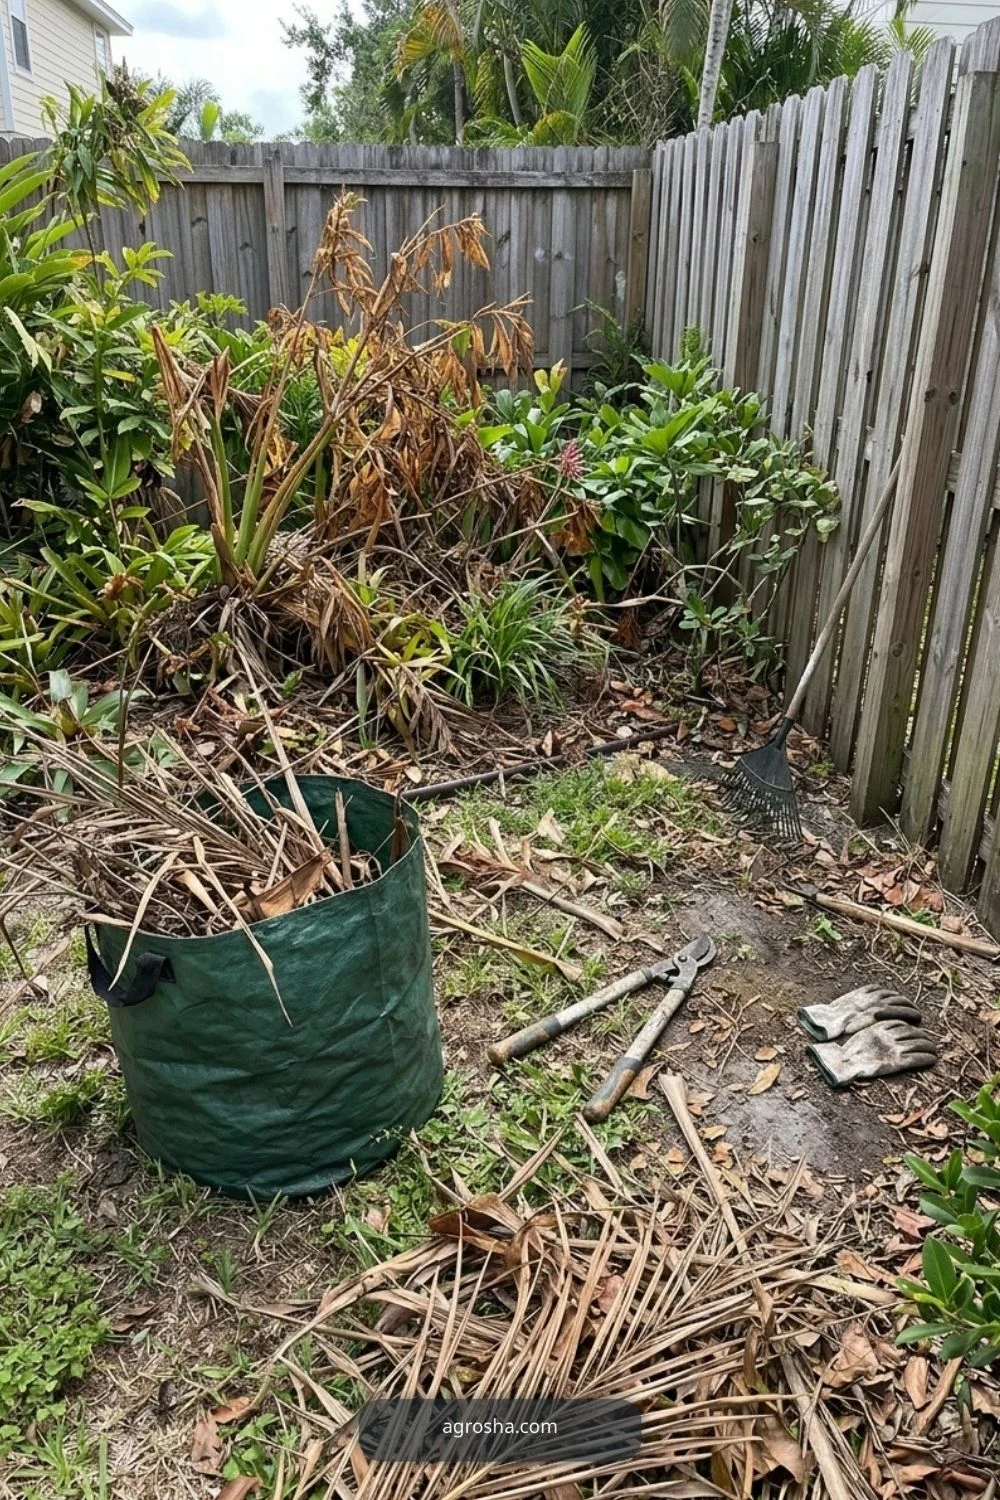
Take out dead plants, dangerous branches, and shrubs that repeatedly fail in the same location. Do not redesign around a problem plant that needs constant rescue. Replace only after you understand why the original struggled.
4. Correct a Difficult Slope Before Furnishing It
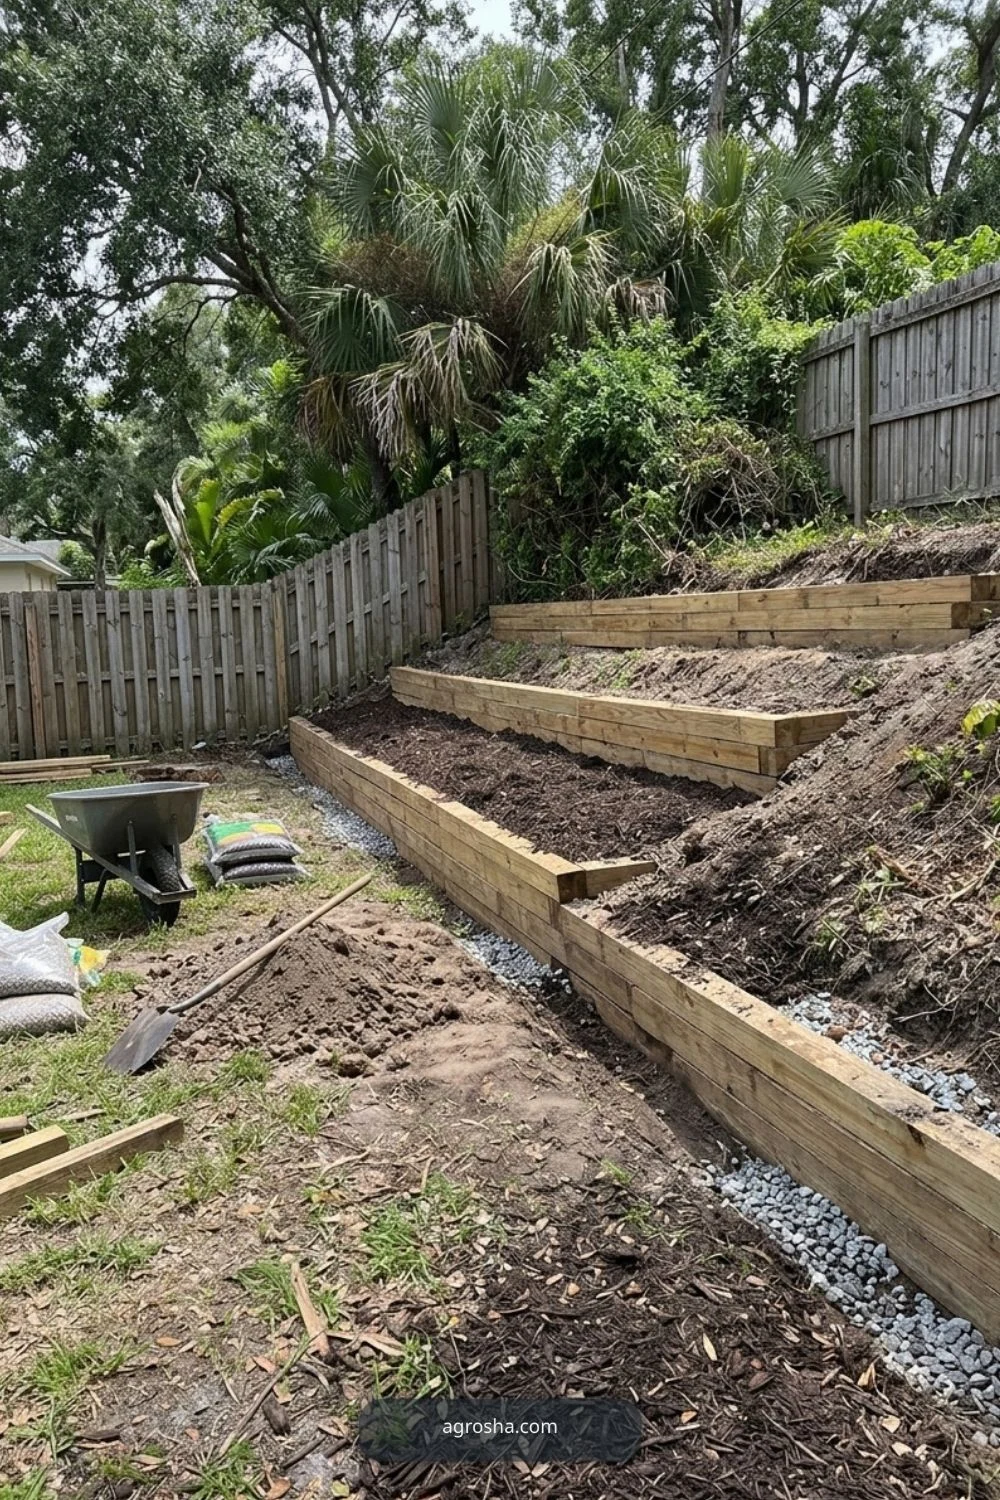
A steep or eroding area may need planting, steps, drainage, or terracing before it becomes usable. Avoid setting furniture on unstable grades. For slope-specific planning, see our sloped backyard garden ideas.
5. Define Utility and Service Access
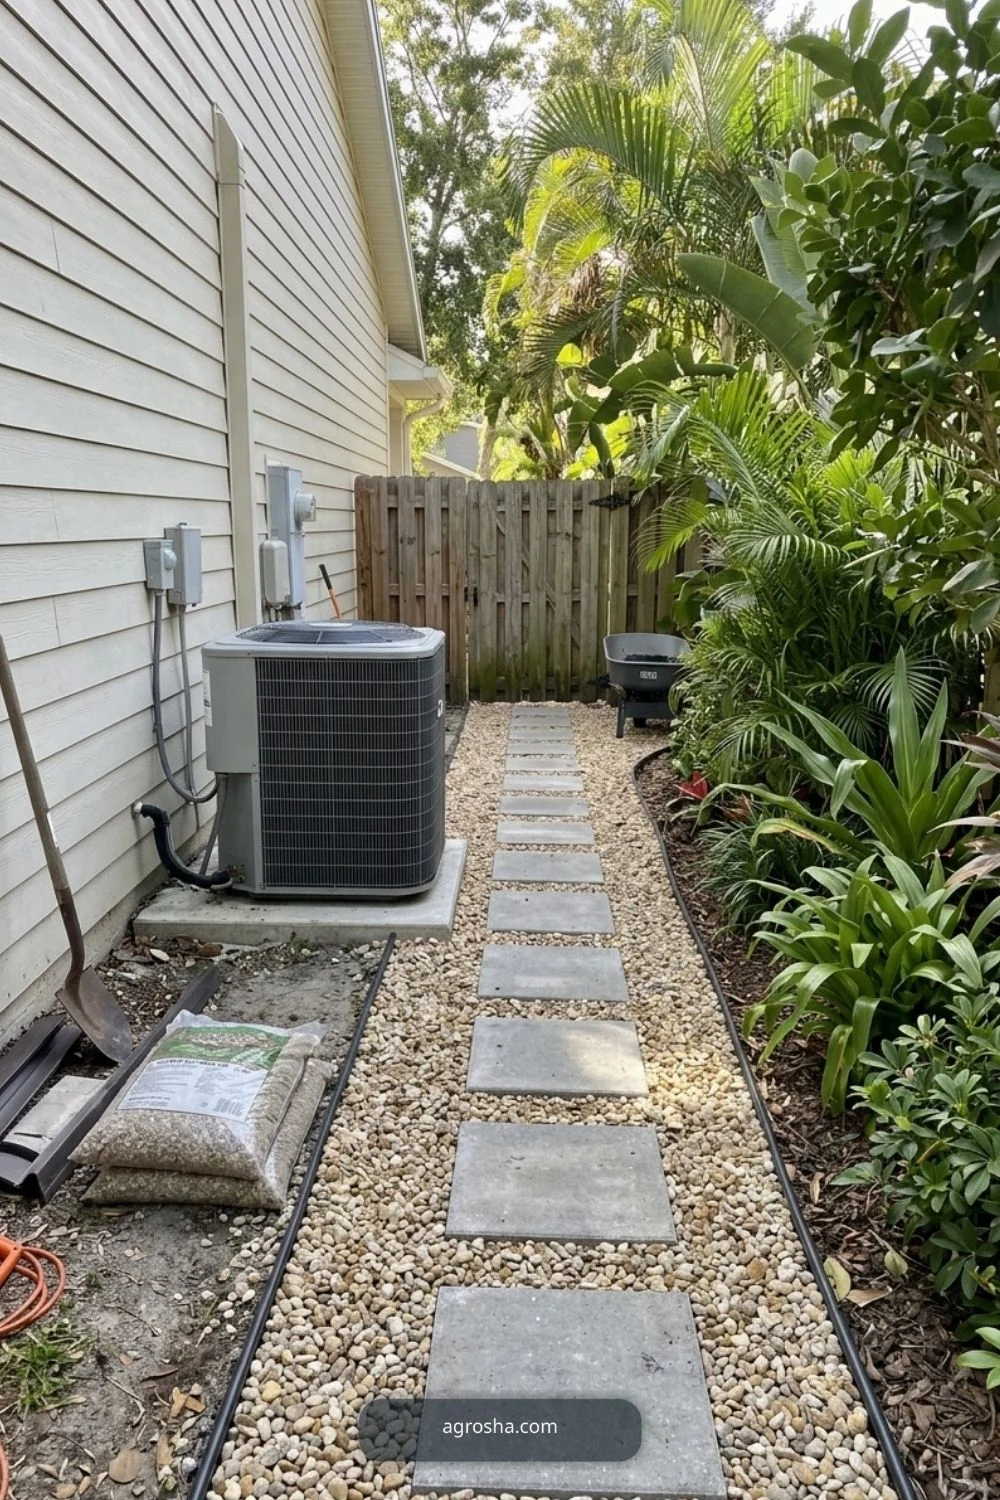
Keep AC equipment, meters, hose bibs, gates, septic access, and trash routes reachable. It is easier to design planting around these needs now than to cut through a finished bed later.
Phase 2: Build the Hardscape and Main Zones
Once drainage and access work, decide where the yard’s main activities will happen. Build only the patio, gravel pad, shade structure, or play area needed for those activities. Hardscape is expensive to move, so test furniture size and circulation before committing.
6. Create One Useful Patio Zone
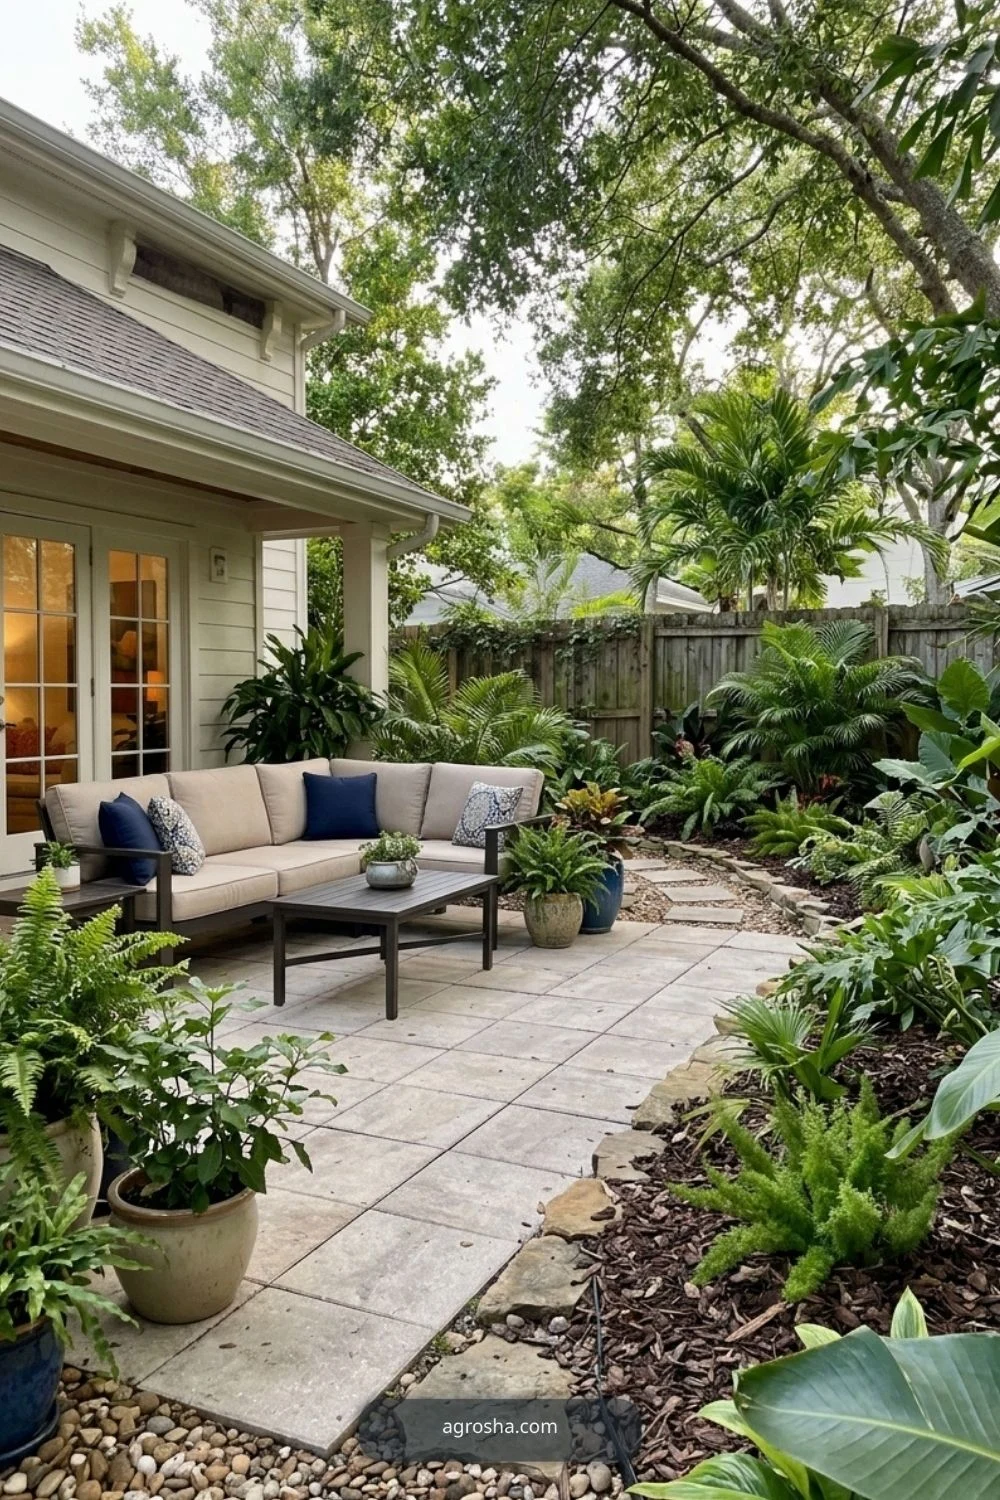
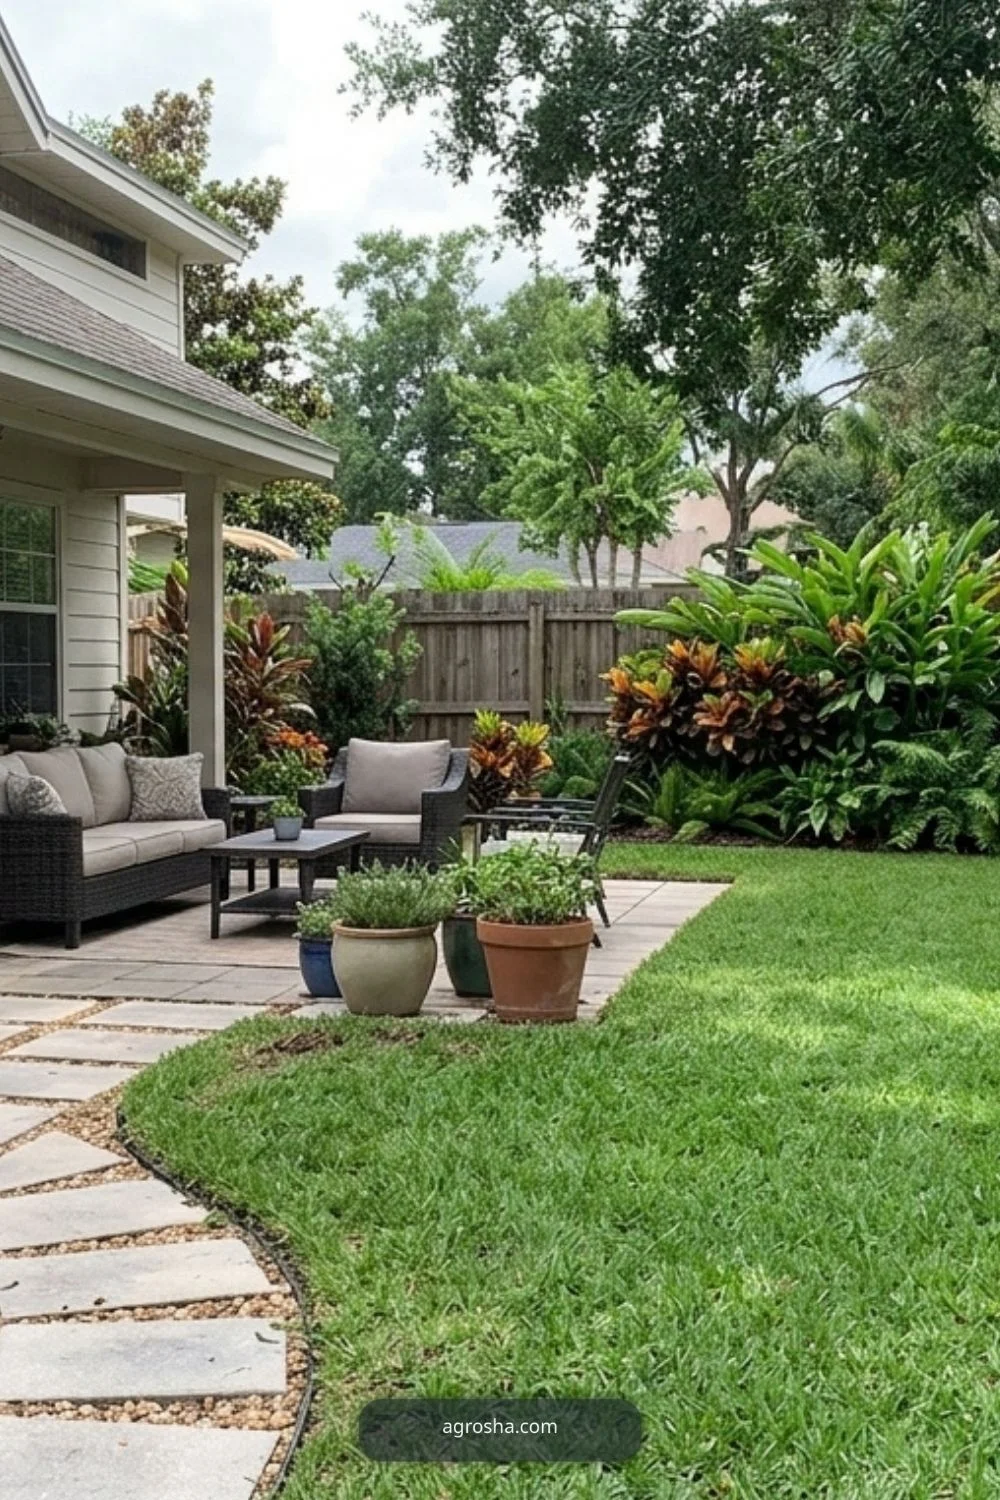
A modest patio sized for the furniture you actually use is more valuable than a large paved area with no purpose. Start with dining, lounging, or grilling as the main function and leave room for circulation around it.
7. Add a Simple Gravel Seating Area
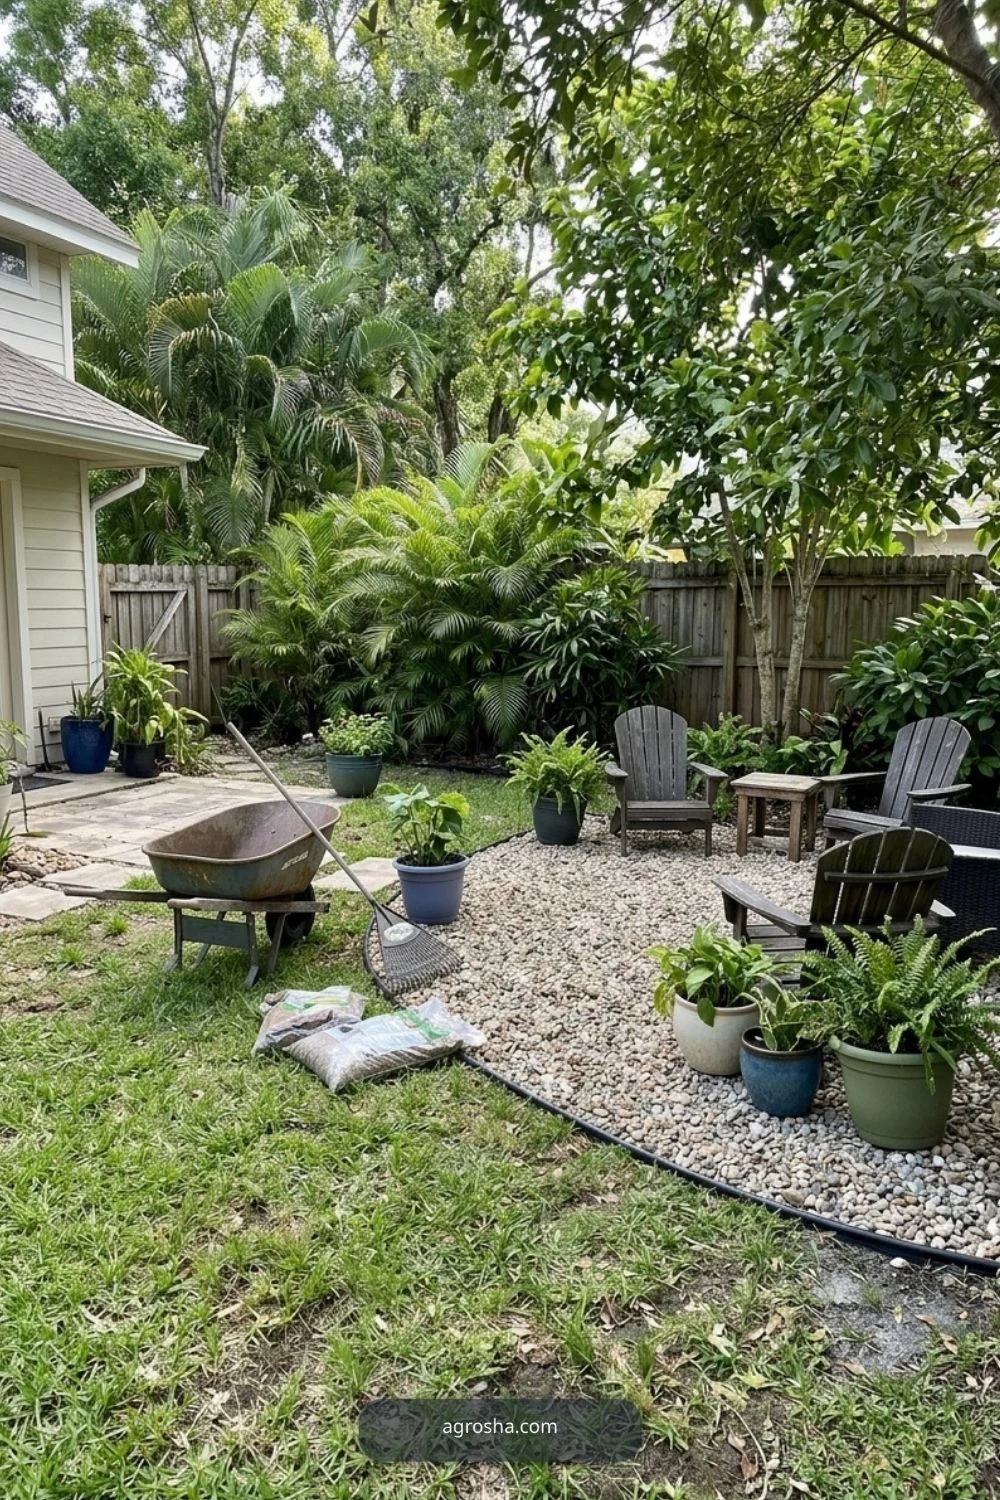
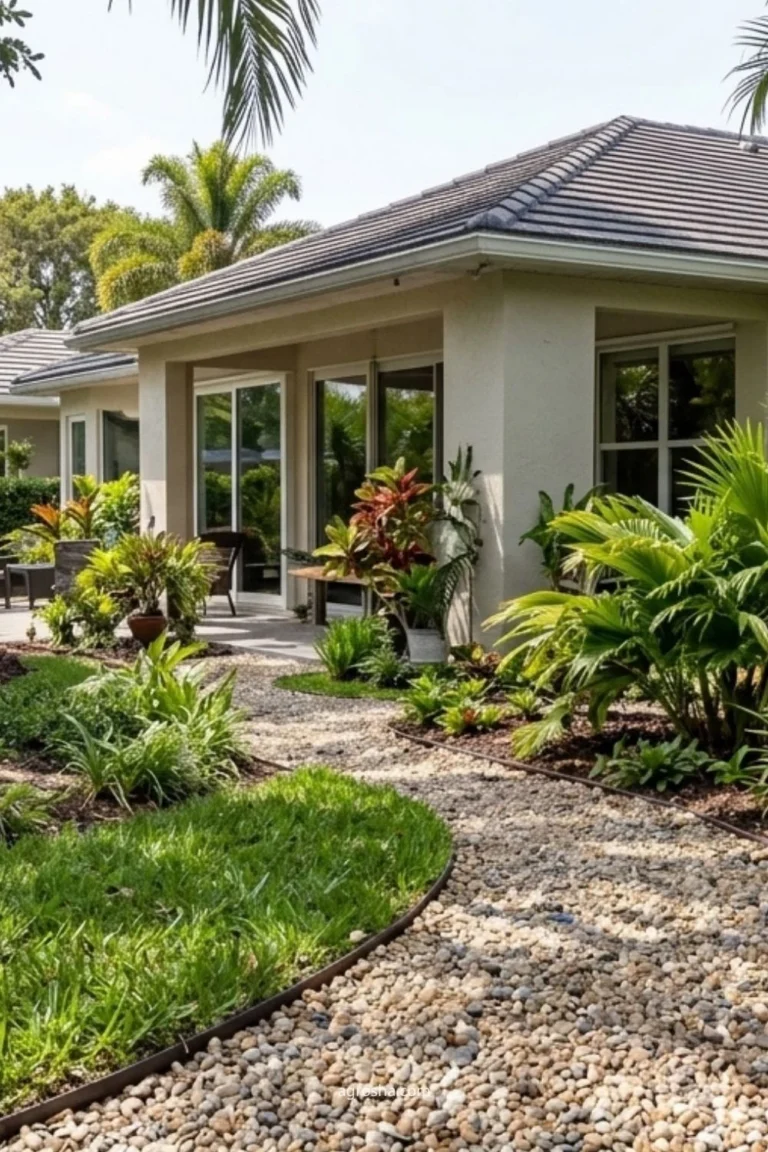
A compacted gravel pad can create a lower-cost seating zone away from the main patio. Use firm edging and a stable base so chairs do not sink or wobble. Position it for shade or evening use rather than in the hottest part of the yard.
8. Build a Small Fire-Pit Area Where Allowed
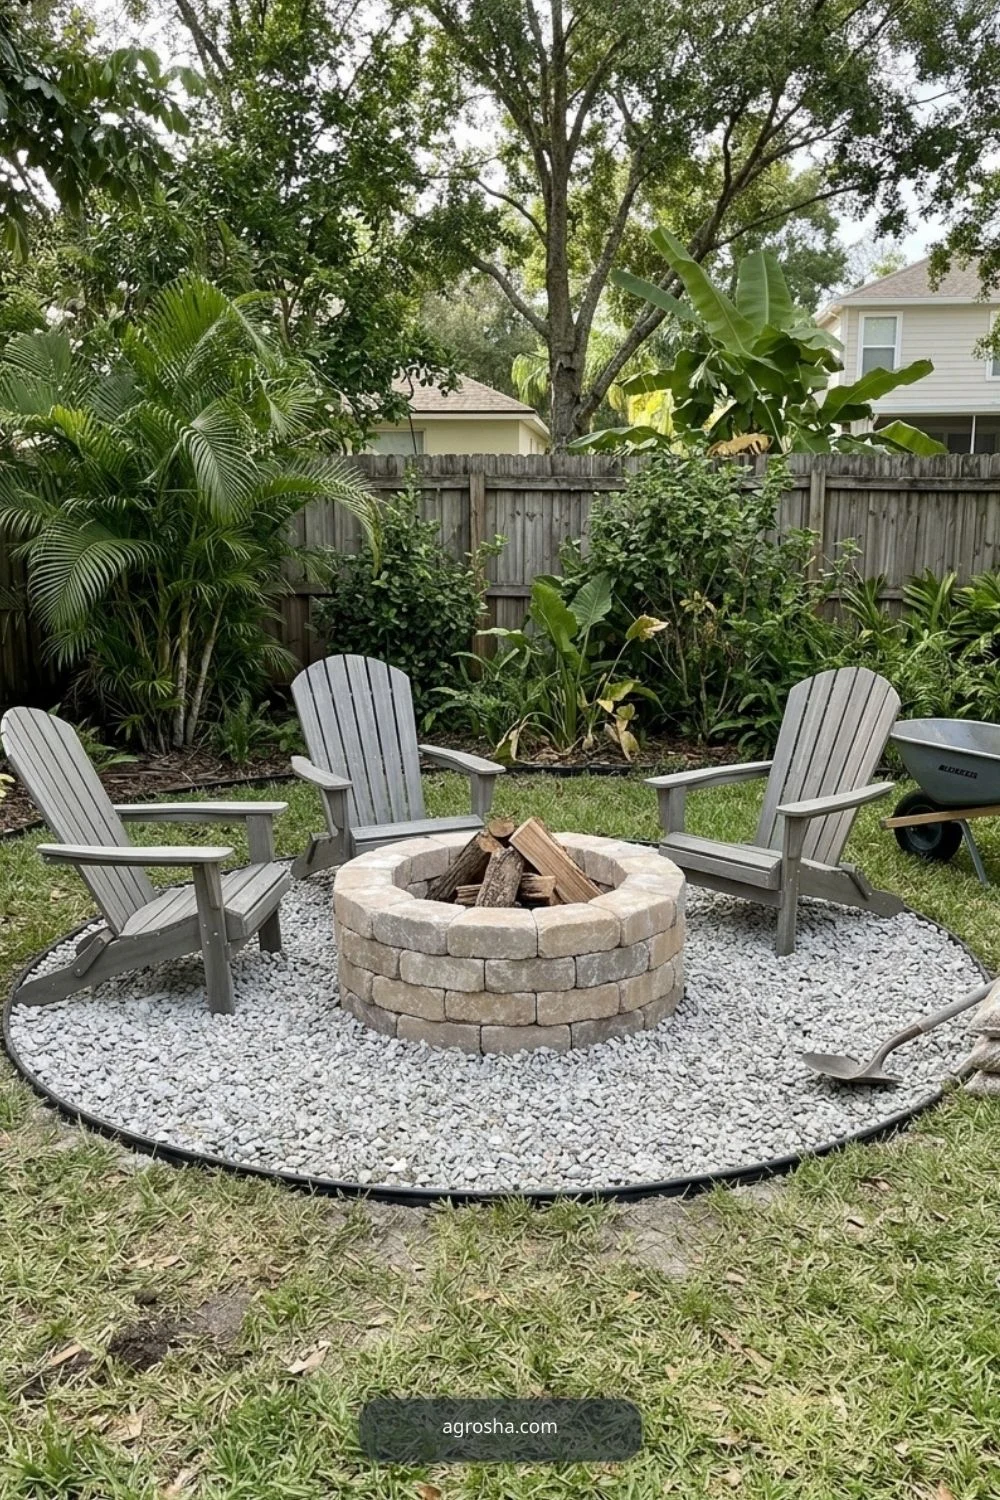
If local rules and clearances allow, a fire-pit zone can extend evening use. Use a noncombustible surface and keep planting, fences, and overhanging branches at safe distances. A portable feature may suit a flexible backyard better than a large permanent pit.
9. Add a Pergola Only Where Shade Is Needed
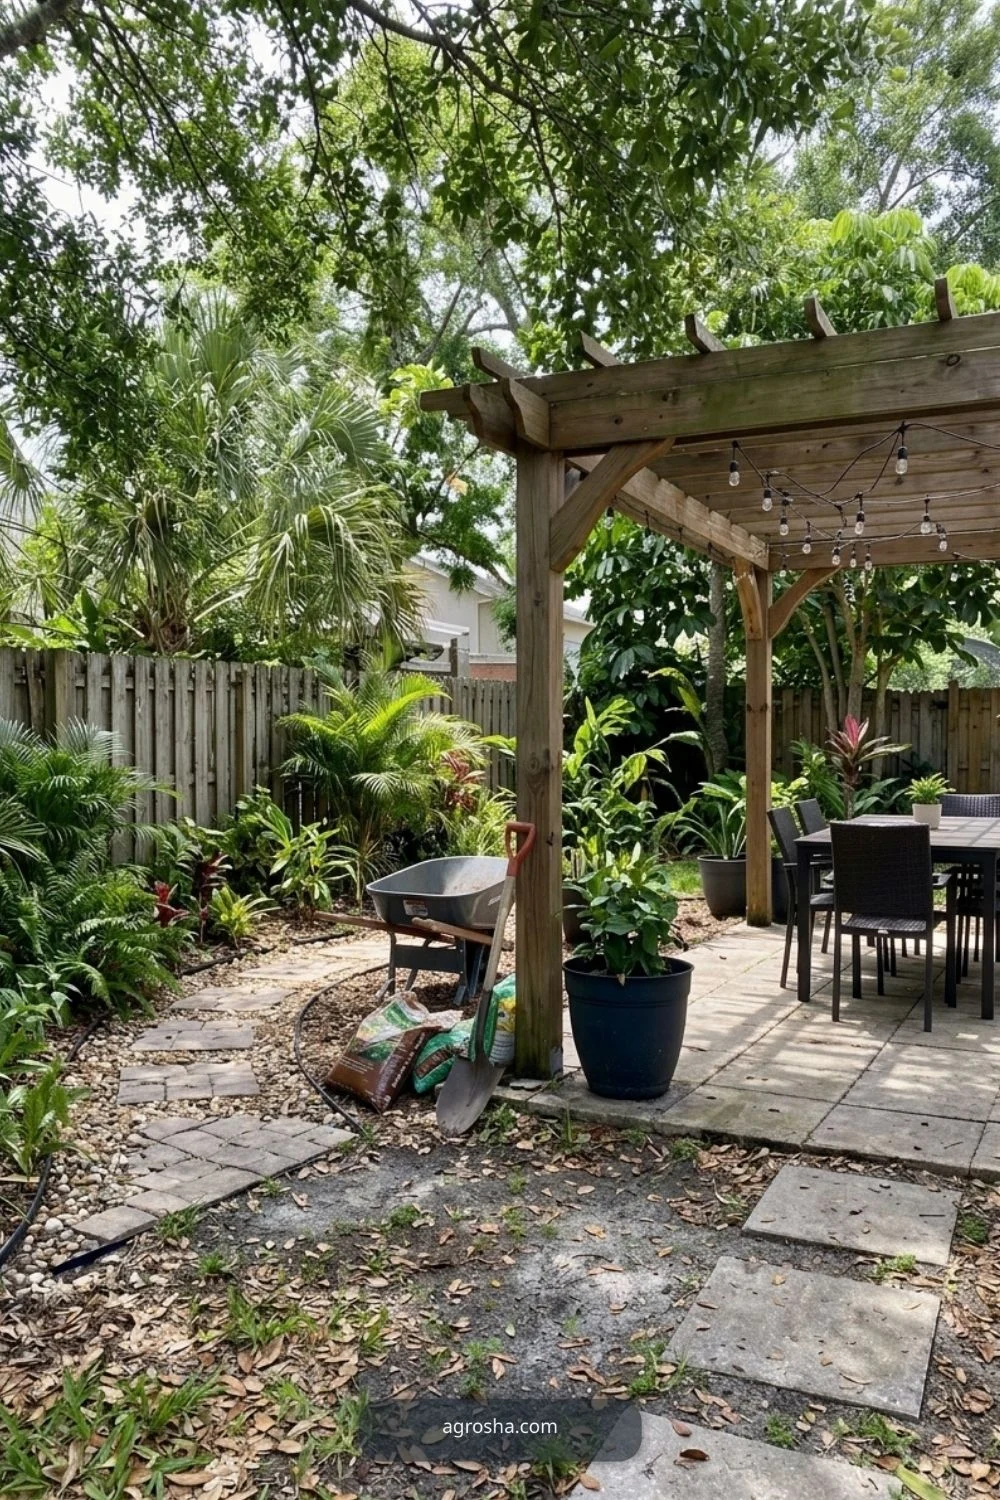
A pergola can define seating and support adjustable shade, but it should solve a real comfort problem. Size it for the patio, use wind-appropriate construction, and avoid adding a structure that creates more maintenance than shade.
10. Create a Level Play or Activity Area
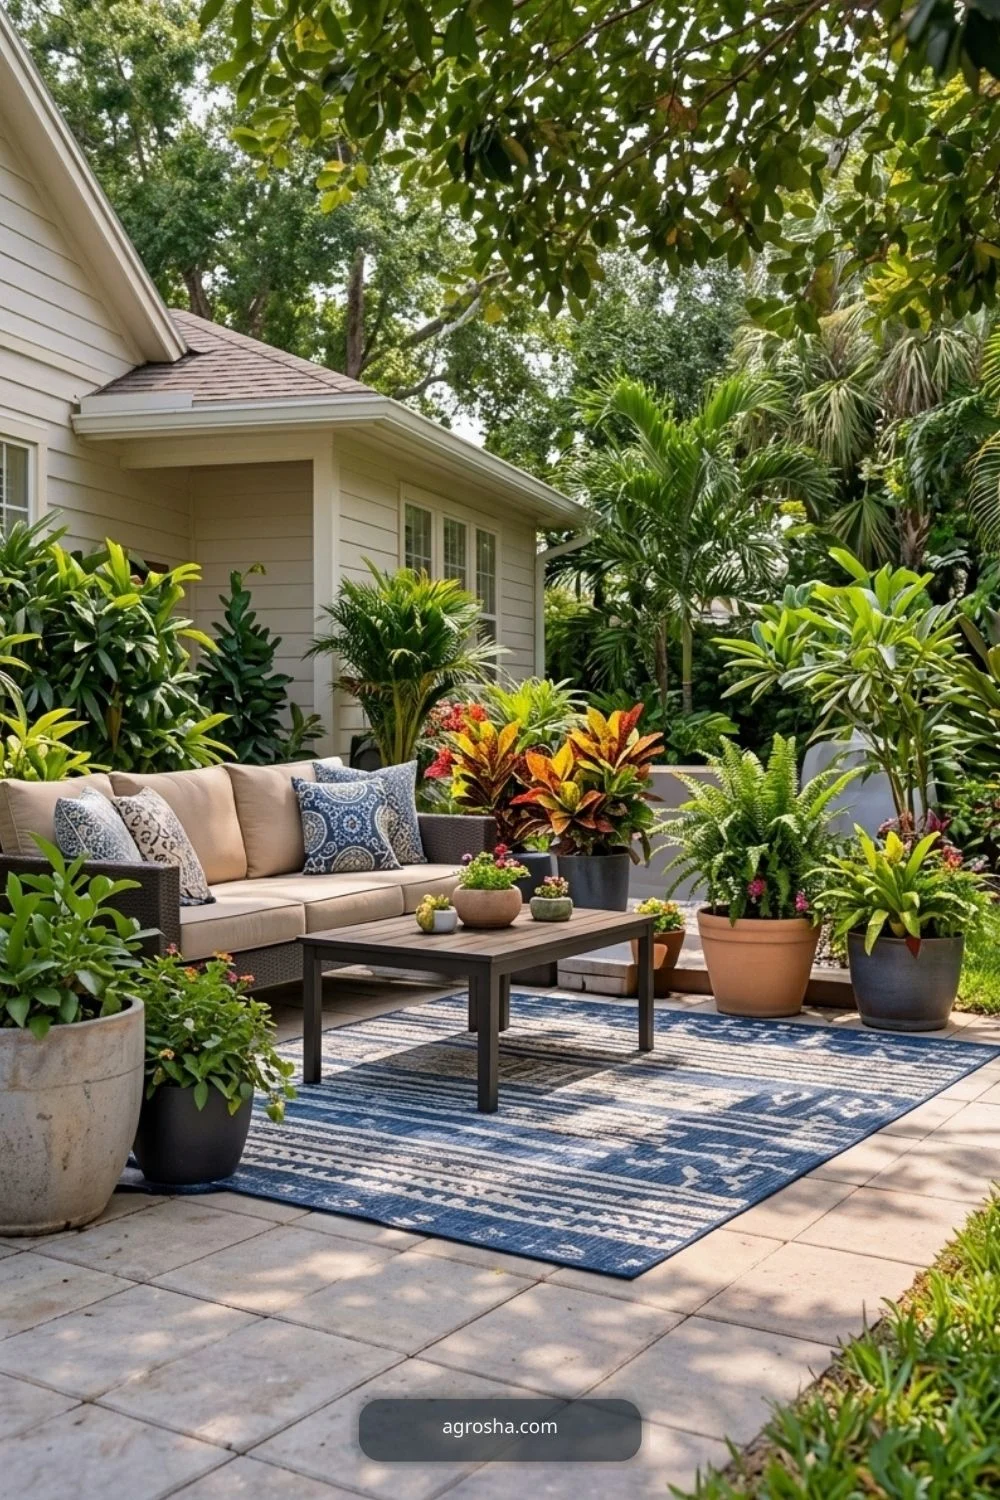
Families may get more value from one flat open zone than from filling the whole yard with beds. Use turf, stable groundcover, or an appropriate surface based on the activity. Keep the play area visible from the house and separate from fragile plantings.
Phase 3: Add Beds, Food Gardens, and Privacy
Planting should support the new layout rather than hide mistakes in it. Expand beds where mowing is awkward, put food gardens where sun and water are convenient, and add privacy only where a real sightline needs screening. Leave room for plants to mature.
11. Expand One Existing Garden Bed

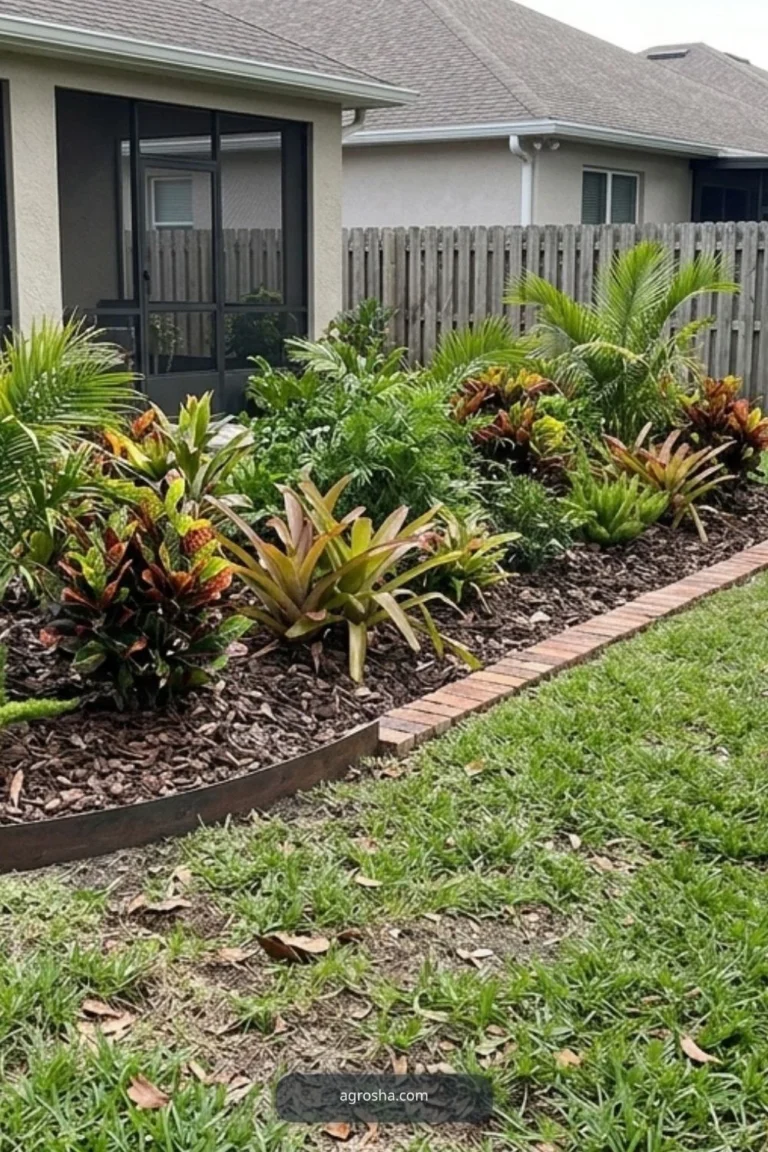
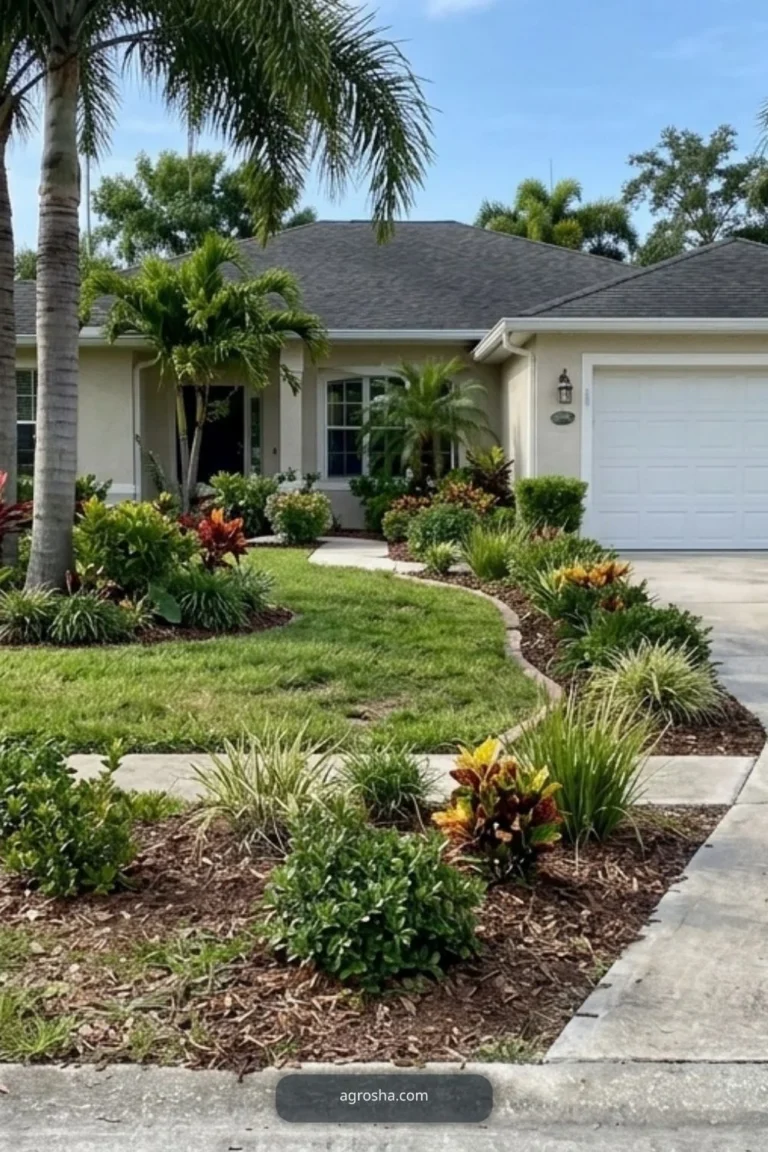
Widening a small bed can improve plant spacing and reduce awkward mowing strips. Keep the shape simple and choose plants for mature size. This is often a better first planting project than creating several disconnected beds.
12. Add a Raised Vegetable Garden
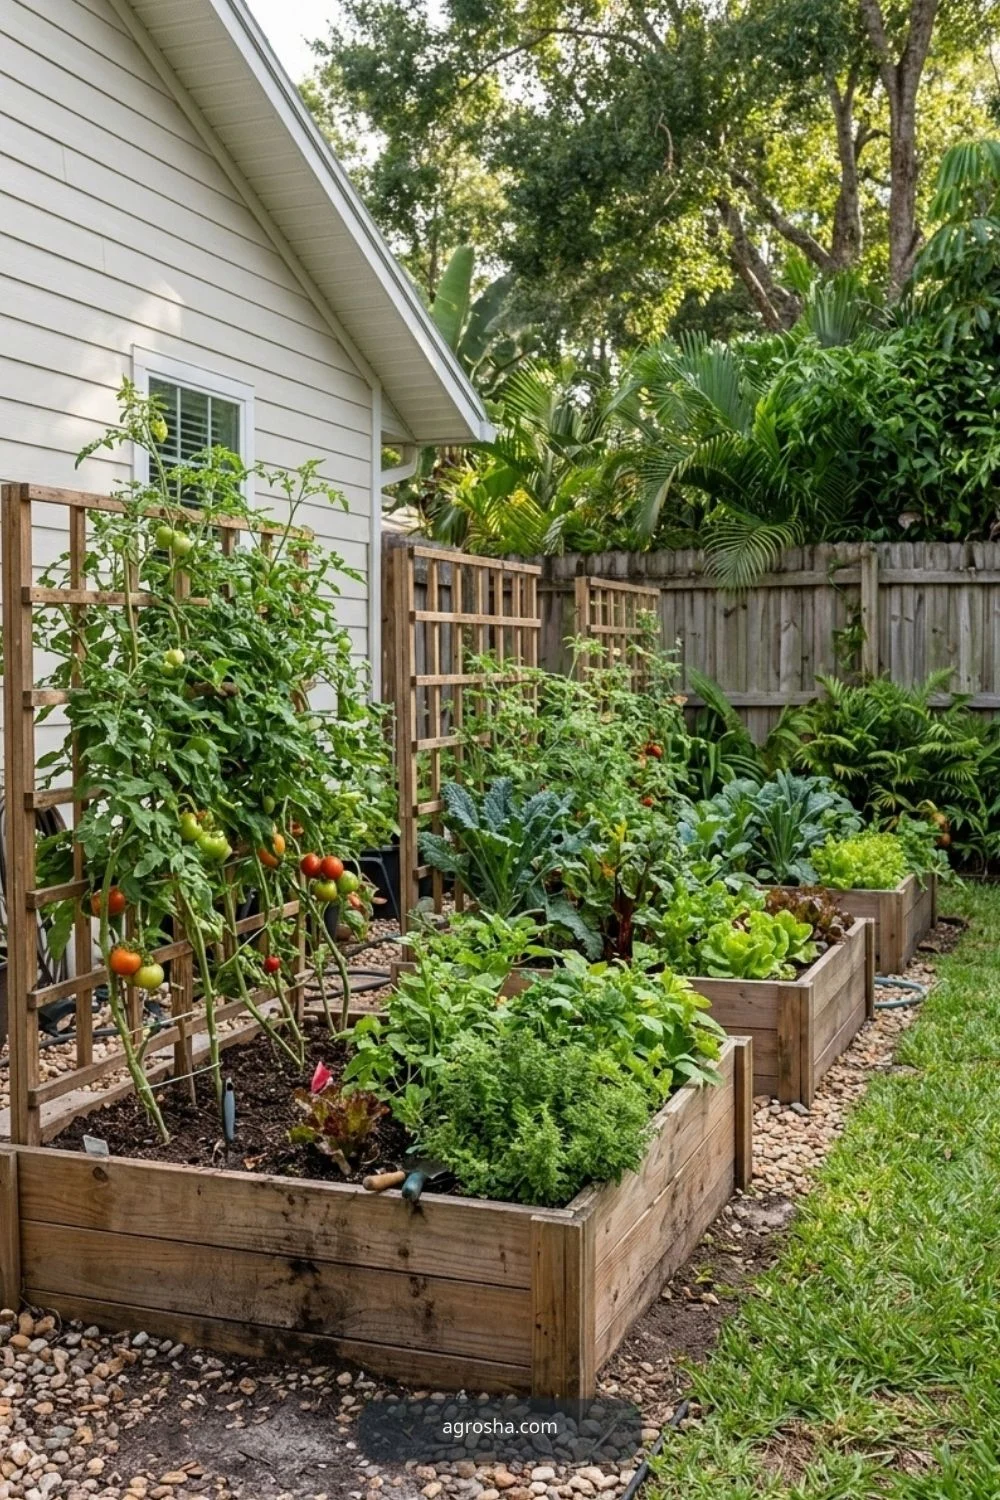
A few well-placed raised beds can make food gardening easier to organize. Put them where sun, water, and access are good before worrying about decorative material. Our raised bed gardening guide covers layout and path spacing.
13. Create a Small Herb Garden Near the Kitchen
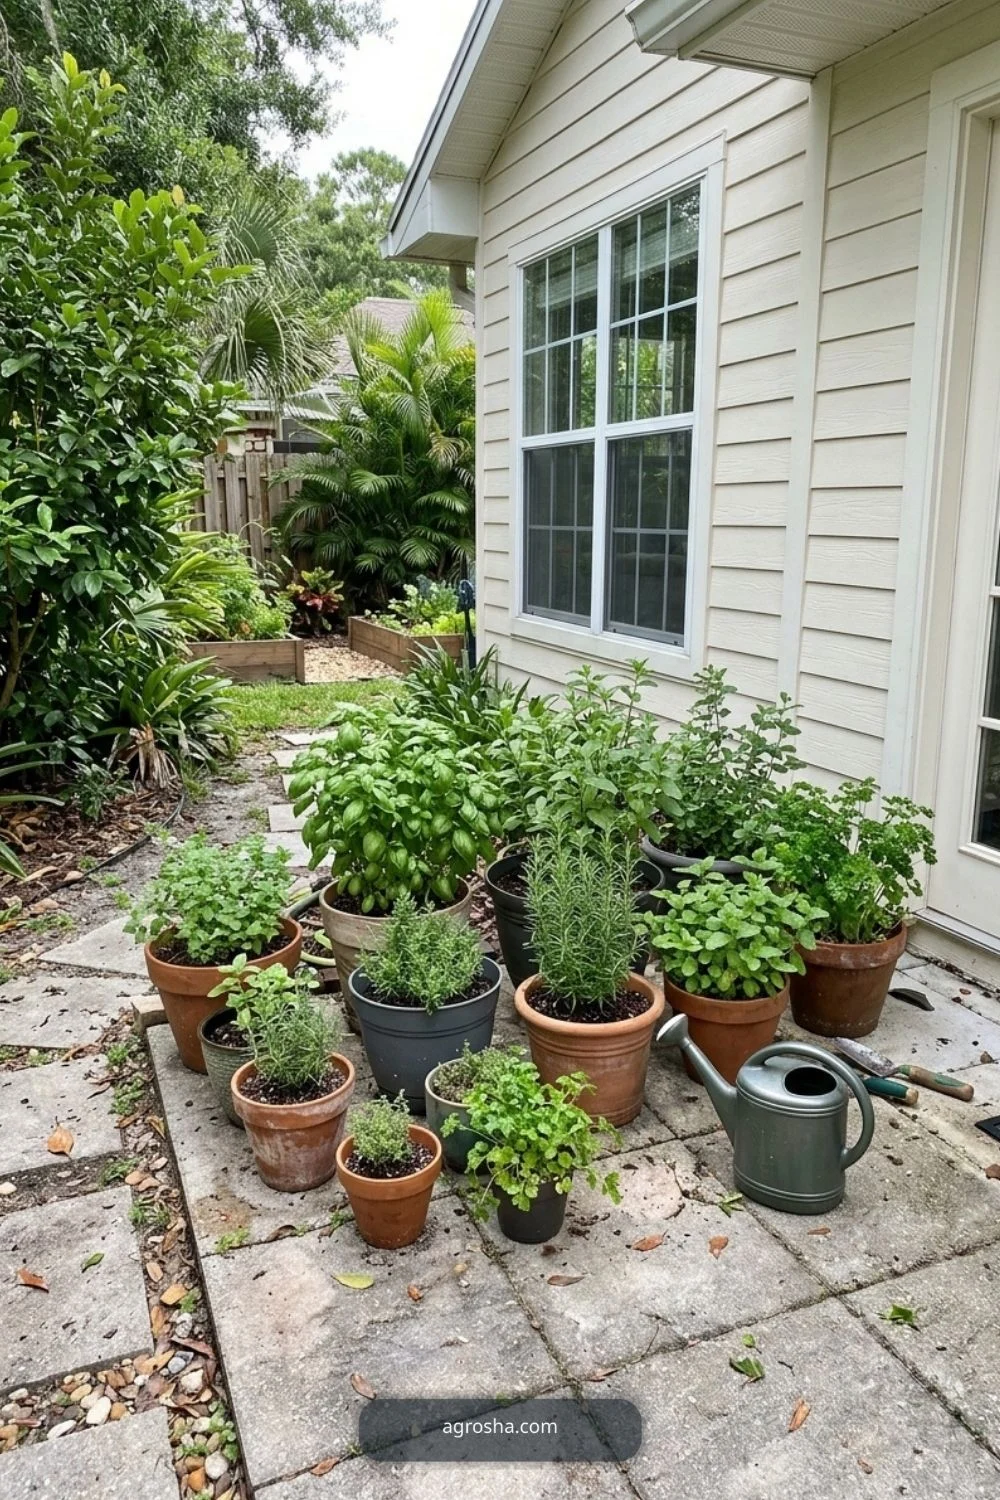
Keep frequently used herbs near the back door or patio rather than at the far end of the yard. Containers or one small bed are often enough. Group herbs by water and light needs.
14. Add Layered Privacy Only Where Needed
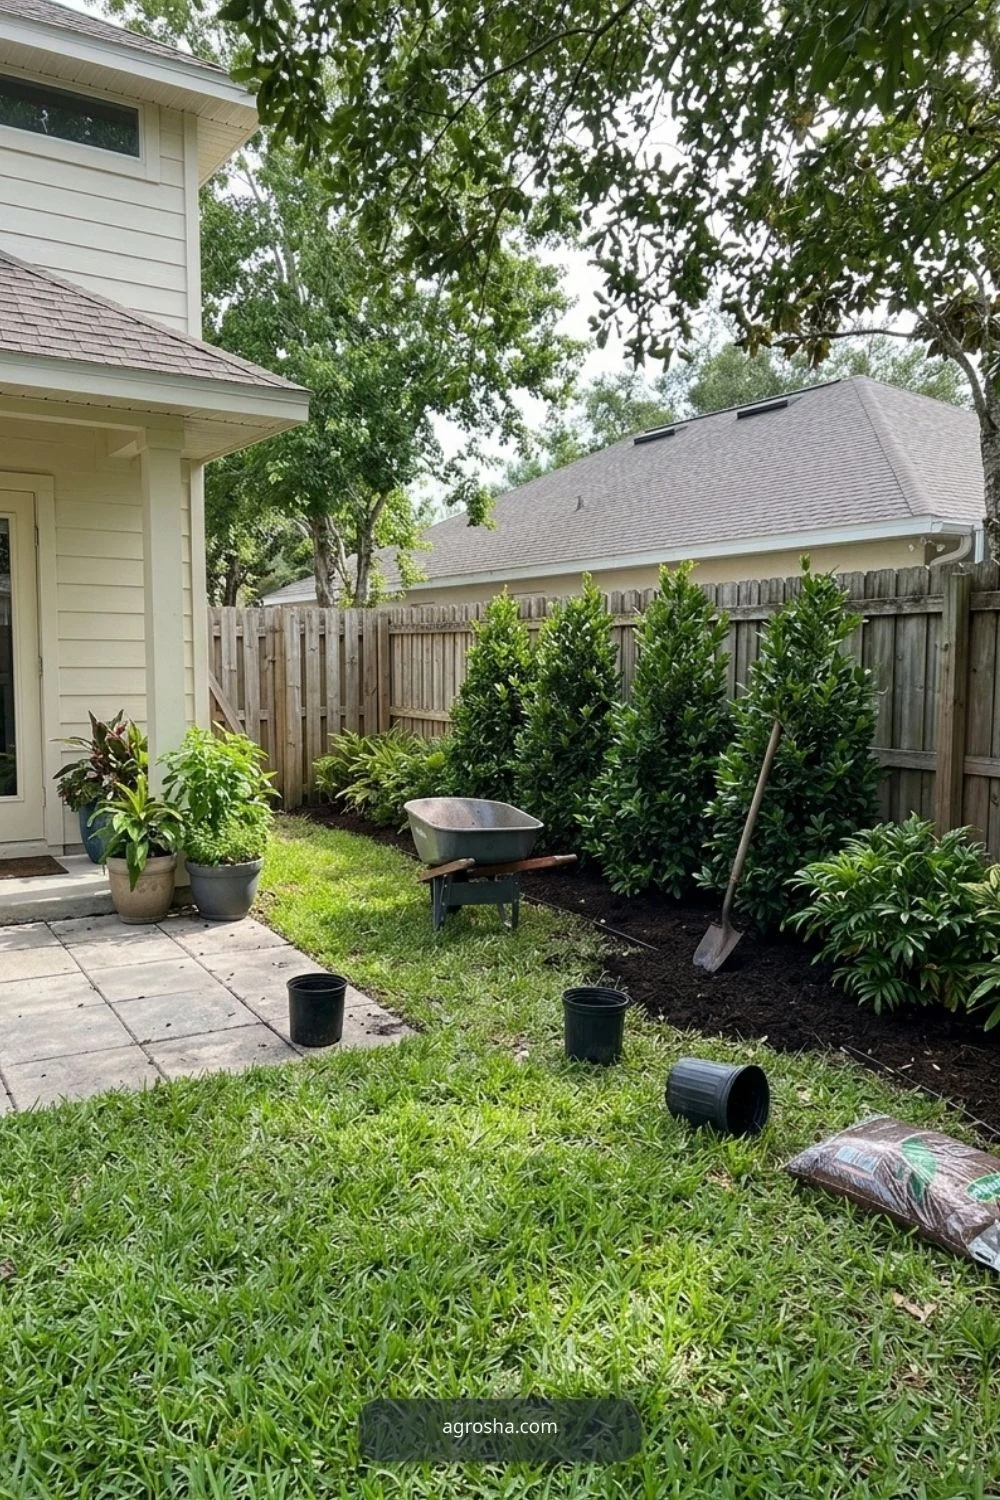
Use shrubs, grasses, trellises, or screens to block specific views instead of surrounding the entire yard. This preserves airflow and keeps small spaces open. See our backyard privacy ideas for targeted screening.
15. Build a Shade Garden Under Existing Trees
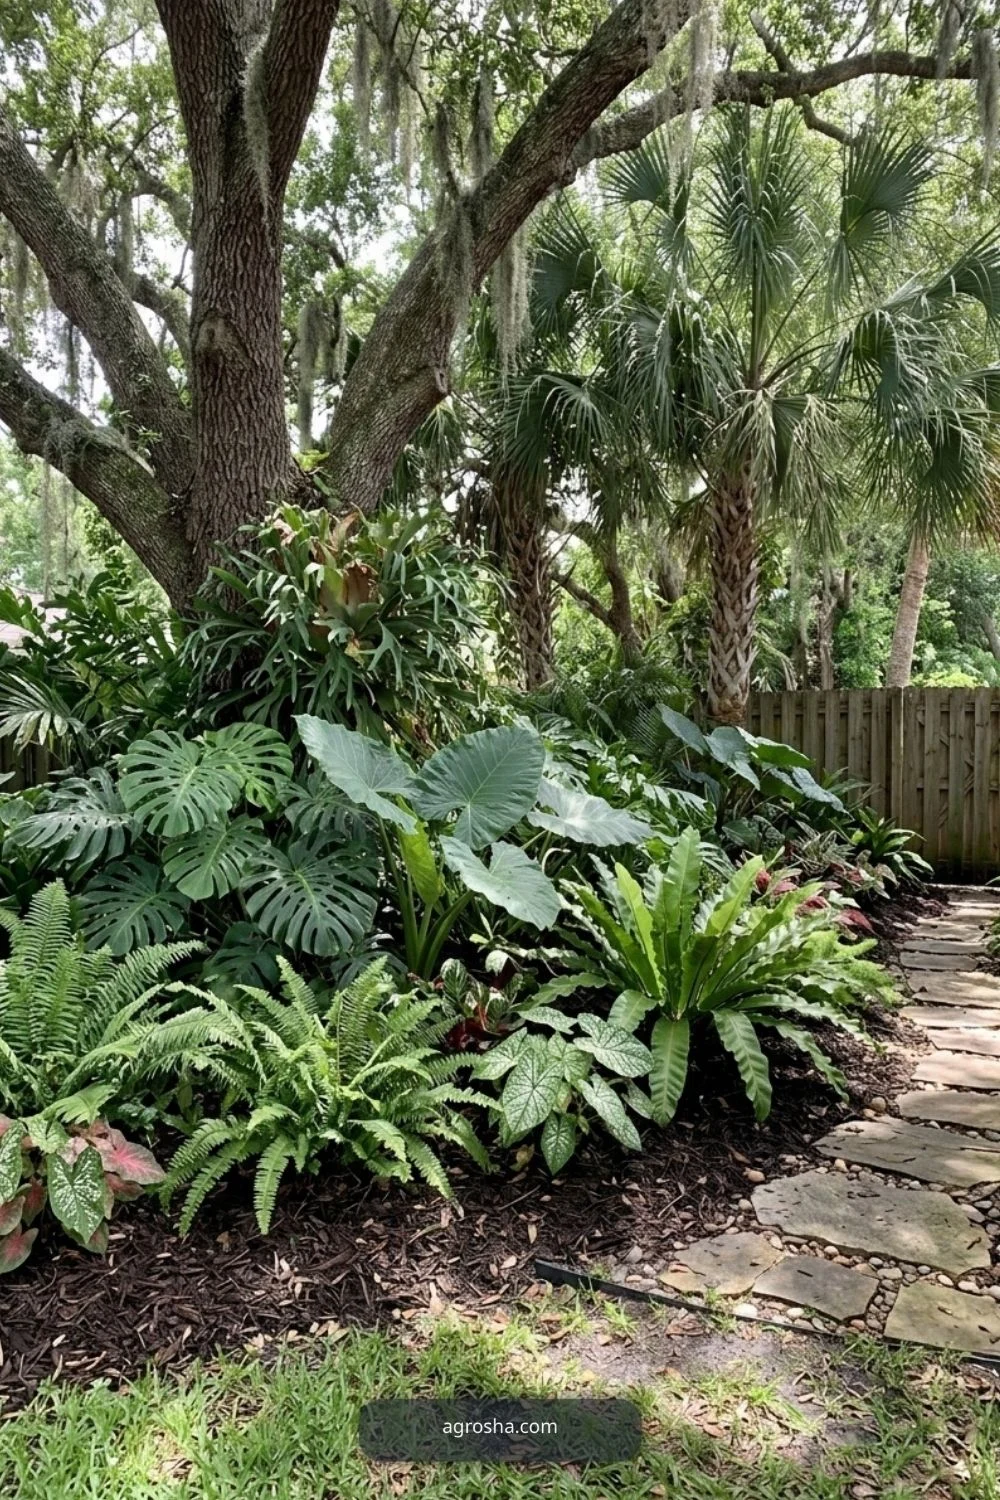
If turf struggles under mature canopy, convert the area into a shade-tolerant bed rather than fighting for lawn. Protect major roots and choose plants for the actual moisture. Our shade garden ideas provide more options.
16. Add a Pollinator Bed in the Sunniest Corner

Use a few regionally appropriate flowering plants and grasses in repeated groups. Keep the edge clean and avoid broad pesticide use through the bed. A defined pollinator zone can add seasonal life without turning the entire yard into a meadow.
Phase 4: Improve Comfort and Everyday Use
Comfort upgrades should reflect daily habits. A single shaded chair, dog route, dining table, or small fountain can add more value than a collection of decorative features. Choose the activities your household actually uses and keep routes between them simple.
17. Add a Quiet Reading Seat
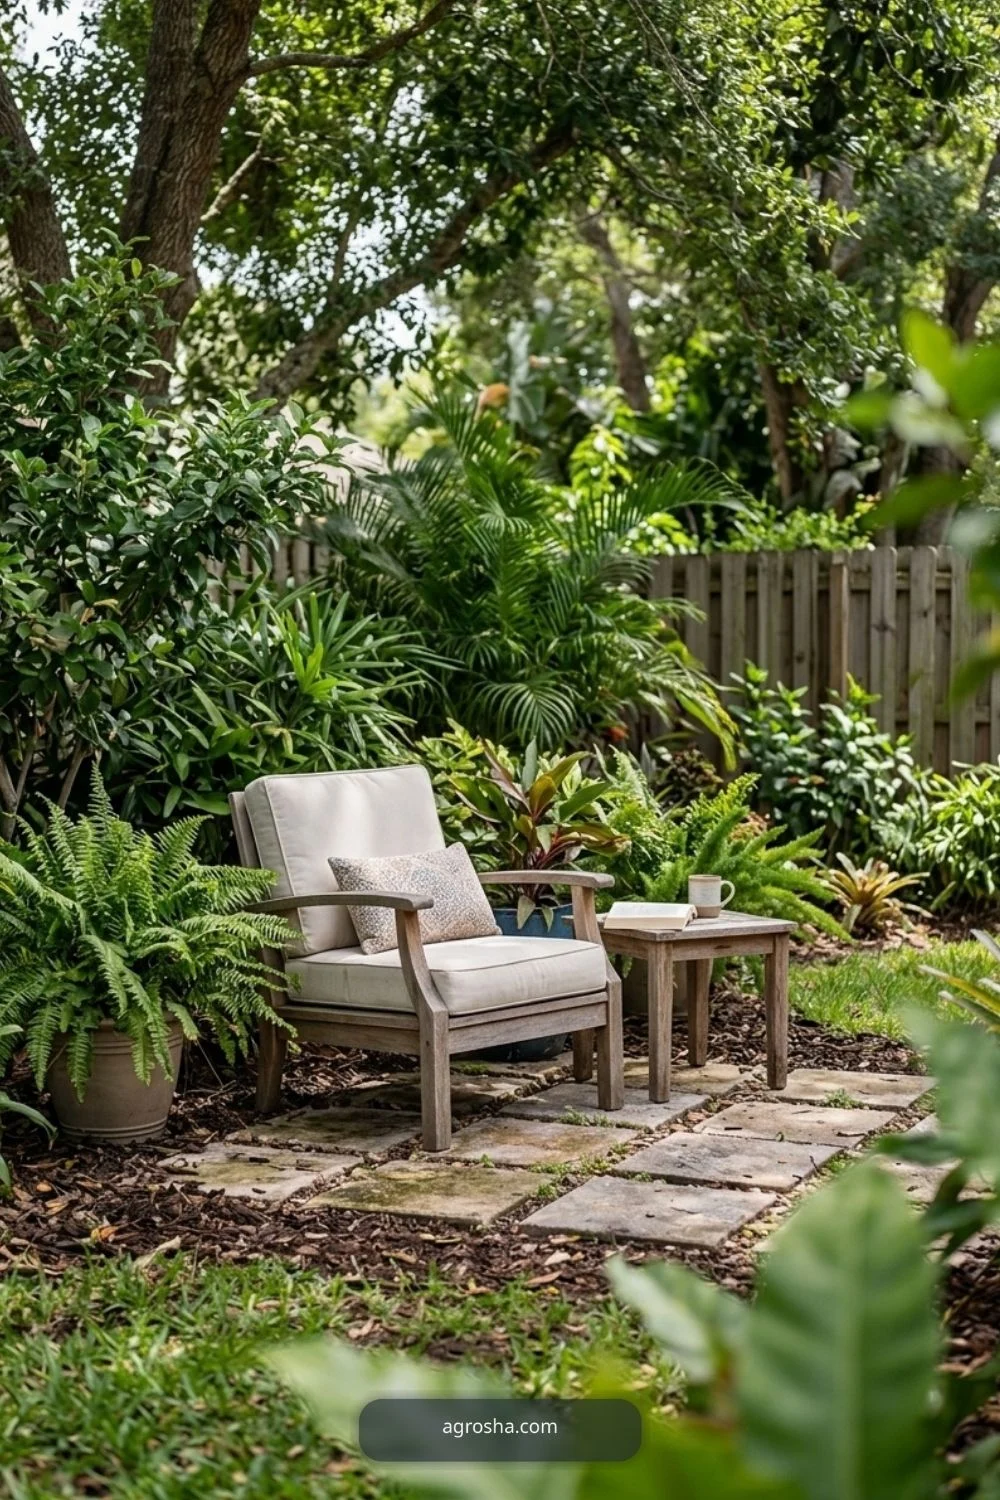
A single shaded chair or bench can turn an unused corner into a destination. Place it where there is a pleasant view and an easy path, then frame it with a few plants rather than building a complete garden room around it.
18. Add a Hammock Between Safe Supports

A hammock can be a low-cost relaxation upgrade if it is attached to supports rated for the load. Keep it away from irrigation spray, thorny plants, and paths. Do not attach hardware to a tree without understanding the impact.
19. Build a Small Outdoor Dining Setup
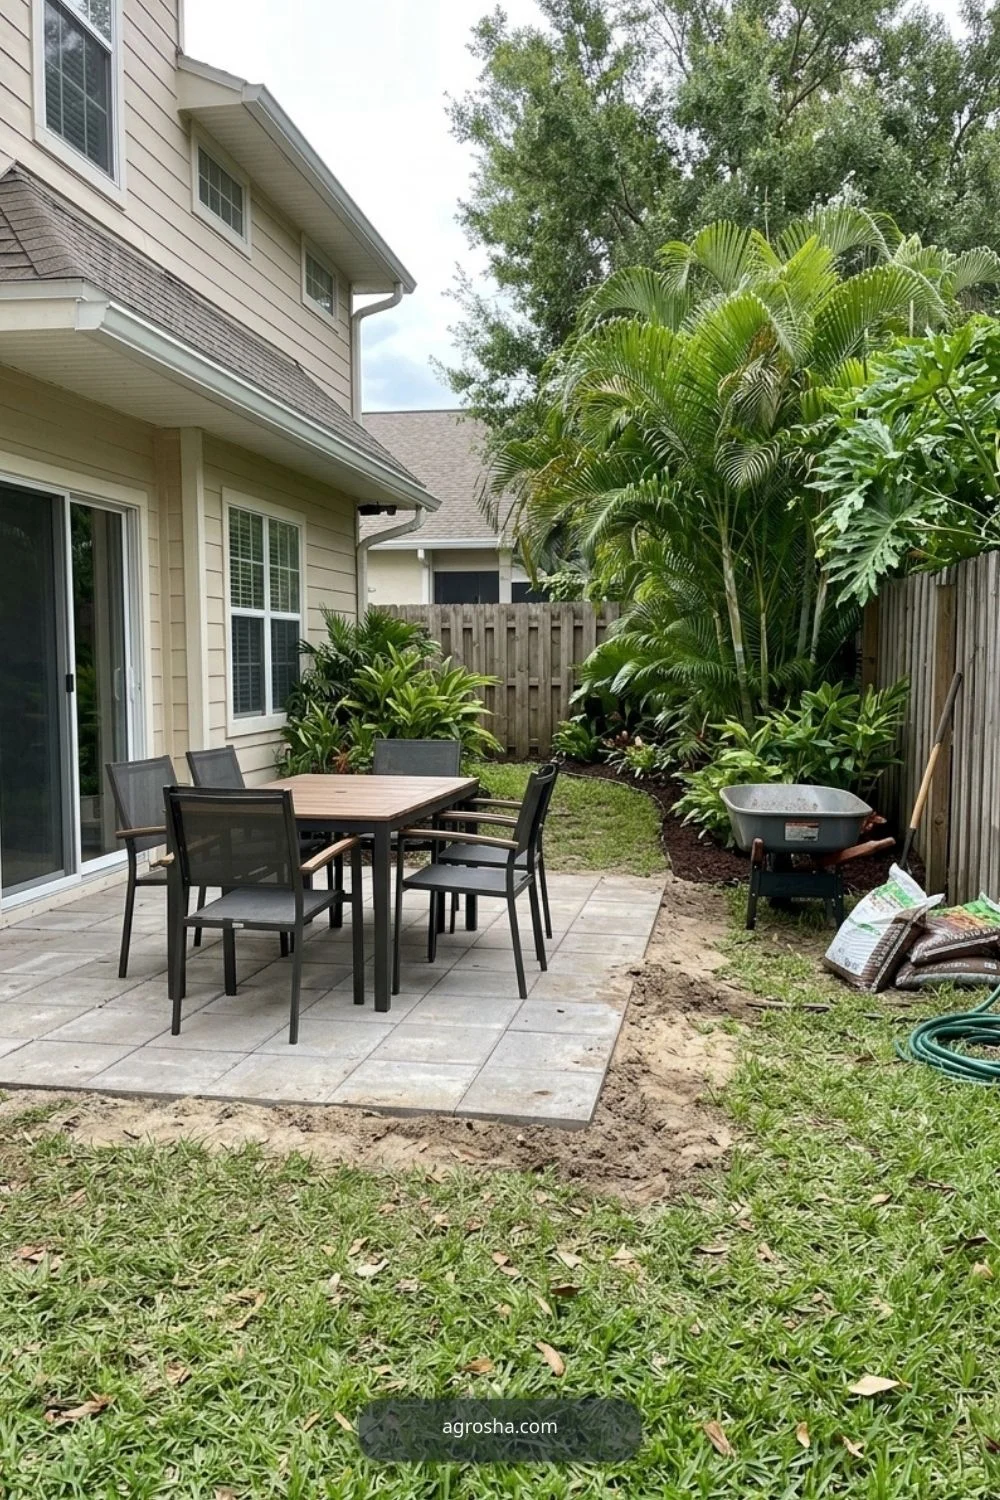
A table sized to the household often works better than a large entertainment layout. Leave chair pull-back space and a clear route to the kitchen. Add shade before adding more decor.
20. Add One Water Feature, Not Several
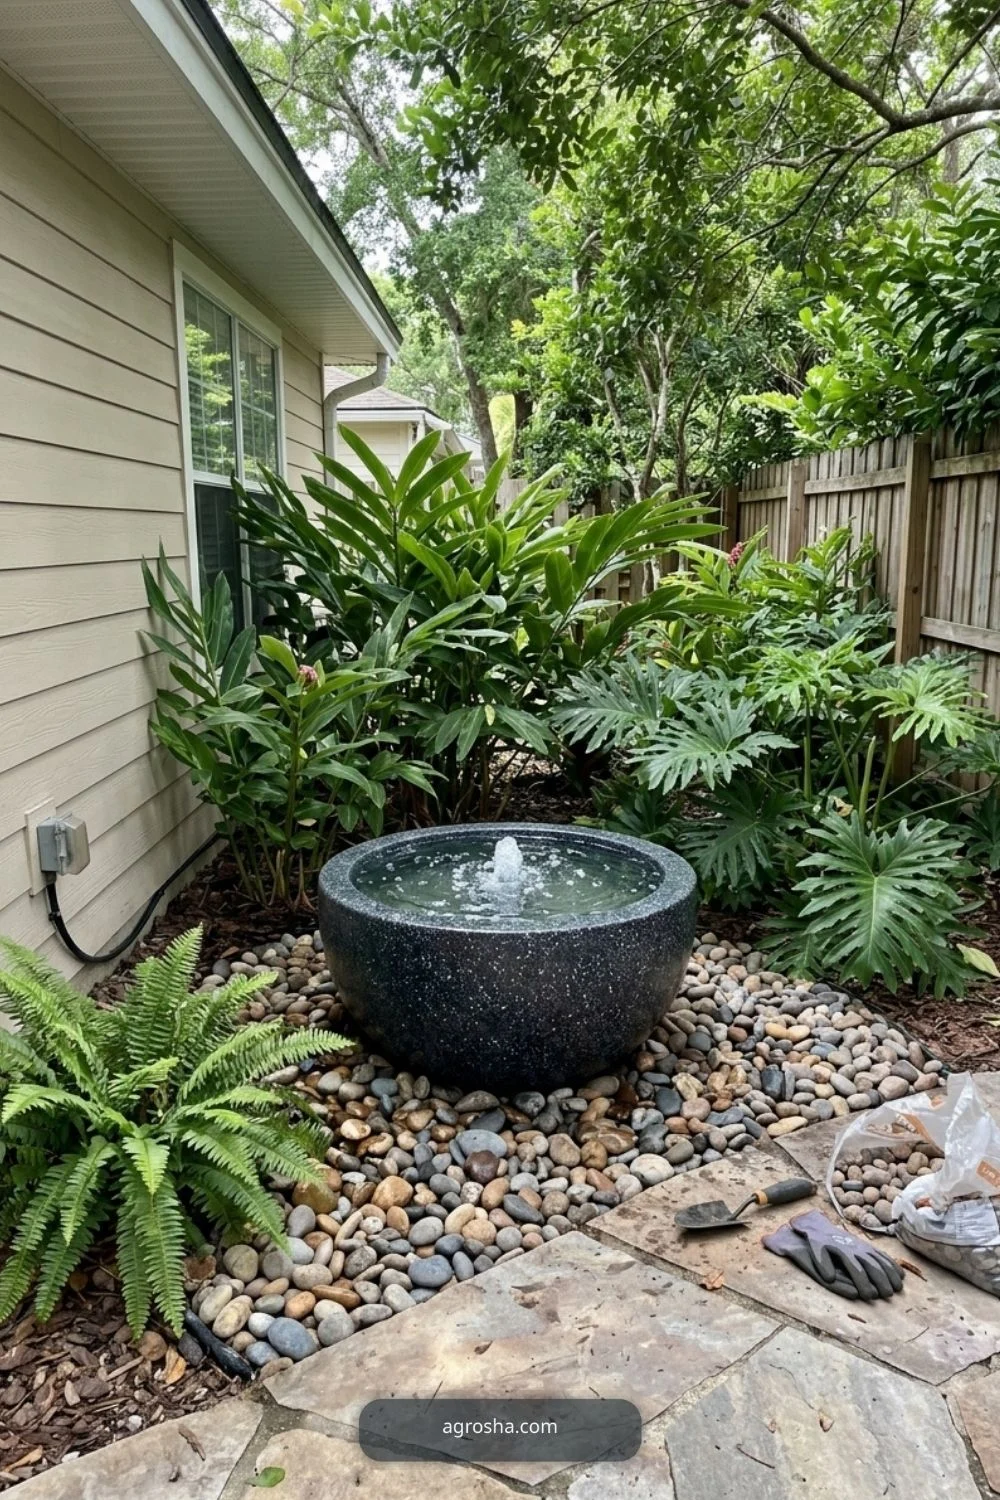
A small recirculating bowl or fountain can add sound near seating. Choose a feature that is easy to clean and manage standing water responsibly. Large ponds and waterfalls create a different maintenance commitment.
21. Create a Dog-Friendly Route or Zone
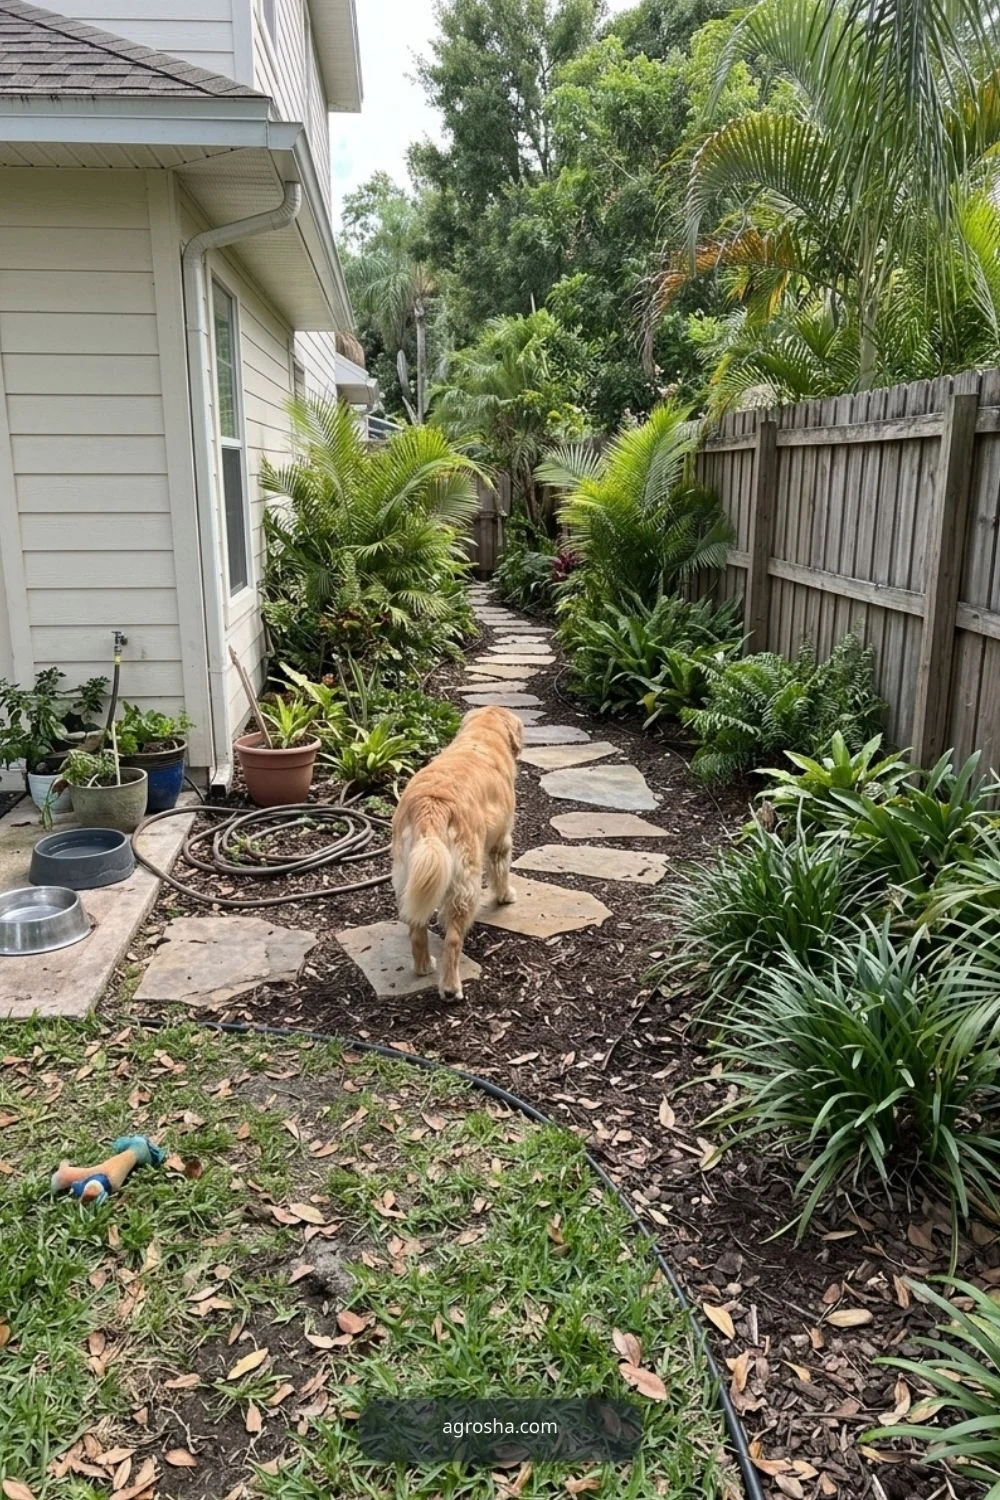
If a dog uses the yard daily, design around that behavior. Keep one durable path or open zone, protect fragile beds with low barriers, and avoid toxic plants where the dog spends time. A beautiful garden that ignores pet traffic will be difficult to maintain.
22. Add Storage Where Tools Are Actually Used
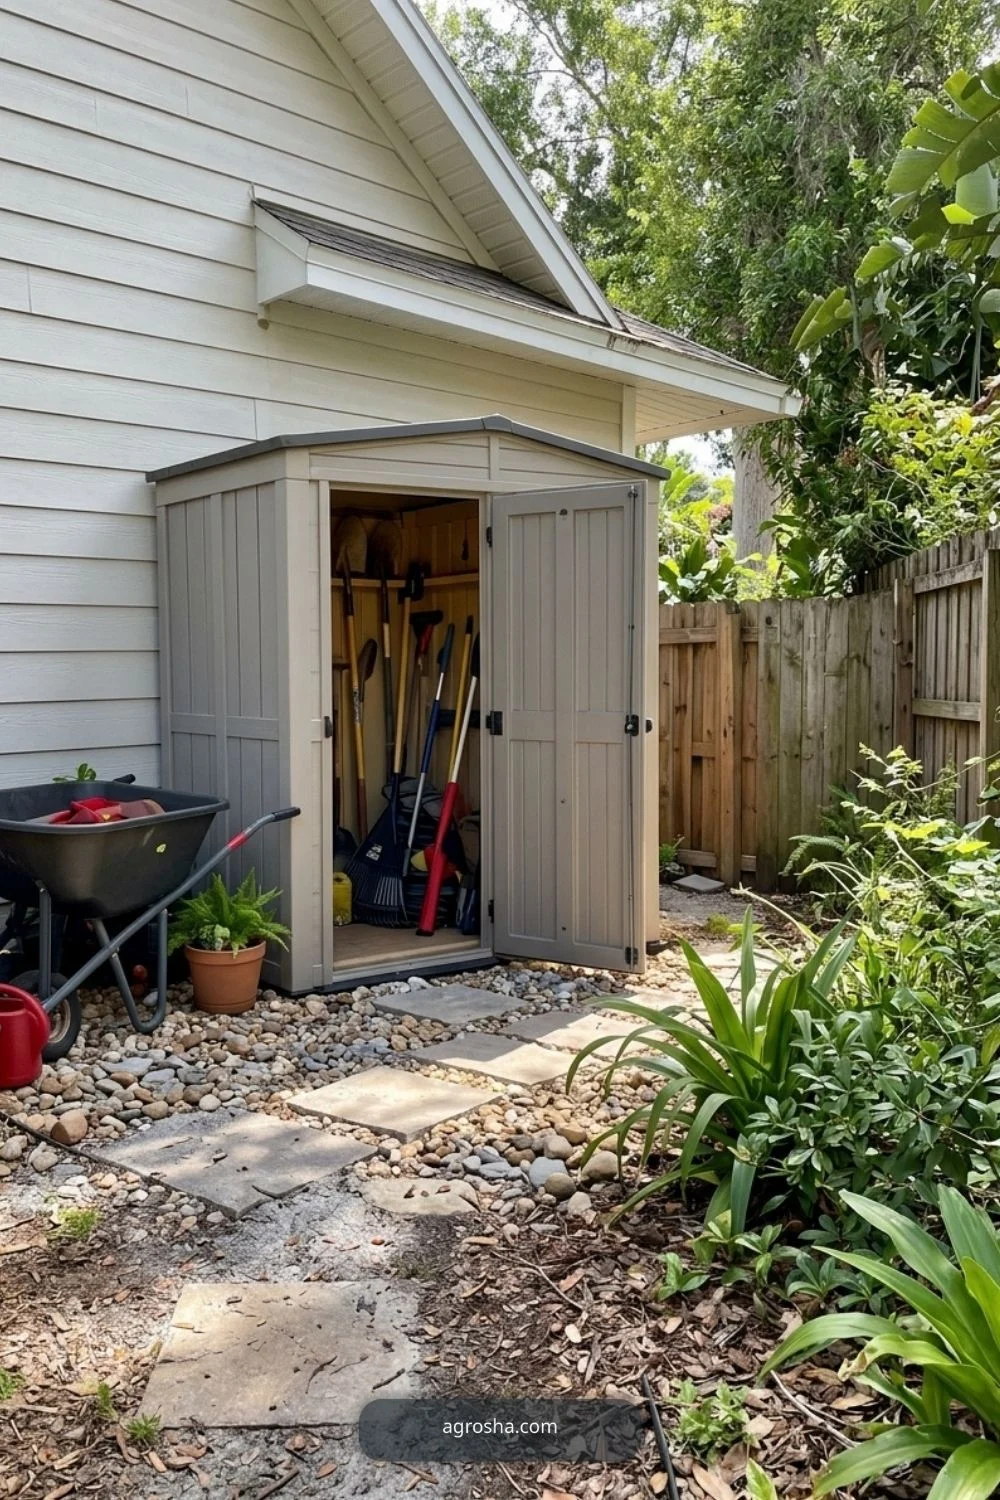
A compact weather-resistant storage box or shed can reduce clutter if it sits near the work zone. Keep it accessible without dominating the yard. Store chemicals and sharp tools securely and separately from children’s areas.
Phase 5: Lighting, Containers, and Finishing Details
Lighting, containers, mulch, and color are finishing layers. Add them after construction and planting so fixtures and pots do not have to be moved repeatedly. Use these details to connect completed zones rather than starting new projects at the edge of the yard.
23. Light the Main Path and Steps
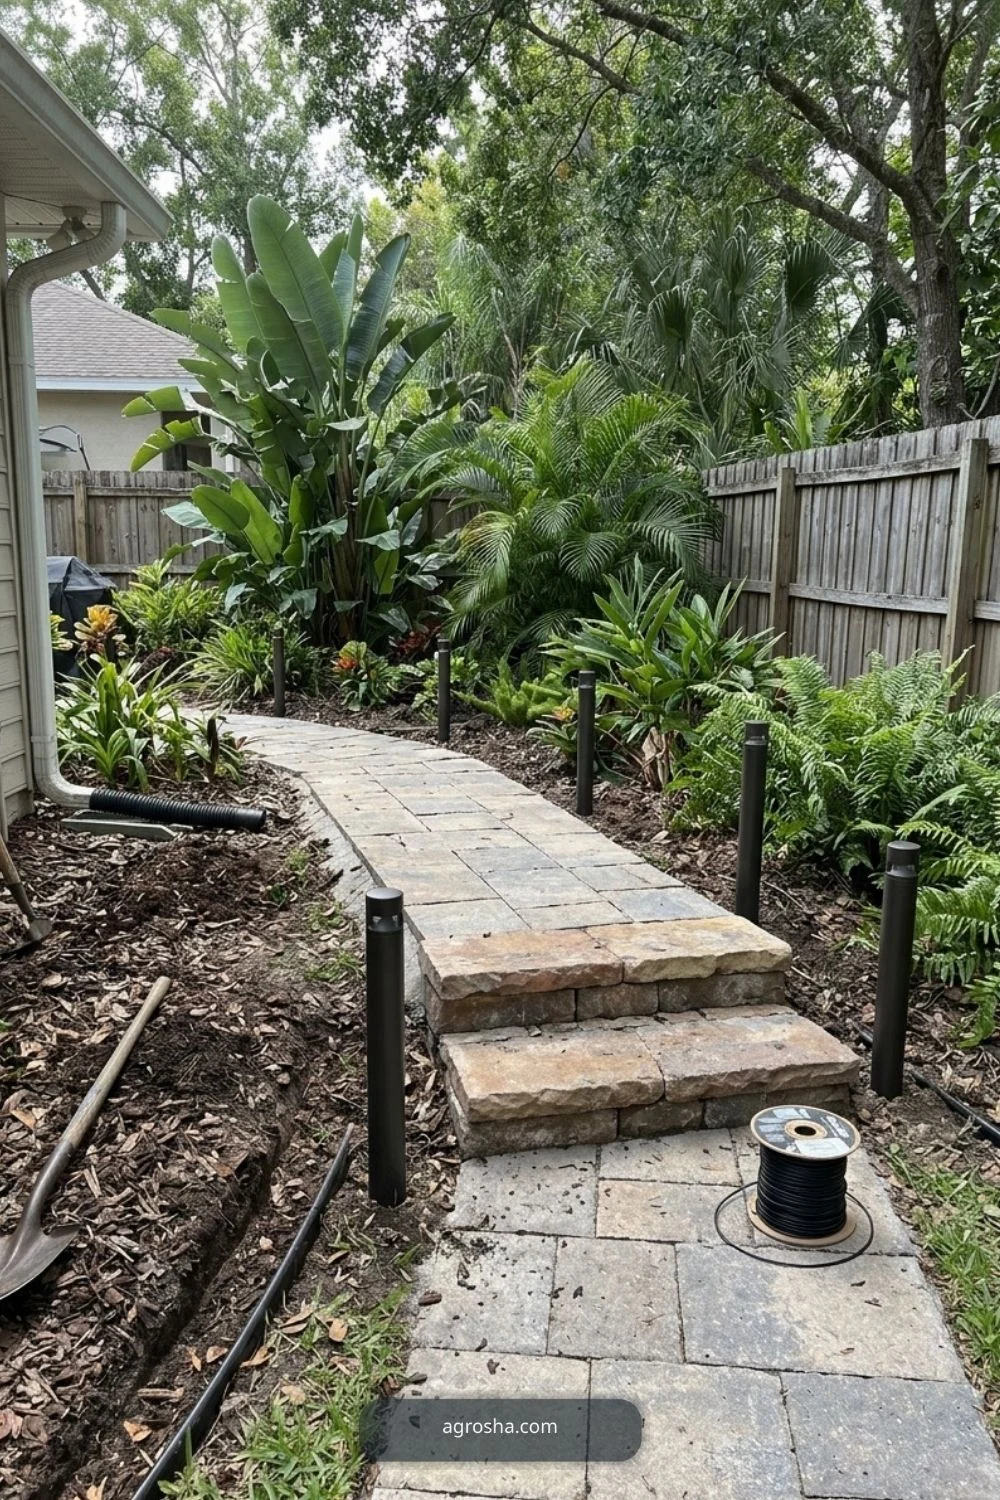
Start outdoor lighting with safe movement, not decoration. Use shielded fixtures at steps, turns, and entries, then add only a few accents. Avoid overlighting the yard or shining into neighbors’ windows.
24. Add Large Containers Near the Patio

A few large planters can bring greenery close to seating without building another permanent bed. Use enough soil volume and drainage for Florida weather. Repeat pot styles so the area feels organized.
25. Add a Simple Focal Plant or Small Tree

One well-placed small tree or specimen shrub can give the backyard a visual anchor. Choose mature size carefully and keep roots, branches, and future shade in mind. Do not plant a large future tree in a tiny patio pocket.
26. Refresh Mulch and Clean Bed Edges
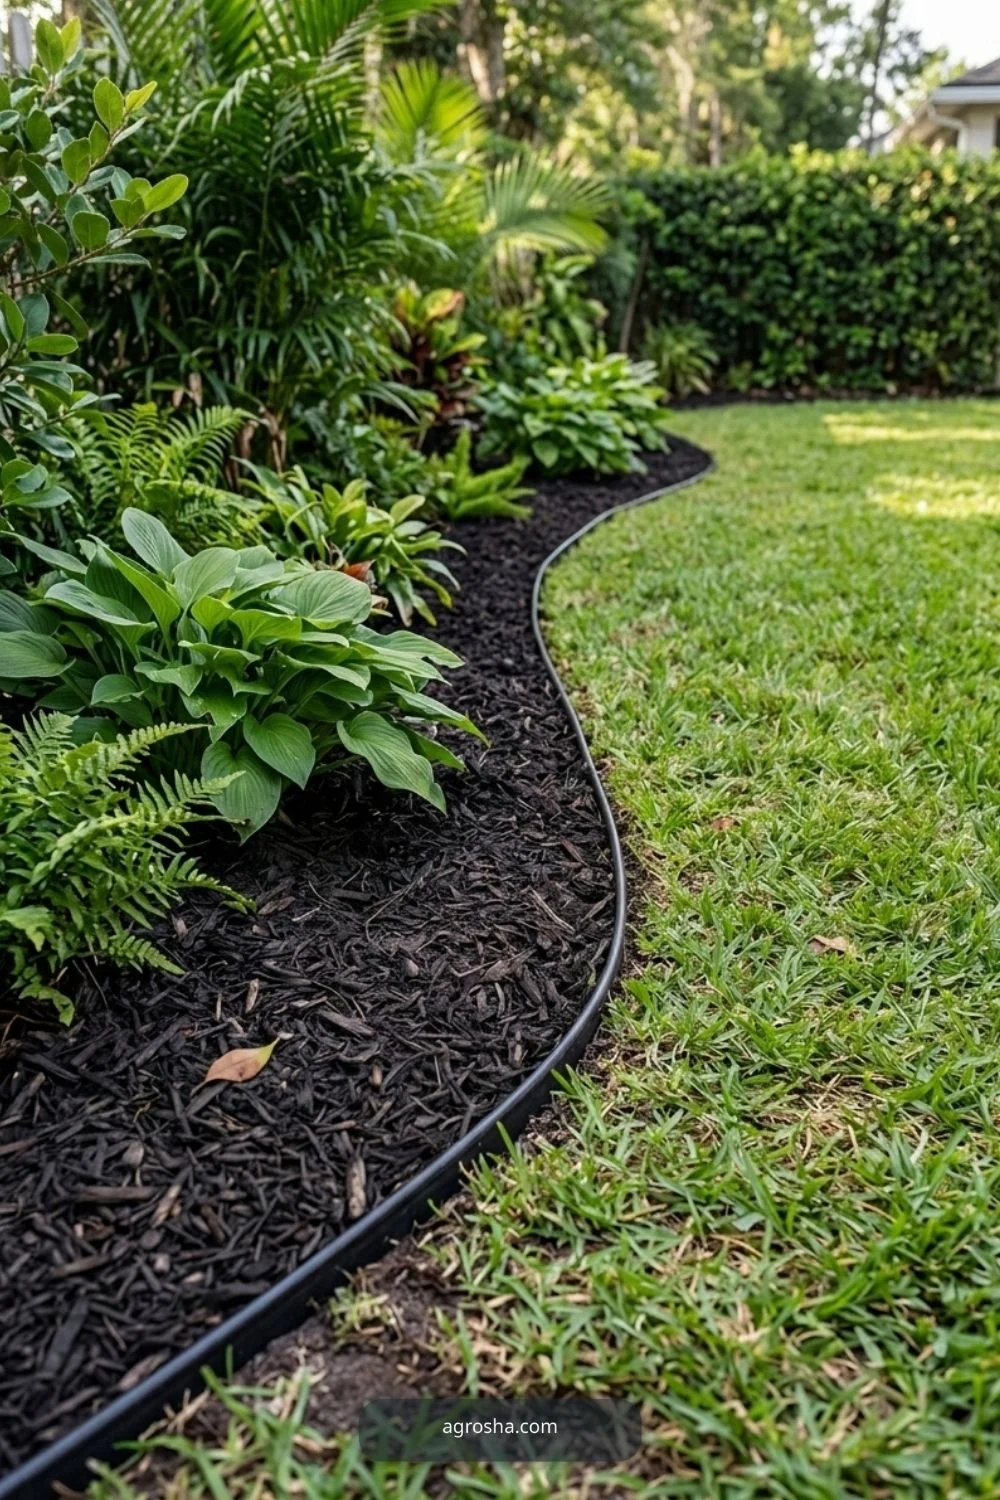
Once construction and planting are finished, renew mulch only to the needed depth and clean the edge between lawn and beds. These simple finishing steps often make a larger visual difference than adding more decor.
27. Use One Outdoor Color Palette

Repeat two or three neutral materials and one accent color across pots, cushions, and small details. A limited palette makes budget items feel more connected. Avoid turning the yard into a collection of unrelated themes.
Phase 6: Prioritize by Budget and DIY Difficulty
A realistic plan separates low-risk DIY work from projects that need technical skill, permits, or specialized equipment. Spend money first on safety, water, and long-life infrastructure. Decorative changes can happen gradually without damaging the work already finished.
28. Start With High-Impact, Low-Cost Work

Cleaning, pruning, moving clutter, redefining bed edges, and improving one path can change the yard before major spending. Do these first so the budget goes to problems that remain after the basic cleanup.
29. Hire Out Structural or High-Risk Work

Retaining walls, major electrical work, large tree removal, significant drainage changes, and structural decks may require permits or professionals. DIY the planting, painting, or simple edging if appropriate, but do not turn safety-critical work into a learning project.
30. Finish One Zone Before Starting the Next
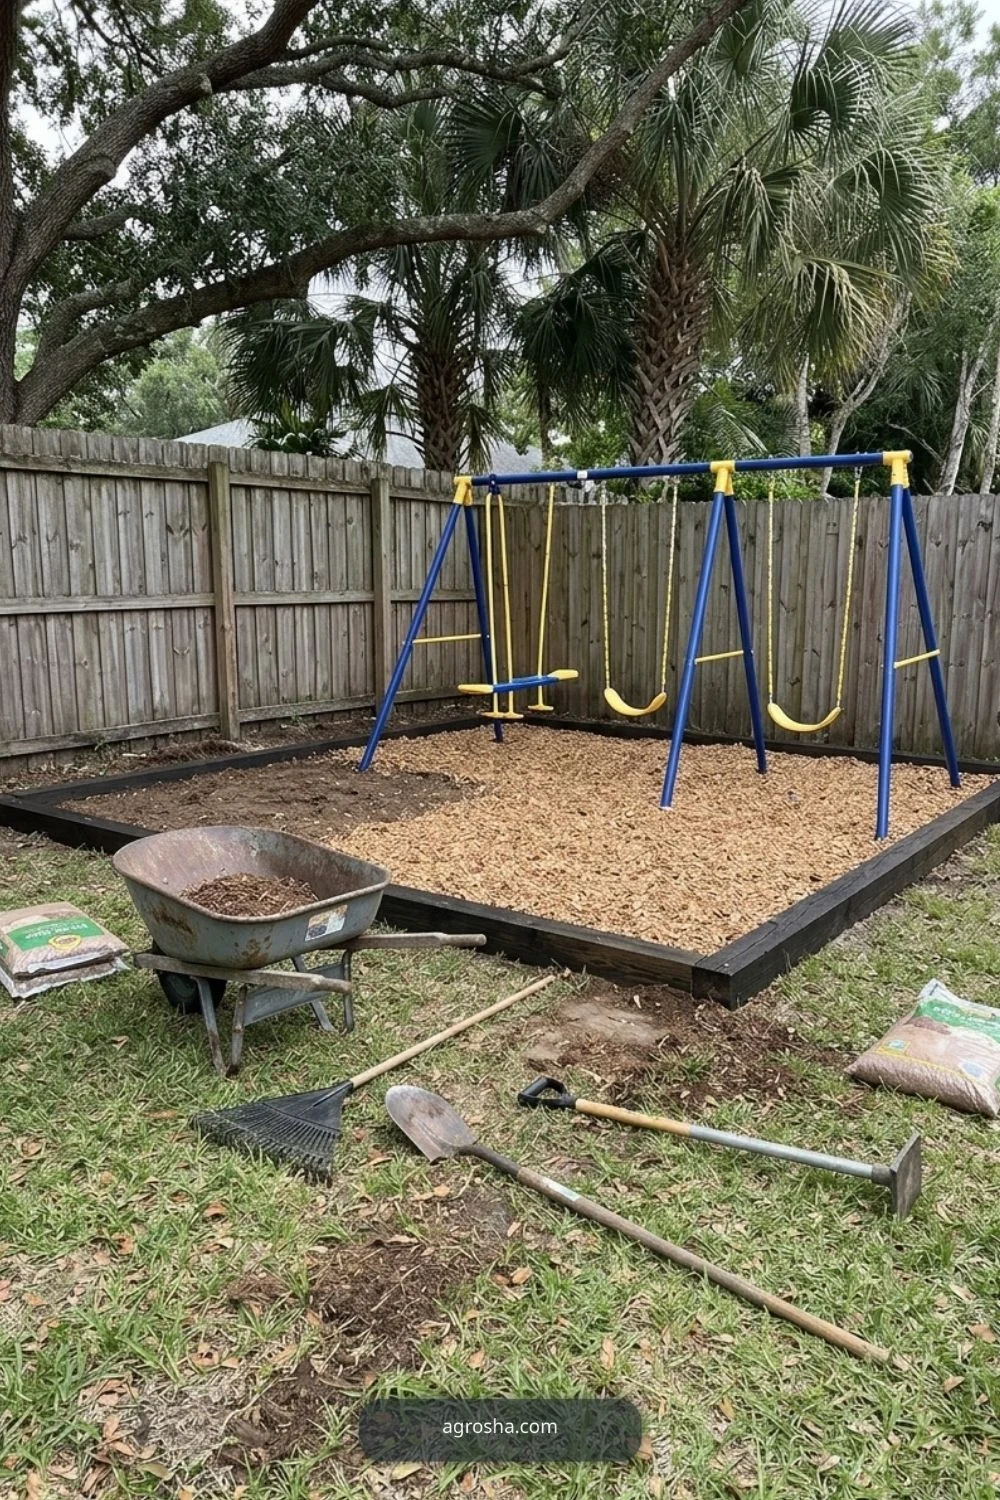
Choose the patio, garden, privacy edge, or play area with the highest daily value and finish it before opening another project. Completed zones are easier to enjoy and budget than five half-built ideas. Use our low-maintenance backyard guide to keep the final maintenance load realistic.
Simple Backyard Upgrade Order Checklist
1. Observe drainage, sun, shade, traffic, and problem areas. 2. Set a realistic budget and decide what must be hired out. 3. Fix drainage, slopes, paths, and service access. 4. Build patios, seating pads, and other hardscape. 5. Add beds, privacy, and food gardens. 6. Add lighting, containers, and finishing details. 7. Review the maintenance load before adding anything else.
Frequently Asked Questions
What should I upgrade first in a backyard?
Fix water, access, unsafe steps, erosion, and other functional problems first. Then improve the outdoor zone you use most, such as the patio, main path, or privacy edge.
How do I plan a backyard makeover on a budget?
Separate must-fix work from optional upgrades, finish one zone at a time, and spend first on infrastructure that would be expensive to redo later. Use planting and decor after the basic layout works.
Should hardscape or plants come first?
Major hardscape, drainage, and access usually come before final planting because construction can damage new beds. Protect existing valuable plants, then install new planting after heavy work is complete.
Which backyard projects are best for DIY?
Simple cleanup, container planting, light edging, mulching, and small nonstructural garden projects are common DIY tasks. Structural walls, major electrical work, hazardous tree work, and significant drainage changes may need qualified help.
Final Thoughts
A successful backyard makeover is not about collecting the most ideas. It is about solving the right problems in the right order. Fix water and access, build the main usable zones, add plants and privacy, then finish with lighting and decor. One completed, easy-to-maintain area is more valuable than a yard full of unfinished upgrades.